Looking for an easier way to cook chicken? Here's how to cook chicken breasts in the Instant Pot to perfection every time. These are a weekly staple in our house and with this easy method, they're soon to be in yours too!
Let's just get this out of the way first: there is no appealing way to photograph raw chicken. There is no way to make it look appetizing (as there shouldn't be, because no one wants to eat raw chicken.)
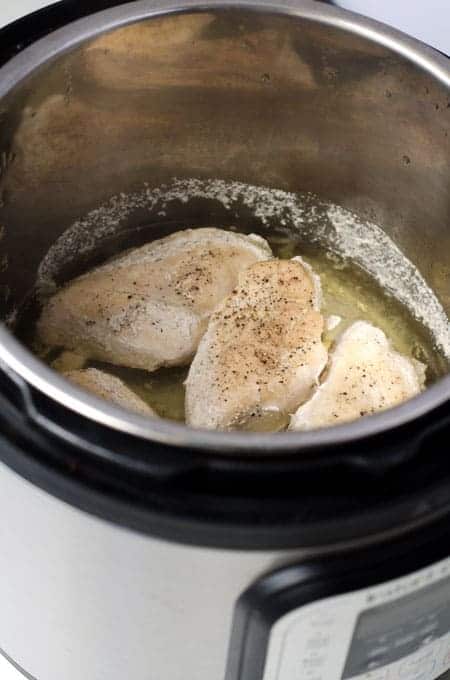
There's also very minimal ways to photograph cooked chicken in an Instant Pot and have it also look appetizing.
So, please don't judge this tutorial by it's photos, and instead, try it for yourself! The end result is a tender and juicy chicken breast that I have not been able to get through any other method of cooking.
That, combined with the fact that the Instant Pot is my favorite "set it and forget it" kitchen tool, makes this yet another one of my weekly Instant Pot staple recipes (the other two being sweet potatoes and eggs.)
If you're still struggling with getting regular use out of your IP, these chicken breasts are a great place to start. You can also head over to my Instant Pot basics tutorial here to help you get started!
Here's how to cook chicken breasts in the Instant Pot for perfection every time.
1. Remove the inner rack.
My rule for this rack is, will the food benefit from being in liquid, or notsomuch? Chicken is a yes! It will keep it from getting dried out, and as much as I hate to say the word out loud, it will keep it...moist. (I'm cringing, but there you have it.)
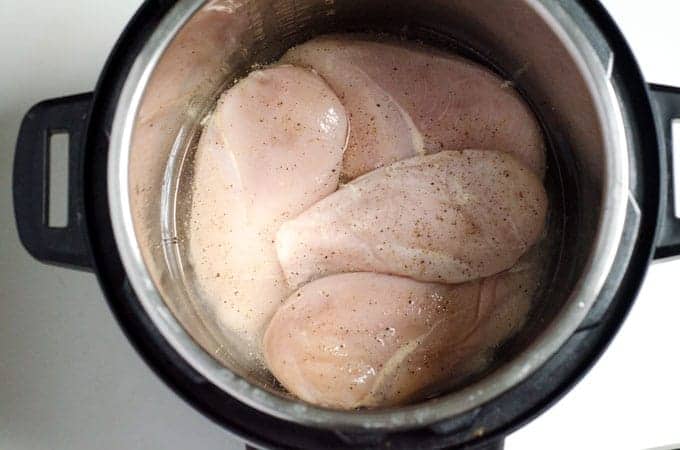
2. Place the chicken breasts in a (mostly) single layer in the bottom of the pot.
It's ok if they overlap a little bit - don't sweat it. They're going to shrink as they cook, and them overlapping will not hurt them.
3. Sprinkle with a generous dose of salt and pepper.
Don't be shy. You can see in the photo below some of it ends up in the liquid anyway, and this is going to add a bit of flavor to your chicken.
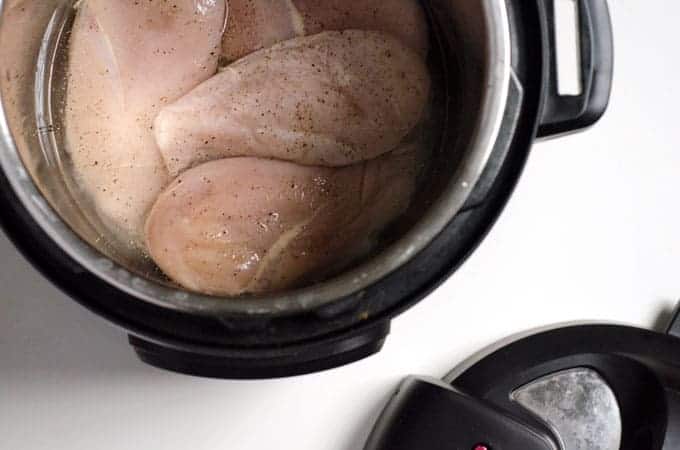
4. Add in about ¼ cup of either water or broth for each pound.
This doesn't have to be exact math. This is around three pounds of chicken, and I used around 1 cup of chicken broth. You can use water, chicken broth, or vegetable broth. If you think it looks a little low, add a bit more. The volume of liquid will increase during cooking as well.
5. Cook the chicken for 6-7 minutes per pound.
Put on the lid, make sure it is set to sealing, and use the "Manual" function (NOT the poultry function.) Pressure should be set to high, and time is approximately 6-7 minutes per pound of meat. This was just under 3 pounds and I cooked it for 21 minutes.
6. Decide what kind of chicken you want.
Do you want firm chicken breasts that you can cut into chunks with a knife and fork, or do you want a bit more tender chicken that shreds easily when you slide a knife through it?
If you're looking for a firmer chicken breast, you're going to go ahead and open the release valve at the top - this is called Manual Release. Stand back, because steam is going to shoot out the top of the valve.
Just give it a quick flick and it will do the rest on its own. Wait until the steam stops, then you'll be able to remove the lid and retrieve your chicken breasts.
If you're looking for a shredded style chicken breast, you'll want to use what's called Natural Release. This means you're not going to touch the valve at the top; you're going to let the pot depressurize on it's own for 10 minutes.
Once the front displays"L 0:10," then you can go ahead and open the lid and take the chicken breasts out.
Remember, they are going to shrink a bit, and the liquid will increase. Whatever you do, DO NOT throw out the liquid! This is beautiful homemade chicken broth. Even if you used broth in the first place, it is now richer and more flavorful.
I store mine in a mason jar in the fridge, but you can also freeze it. It's perfect for making soups, stews, and adding flavor and moisture to dishes.
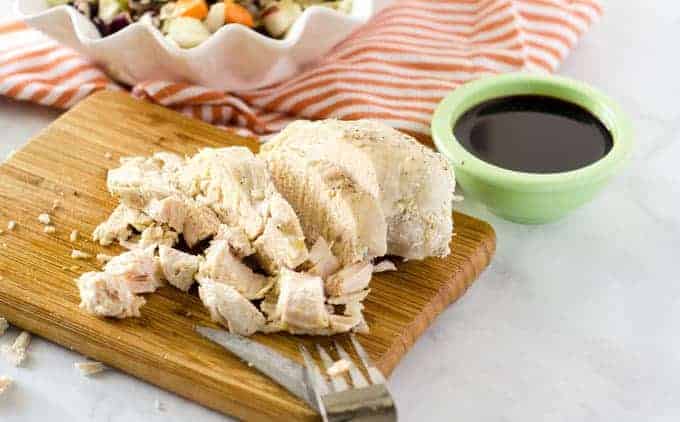
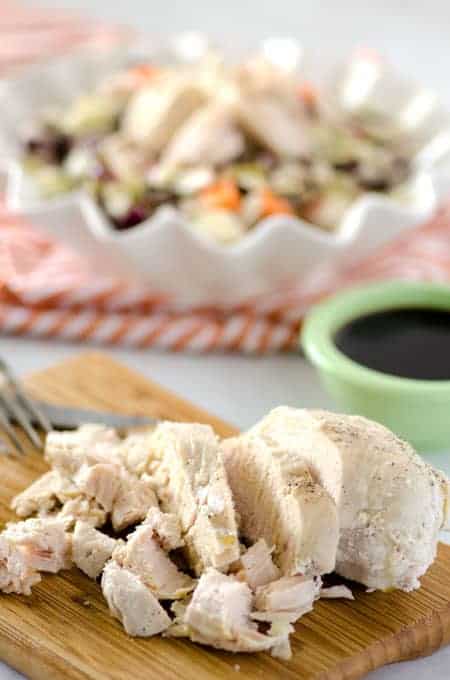
I wanted a firmer chicken breast that I could cut into chunks for my salad, which is what you see here. However, I often leave it in and go for shredded chicken that I turn into chicken salad with some homemade mayo and whatever else I have in the fridge that I feel like throwing in.
Whatever type of chicken you prefer, now you can get it in the Instant Pot while you're off doing something else. And that, my friends, is worth a lot.
Recipe
How to Cook Chicken Breasts in the Instant Pot
Looking for an easier way to cook chicken? Here's how to cook chicken breasts in the Instant Pot to perfection every time. These are a weekly staple in our house and with this easy method, they're soon to be in yours too!
Materials
- chicken breasts
Tools
Instructions
- Remove the inner rack from the Instant Pot. Will the food benefit from being in liquid? Chicken is a yes! It will keep it from getting dried out.
- Place the chicken breasts in a single layer in the bottom of the pot. It’s ok if they overlap a little bit – don’t sweat it. They’re going to shrink as they cook, and them overlapping will not hurt them.
- Sprinkle generously with salt and pepper.
- Add in approximately ¼-1/3 cup of liquid for each pound of meat. I prefer to use broth, but water will also work (and will turn into broth!)
- Put on the lid, make sure it is set to sealing, and use the "Manual" function (NOT the poultry function.) Pressure should be set to high, and time is approximately 6-7 minutes per pound of meat.
- Decide between natural release and manual release. Not sure? Manual release is done immediately when the cook time is up and will leave you with a firmer chicken breast. Natural release requires waiting at least 10 minutes and will leave you with a more tender, shredded style of chicken breast.
- Save the liquid! The leftover liquid is beautiful homemade (or enhanced flavor) chicken broth. Save it for stews, soups, and sauces.
I may earn a small commission off purchases made through affiliate links in this post from Amazon and other sellers. This helps me continue to run the blog and keep providing you fresh content. Thank you for your support!


kshav
What does 14/-1/3 mean? How much is that?
Jessica
Hi! So sorry for the typo - it's just supposed to be 1/4-1/3 cup of liquid. I've updated the recipe card; thank you for the heads up!