This delicious homemade gluten free pad thai will make you forget about all the pad thai takeout of your past. Made with real, fresh ingredients, in less than 30 minutes you can have this on the dinner table, and you'll never look back.
I love pad thai. Every time we get takeout, it's either pad thai or pizza. (Yes, even healthy people make unhealthy choices sometimes!)
We don't get takeout very often. I do so much cooking and experimenting, it's hardly ever necessary. But sometimes you just want to not have to do any more dishes.
When we order pad thai, we get it from one of two restaurants in town. They're both decent, but for sure not the best pad thai I've ever had.
So, as per usual, I decided to make my own. And I can honestly say, after making this pad thai, it's unlikely I will ever order takeout pad thai ever again.
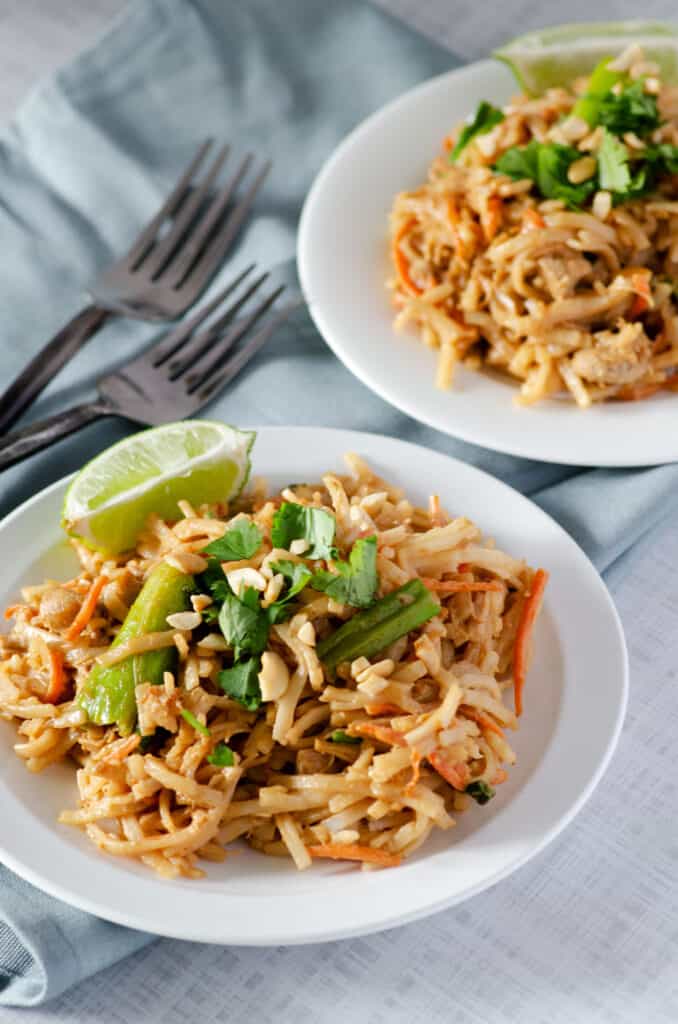
The sauce is so easy to make, and the dish comes together faster than the takeout can probably be delivered.
It's full of healthy, clean ingredients, has an option to make it paleo, and the flavor is second to none.
I promise you won't regret it. Ready? Here we go!
0. Make your pad thai peanut sauce
Notice this is step zero. You have to have your sauce ready before you can bring everything else together.
I'm not normally a fan of recipes that make you go make another recipe before you can make the one you want, but there are some exceptions to this rule, and this is one.
This gluten free pad thai is suuuuper easy to make when you bring it all together, and making my homemade pad thai sauce is worth it.
If you're not up for making your own sauce, you can certainly buy peanut sauce at the store. That said, I can't speak to the ingredients or flavor you will get.
You can also order this Thai Almond Sauce on Thrive Market as a great paleo option!
Once you've got a sauce option ready...
1. Cook your gluten free noodles
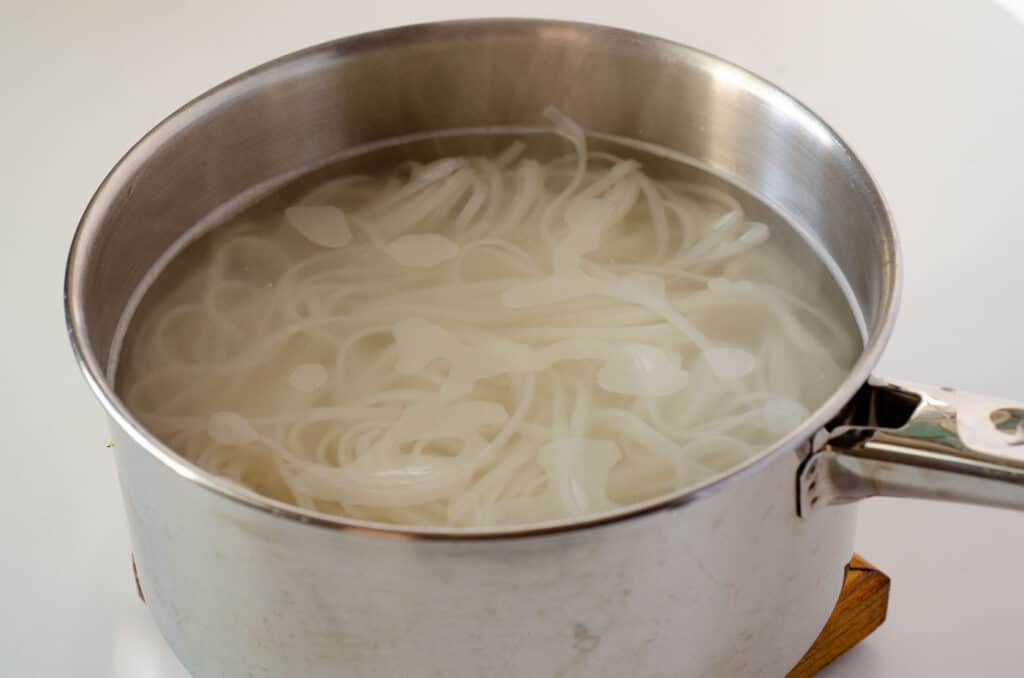
For this recipe, I prefer to use gluten free rice noodles. I like the Annie Chun's brand, which you can find in most grocery stores in the Asian cooking section.
They run about $4+ dollars in the grocery store; you can also sometimes find them online at specialty grocers like Thrive Market.
When using Annie Chun's, you bring the water to a boil, dump the noodles in, and turn the pot off. Cover it and set a timer for 10 minutes, and drain them when the timer goes off.
No worrying about the pot boiling over or having to watch it. Magical.
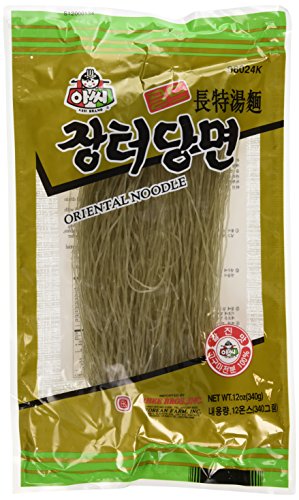
The other alternative I like for this dish is to use sweet potato glass noodles. These are noodles made out of sweet potato starch - I get them on Amazon and use this brand, There are a few other brands, but I can't speak to them, as I haven't tried them.
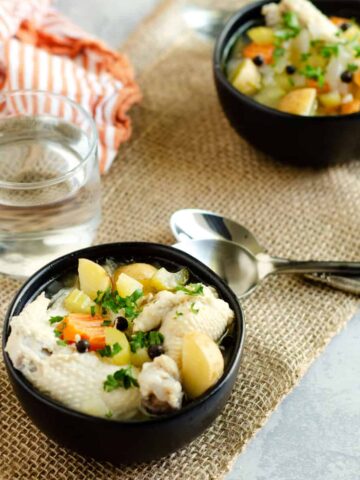
I haven't made this gluten free pad thai dish with them yet, but based on the results I had with my paleo chicken noodle soup, I'd venture to say that they would work really well.
2. Prep your ingredients
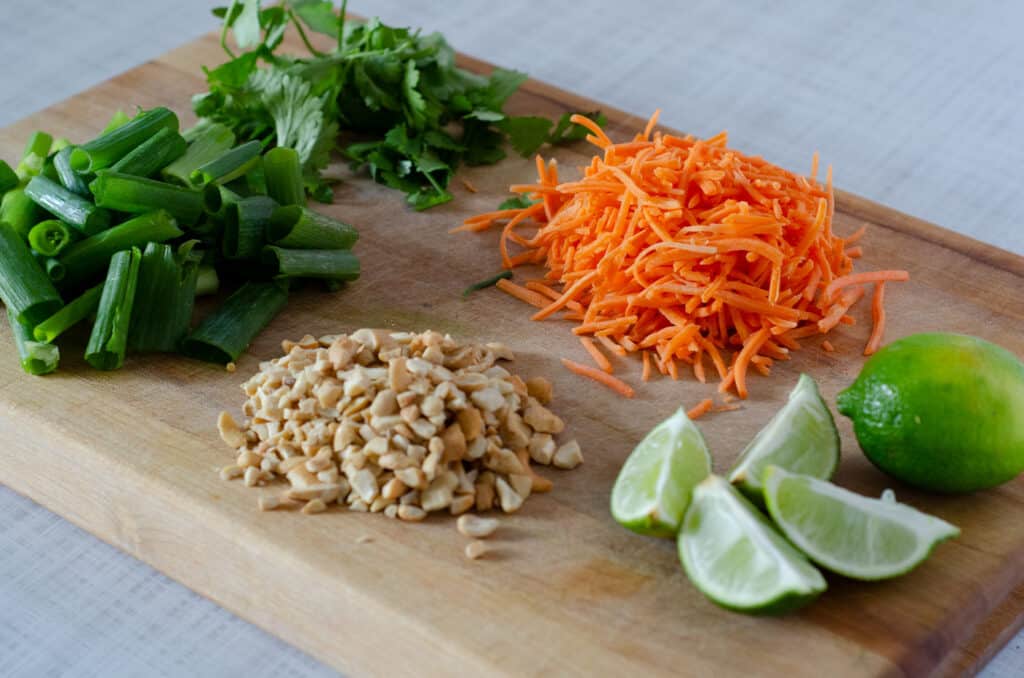
The catch to making a stir fry dish is that once you start the cooking, things move pretty quickly. I find it's best to have your ingredients prepped and ready to go.
While your noodles are boiling/sitting, go ahead and prep everything else so you have it ready to go in and on the dish.
I use shredded carrots for simplicity and because I don't like cutting up more things than I have to. I cut some green onions into about 2" pieces, chopped some cashews and cilantro, and sliced up a lime, and I was ready to roll!
Not pictured here are mung bean sprouts. Bean sprouts are not paleo, as they fall into the legume category.
That said, they give a great texture and crunch to this dish, and if you can tolerate them and are not on Whole30, I would highly recommend using them.
3. Start your stir fry

Here's where things get moving!
Heat 1-2 Tablespoons of oil over medium high heat and add your chicken to the pan. It will stick at first - just give it a few minutes (5-7 ish).
Once it's had a chance to sear and create a nice crust, it won't stick as much. Scrape and toss it around, and add your carrots.
Cook until chicken is cooked through and carrots are crisp-tender, another 3-4 minutes.
You'll have some brown bits stuck to the pan - this is ok. We'll get them in a minute.
4. Add your green onions
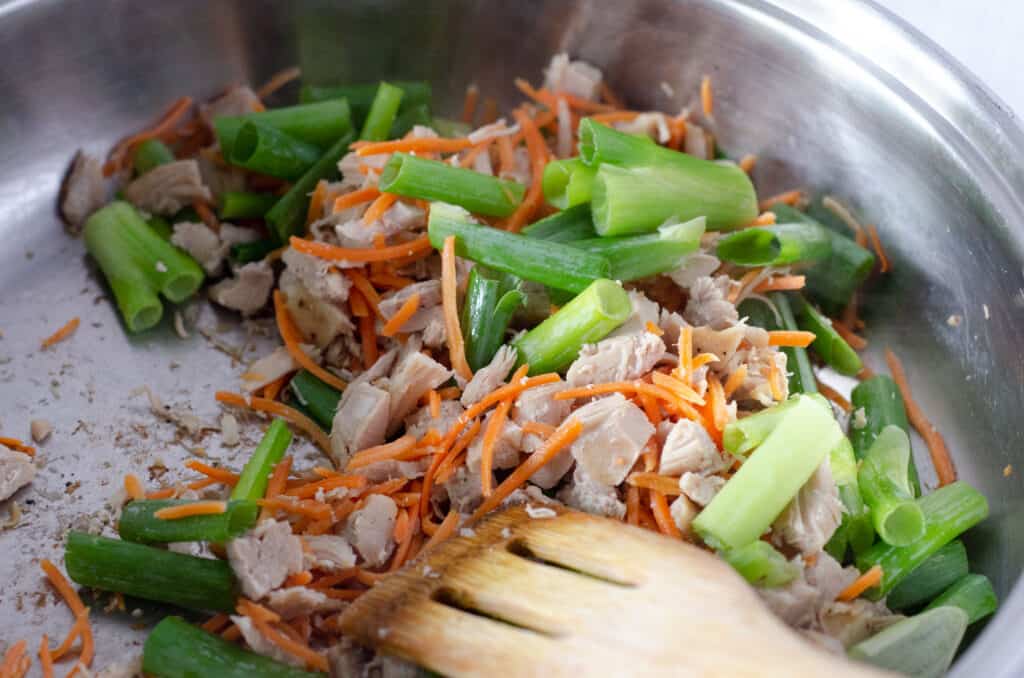
The hollow, darker green parts of the green onions will cook faster than the solid, lighter green parts.
If you are using the mung bean sprouts, this is where you would add those as well.
I like my veggies to have a bit of crunch to them in my stir fry, so I only cooked these probably 2-3 minutes before moving on to the next step.
5. Sauce + noodles
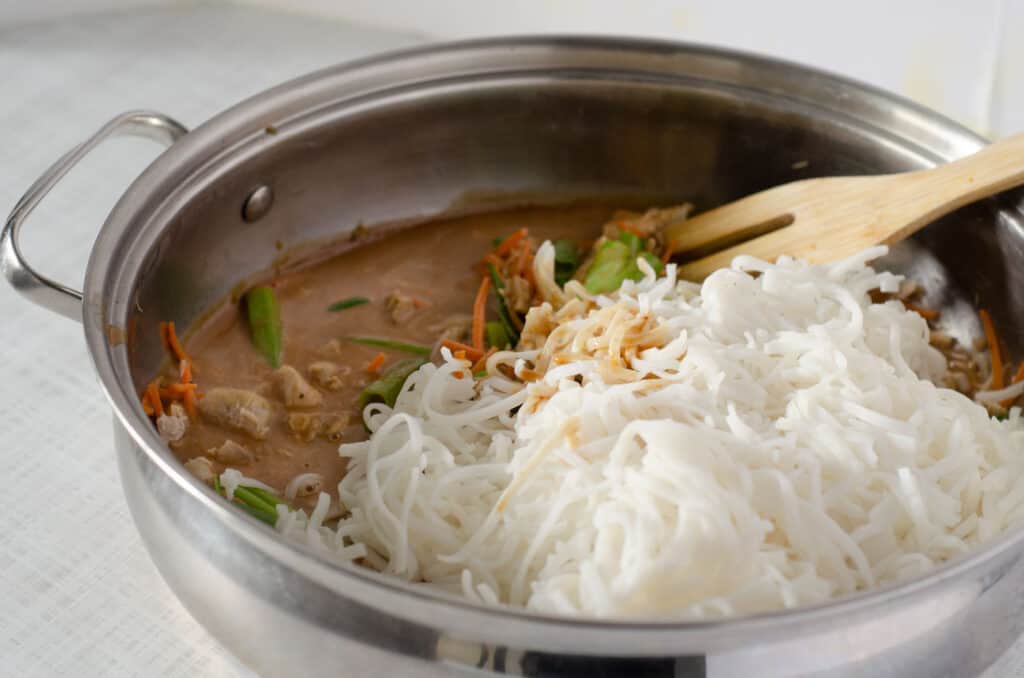
Sauce first, noodles second.
You did already make your sauce, right?
When you add the sauce to the pan, it will do something called "deglaze" the pan, which means it will allow you to scrape up all those browned bits that you couldn't get up before.
This is where the flavor lives, so be sure to deglaze well!
Once you've done that, go ahead and dump in your drained noodles. They will be sticky at first - work on just spooning some sauce over them and stirring gently.
As they get coated in sauce, they will begin to separate and not stick together anymore.
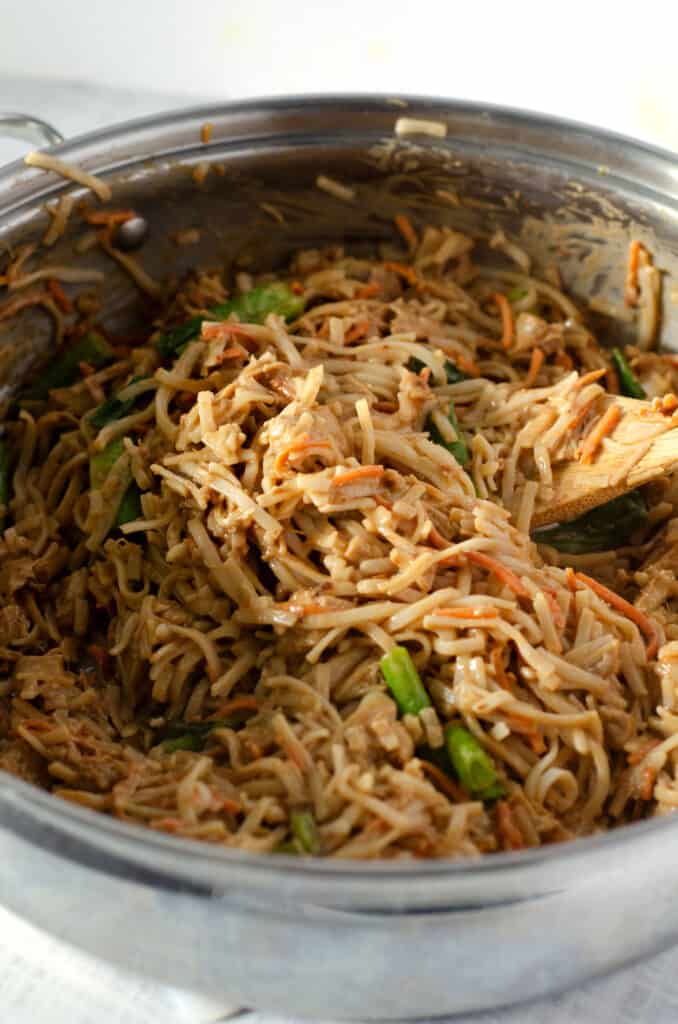
And you have - gluten free pad thai perfection.
6. Plate + serve
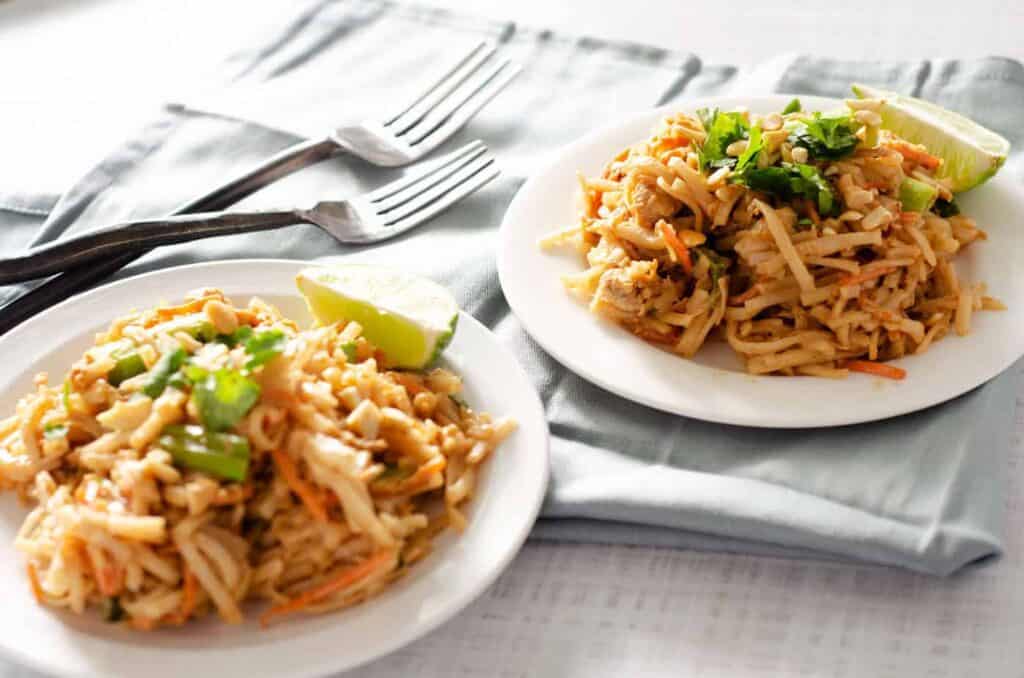
This gluten free pad thai dish is best served immediately.
If you are staying peanut free, and subbed another nut butter in your pad thai sauce, then I recommend using chopped cashews on top. If you can tolerate peanuts and used peanut butter, then use peanuts!
I also top with a bit of fresh chopped cilantro and serve with a slice of fresh lime for squeezing over top just before eating.
I promise you, once you taste this homemade gluten free pad thai, you'll never go back to takeout pad thai again.
Making it paleo
I'm sorry to report that if you're on a Whole30, technically this is off limits. No pasta substitutes, even with sweet potato noodles are allowed.
They don't want you recreating anything as a substitute - pasta, fries, chips. They want you to eat whole foods in their natural state, which you should.
Now, if you're not on Whole30, but you want to make this gluten free pad thai into a paleo pad thai, that is easy peasy.
In your sauce, sub an alternative nut butter for peanut butter.
Skip the bean sprouts.
Use the sweet potato noodles.
Chop cashews to sprinkle on top.
Boom. Paleo pad thai, done.
Reheating this pad thai
This gluten free pad thai can be stored in the fridge in an airtight container for up to a week.
Reheat in a skillet over low-medium heat to allow it to heat slowly and thoroughly. If it seems a little sticky or your sauce seems thick, add a bit of water or chicken broth to the pan to thin out the sauce.
Don't overheat - the sauce will thicken and everything will get too sticky. (If this happens, remove from heat, then add more water to thin out a bit and serve immediately.)
Freezing this pad thai
You can freeze this pad thai in an airtight container for a few months.
Keep in mind a couple of things - your veggies will not be crisp tender if you mix them in and cook them before freezing.
Your sauce may also get a little thick and sticky (same as the reheating process I just talked about above). If that happens, add some water.
I definitely had to add more water to the pan when reheating the frozen batch vs. the refrigerated batch.
A fresher option to simplify the recipe would be to make the sauce, cook the chicken, and cook the noodles, and freeze all 3 separately.
Then, when you're ready to make this dish, defrost them and get your fresh veggies and toppings ready. Heat the chicken in a pan, then follow the recipe as written.
It'll take you less time because your most time consuming parts are already done, but it will still taste fresh with crisp-tender vegetables.
Recipe
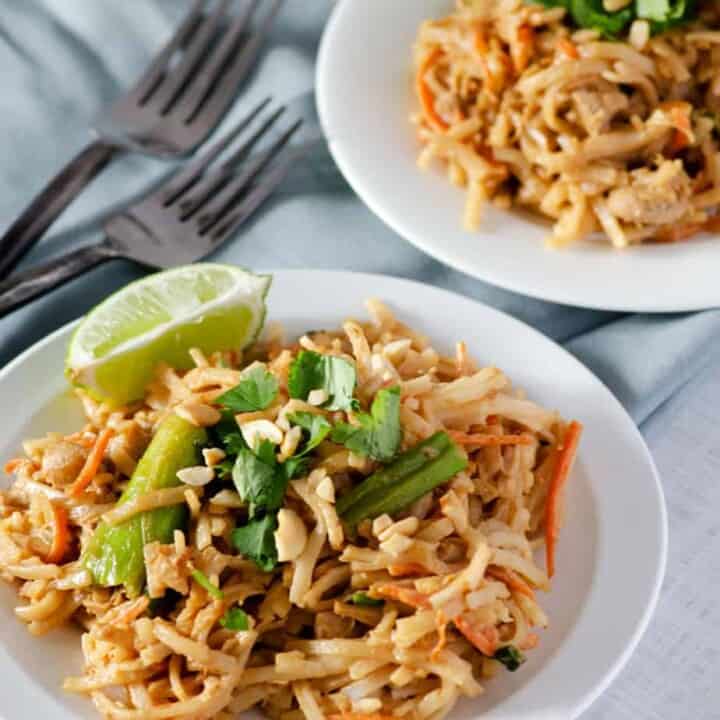
Gluten Free Pad Thai
This delicious homemade gluten free pad thai will make you forget about all the pad thai takeout of your past. Made with real, fresh ingredients, in less than 30 minutes you can have this on the dinner table, and you'll never look back.
Ingredients
- 1 batch homemade peanut sauce
- 1 ½ pounds boneless skinless chicken thighs
- 1 cup shredded carrots
- 1 cup green onions
- 1 cup mung bean sprouts
- 8 oz gluten free noodles
- ¼ cup cilantro, chopped
- ½ cup cashews, chopped
- 2 limes
- 1 tablespoon avocado oil
Instructions
- Get ready, get set: Prep all your ingredients, chopping ahead of time. Once things start cooking, it moves fairly quickly, so this is a dish where it's best to have everything on hand and ready to go in the pan when you need it! Cut the chicken into bite-sized chunks, cut the green onions, and measure out your carrots, green onions, sprouts, cilantro, and cashews.
- Make the sauce: If you haven't already, make your peanut sauce. I put all my ingredients in my Ninja smoothie cup and store it in the fridge so it's ready to go. Whatever tool you use, just make sure it's creamy and smooth.
- All about that base: Bring a pot of water to boil over high heat, then follow the cooking instructions for the noodles.
- Go time: Heat the avocado or other cooking oil in a skillet over medium high heat. Season the chicken liberally with salt and pepper, then add to the skillet. When chicken is about halfway done, add your shredded carrots to the pan, tossing to combine. When chicken is cooked through, your noodles should be done - go ahead and drain them!
- Bring it all together: Add the green onions and sprouts and cook 2-3 minutes until softened. Add the noodles and the peanut sauce to the pan, tossing to coat everything.
- Plate it up: Divide among plates and top with chopped cashews, cilantro, and fresh lime slices.
Notes
If you're using Annie Chun's, then you'll put them in the boiling water and turn the water off, letting them sit for 10 minutes. If you're using the sweet potato noodles, or something else, you'll need to follow package directions.
To make this strictly paleo, use these sweet potato glass noodles and omit the bean sprouts!
Recommended Products
As an Amazon Associate and member of other affiliate programs, I earn from qualifying purchases, at no additional cost to you. Thank you for your support!
Nutrition Information:
Yield: 4 Serving Size: 1Amount Per Serving: Calories: 541Total Fat: 26gSaturated Fat: 6gTrans Fat: 0gUnsaturated Fat: 19gCholesterol: 208mgSodium: 497mgCarbohydrates: 33gFiber: 4gSugar: 5gProtein: 49g
I may earn a small commission off purchases made through affiliate links in this post from Amazon and other sellers. This helps me continue to run the blog and keep providing you fresh content. Thank you for your support!

Leave a Reply