This gluten free chicken pot pie is comfort food at its finest. Tender chicken and veggies in a creamy, savory sauce topped with a doughy, biscuit crumble. Winter comfort, here we come!
The past couple of weeks, the weather here has been unseasonably cold. It's December, and I know you're probably thinking, "unseasonably? It's December!"
But the reality of it is that we have very mild winters here most of the time - it doesn't usually get truly cold until about February, and then then it's gone by March and the pollen is out in full force.
Cold weather makes me crave all the comforting things - fuzzy socks, fireplaces, steaming cups of hot cocoa, and comfort food. And few things say comfort food the way a hearty chicken pot pie does.
Most chicken pot pie recipes include tons of cream and pie crust, neither of which my body tends to love very much. So I set out to make a dairy free and gluten free chicken pot pie.
As any of my return readers will tell you, I'm also a really lazy cook - which works in your favor, because I take as many shortcuts as possible and make my recipes easy as pie (see what I did there?)
I'm also kind of a dork with my jokes. Sorrynotsorry.
How to make gluten free chicken pot pie

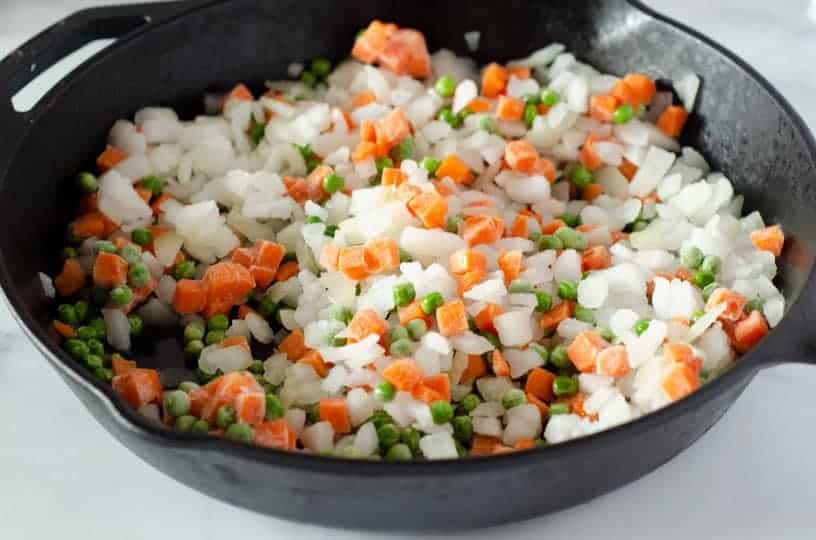
Timesaver #1: buy prechopped, frozen vegetables.
I start with a bag of frozen peas and carrots as well as a bag of frozen chopped onion.
Yes, it might cost a bit more per ounce, but the convenience of not having to peel and chop carrots and onions while making sure my toddler is not coloring on the walls with a Sharpie is worth it.
So, start some oil in your skillet, toss in those frozen veggies, and let them cook for a few minutes until a bit tender.
Timesaver #2: Use a precooked rotisserie chicken.
I used to only buy these to just eat the chicken. What was I thinking?!
Rotisserie chicken can simplify soooo many recipes. I love using it in my Easy Weeknight Chicken Stir Fry (also featuring frozen veggies...) or my Paleo Chicken Noodle Soup.
For this pot pie, I used all the meat from both breasts, and it came out to about 8 ounces. You could easily use a bit more if you wanted, whether it was a larger chicken or you used other parts.
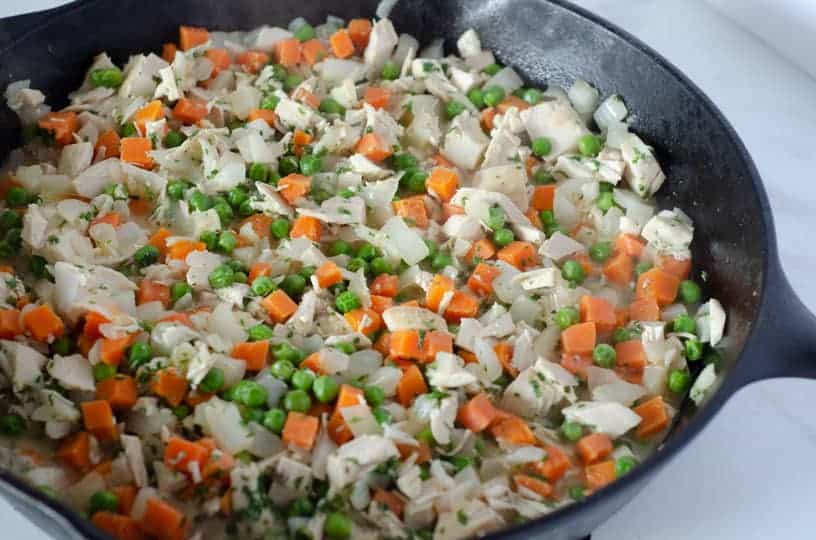
When you add the chicken, you'll also add all the liquid, seasonings, and spices. Stir to combine and let simmer for a few minutes.
How to thicken your pot pie without flour
Despite popular belief, you do not need all purpose flour to thicken sauces and stews. There are tons of flour alternatives out there!
This particular chicken pot pie is thickened with cassava flour. You could also use tapioca starch or arrowroot powder if you have those on hand.
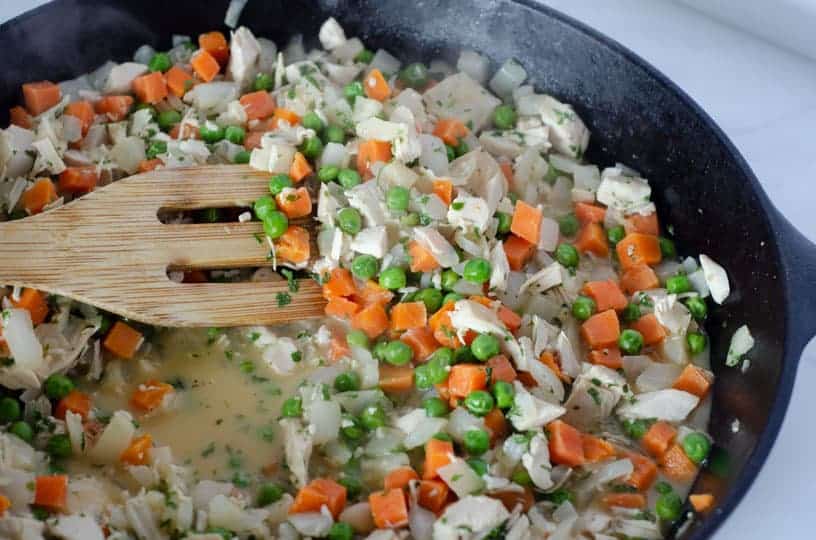
At this step, you're going to sprinkle your chosen flour over the mixture and stir it in.
The last picture above is before the cassava flour was incorporated. Once you stir that in, the sauce will thicken a bit as it gets absorbed into the flour.
If you're interested in learning more about alternative flours, check out my post on all purpose flour substitutes and how to use them here.
How to make it gluten free
Ok, so now we know how to thicken our inside mixture without flour (and keep it creamy without dairy!)
The real kicker on a chicken pot pie is the pie crust.
You can, most certainly, purchase a gluten free pie crust and put it on top of this mixture. I personally am a much bigger fan of a biscuit consistency.

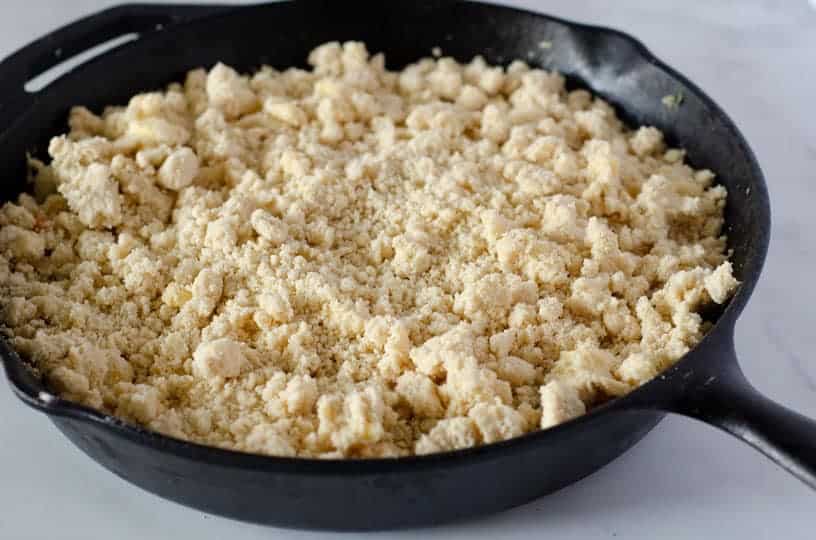
So, for this gluten free chicken pot pie, we are going to make a gluten free, paleo, dairy free, biscuit topping. And then - instead of making it into biscuits, we're just going to spread it over the top of the mixture and bake the whole danged thing.
Because I don't really have the time or patience for actual biscuits, and this scratches my comfort food itch just as well.
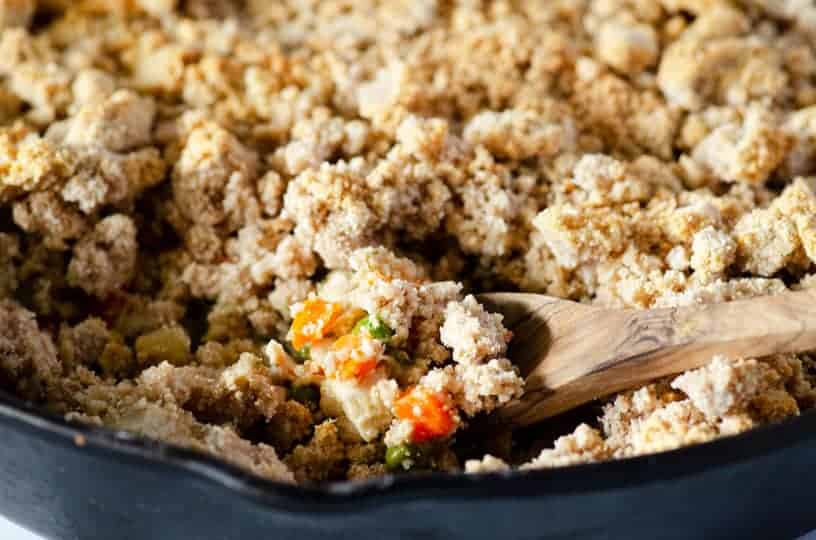
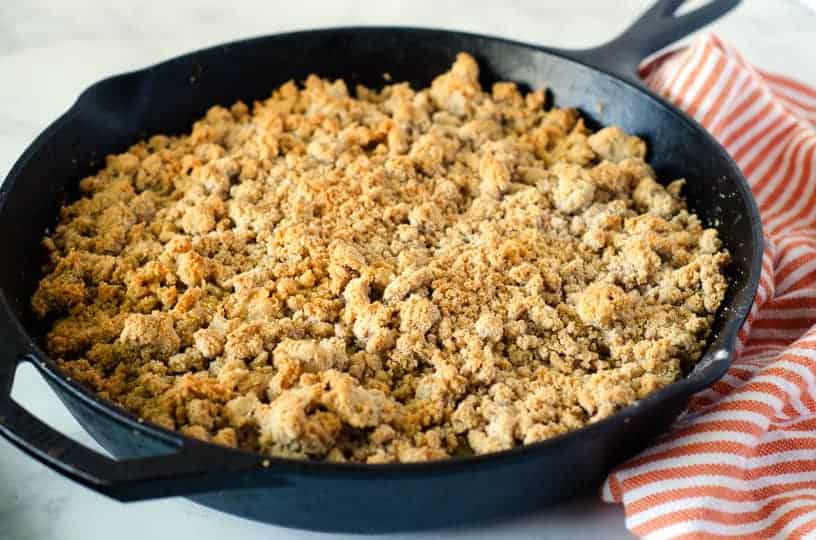
Before baking, and after baking. Yum.
How to "cut in" butter
You'll notice the instructions talk about "cutting in" your butter or shortening.
Cutting in is a technique used in baking that uses a chilled fat mixed in.
In this case, we're cutting in to get all those big delicious crumbly lumps of biscuit topping. If we had melted it first, it would have been incorporated throughout all the flour mixture.
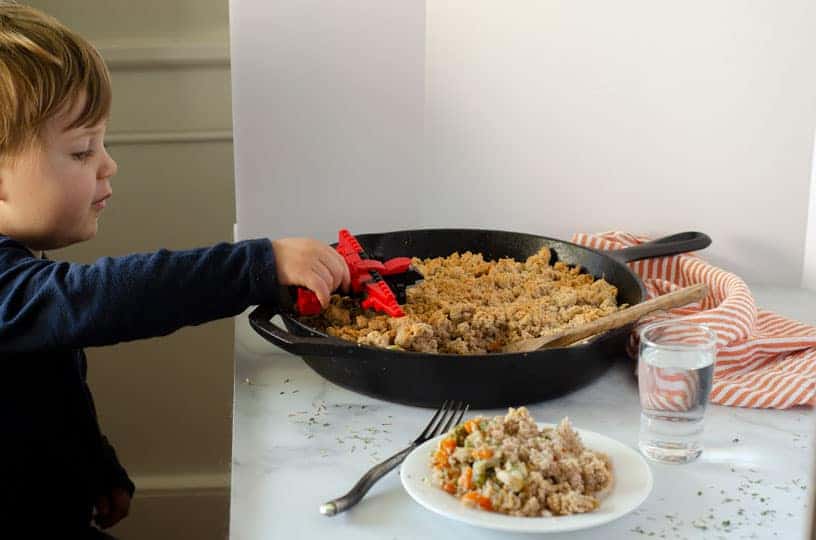
Once you're done baking it, just watch out for any rogue Lego airplanes in the area that might need to land in your pan.
Peas and paleo
Peas are not paleo. They are a legume, so they fall into the beans category.
I don't eat a lot of legumes, and if I do, it's likely either peas or peanut butter.
That said, if you are legume free or strict paleo, you could very easily sub something else in here.
Instead of frozen peas and carrots, you could use frozen broccoli and carrots, or chop up any other veggie that you love and would enjoy in your pot pie!
Don't overthink it. Just pick something you know you'll eat and roll with it!
Whole30 chicken pot pie
Technically this chicken pot pie should not be eaten if you are on Whole30.
We've got not only peas and butter (you could use ghee), the rules of the program include no re-creation of conventional foods or "trigger foods" which includes...biscuits.
The idea behind this rule is that we are breaking bad habits, and we are getting away from eating things like potato chips and muffins. If we're just recreating them in their paleo form, we're not really re-training our brains and our senses.
So, no biscuit topping on Whole30.
Now, if you are someone who has done a number of Whole30 rounds, you know your trigger foods, and you feel comfortable toeing that edge a bit, then by all means, go for it.
I am a firm believer that only you know what's right for you and your body. If you feel like you can safely eat a chicken pot pie with a paleo biscuit topping without it sending you over the edge, then that is for you to decide.
Just make sure you sub out the peas, and use a compliant fat for the topping.

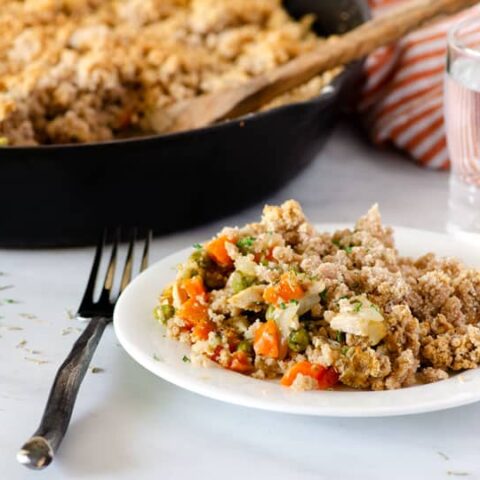
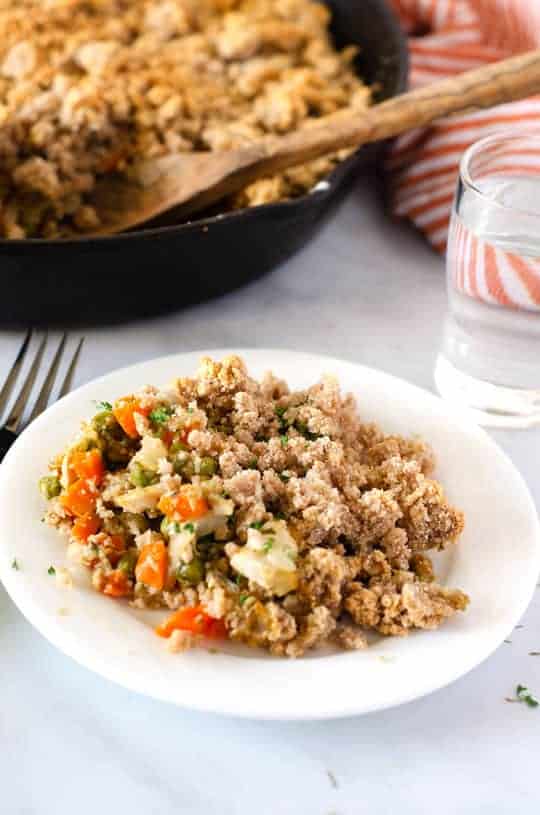
Yum. Tender chicken and veggies in a creamy, savory sauce topped with a doughy, biscuit crumble. Winter comfort, here we come!
Recipe
Gluten Free Chicken Pot Pie
This gluten free chicken pot pie is comfort food at its finest. Tender chicken and veggies in a creamy, savory sauce topped with a doughy, biscuit crumble.
Ingredients
- 1 medium yellow onion
- 3 cloves garlic
- 1 tablespoon avocado oil
- 10 oz bag frozen peas and carrots
- 8 oz cooked chicken breast
- 1 tablespoon cassava flour
- ½ cup chicken broth
- ¼ cup full fat coconut milk
- ½ teaspoon salt
- 1 teaspoon thyme
- 1 tablespoon parsley
- ¼ teaspoon pepper
Paleo Biscuit Crumb Topping
- ⅔ cup cassava flour
- ½ cup coconut flour
- 1 teaspoon baking soda
- 1 teaspoon baking powder
- ¼ teaspoon salt
- 5 tablespoon grass fed butter
- ½ cup full fat canned coconut milk
- 1 teaspoon apple cider vinegar
- 2 large eggs
Instructions
- Preheat the oven to 350°.
- In a bowl, combine all the dry biscuit crumb topping ingredients. Set aside.
- In another small bowl, whisk the eggs with the coconut milk and vinegar. Set this one aside too.
- Remove the breasts from the rotisserie chicken and chop roughly into chunks.
- In a cast iron skillet over medium heat, heat the avocado oil until hot and glistening.
- Add the onion and sauté until tender, stirring frequently to prevent scorching, 2-3 minutes.
- Add the garlic and cook 1-2 minutes more.
- Add the frozen peas and carrots and cook until defrosted and crisp-tender, 2-3 minutes more.
- Add the chicken, coconut milk, broth, salt, pepper, thyme and parsley and stir to combine.
- Sprinkle the cassava flour evenly over the entire pan, then stir to combine. Cook 1-2 minutes more to allow the mixture to thicken. You should see the amount of liquid start to reduce. If it's still a little runny, that's ok! It will thicken up in the oven.
- Turn the burner off and remove the pan from heat.
- Turn your attention to the bowl with your biscuit ingredients. Add the cold butter (or alternative) and "cut it in" - I do this using my stand mixer!
- Add the egg mixture to the biscuit mixture and combine just until the flours are not dry, being careful not to over mix or turn your butter to mush. It should form into crumbs of various sizes. You'll still see chunks of butter; this is ok!
- Sprinkle the biscuit topping evenly over the entire pan.
- Place the skillet in the preheated oven and bake for 20 minutes or until heated through and the topping is beginning to brown.
- If you'd like a crispier crust, turn the oven off, then turn the broiler on for a minute or two, watching carefully. Remove the pan from the oven when the topping is browned to your liking.
- Serve immediately/devour. Hello comfort food!
Notes
If you don't feel like chopping an onion, you can buy frozen chopped onion and put it and the peas and carrots in together in the beginning!
You can chop garlic as well, or use jarred minced garlic, which is what I do. The less work the better! If using jarred minced garlic, I use 2 tsp.
Again...if you want less prep: buy a rotisserie chicken pre-cooked from the store. I used all the breast meat from one chicken and it came out to about 8 ounces. You can cook your own, but this is way easier.
I use grass-fed butter (Kerrygold) for the biscuit topping. If you can't tolerate dairy, use vegetable shortening and chill it in the fridge to get it cold, if you can.
Leftovers can be stored in the fridge in an airtight container for up to 5 days.
I have not tried freezing this yet. Without experimenting first, my recommendation would be to make the filling and freeze it. Then, when you are ready to cook, make the biscuit topping fresh. Defrost the filling, top with the biscuit crumble, and pick up on step , where you put the whole thing in the oven.
Nutrition Information:
Yield: 6 Serving Size: 1Amount Per Serving: Calories: 393Total Fat: 23gSaturated Fat: 14gTrans Fat: 0gUnsaturated Fat: 8gCholesterol: 120mgSodium: 835mgCarbohydrates: 29gFiber: 3gSugar: 5gProtein: 19g
I may earn a small commission off purchases made through affiliate links in this post from Amazon and other sellers. This helps me continue to run the blog and keep providing you fresh content. Thank you for your support!

Leave a Reply