This Traeger pulled pork recipe uses a boneless pork butt and a low and slow technique. It takes patience, but you'll be rewarded with a delicious, tender, and flavorful batch of pulled pork when you're done.
If you don't have a Traeger or other pellet grill to make pulled pork, you're missing out. If you're not familiar with a Traeger grill, it's a electric pellet grill or pellet smoker that allows you to "set it and forget it" when making a large cut of meat.
They're so easy to use, and you will feel like a home chef right in your own backyard, cooking anything from meat to vegetables to even pizza and cookies!
If you want to learn more about the Traeger itself, you can find everything you need to know in my Ultimate Traeger Guide here.
Today, we are going to learn how to make the perfect easy Traeger pulled pork recipe. But first, we need to make sure we've got the right cut of meat and the right tools. So what IS the right cut of meat for pulled pork, anyway?
Jump to:
Pork butt vs. pork shoulder
Although the names don't actually indicate it, pork butt and pork shoulder both come from the shoulder of the pig. Pork butt (also called Boston Butt) comes from above the shoulder blades, while pork shoulder (or picnic roast) meat extends down to the pig’s front hoofs, as you can see in the diagram below.

So what's the difference? Pork butt contains more fat and marbling, which makes it better suited to barbecue smoking. it also makes it more tender, fall apart meat after a low and slow cook.
Pork shoulder's texture is very different to pork butt. It’s a denser and tougher cut of meat and doesn’t contain as much marbling. This is because the shoulder is a well-used muscle, so there's less fat in this cut.
You may also be able to tell the difference based on shape - pork shoulder has an unusual triangular shape due to it running from the shoulder blades down to the pig’s hooves. Butt only sits above the blades, and is more rectangular in appearance.
Because pork butt has more fat content, it’s perfect for slow cooking to make tender and moist pork.
Pork shoulder is tougher so is better for forming slices or shreds that are used in ramen or tacos.
If you're in the store and see something that is just labled pork roast, then you need to ask if its a pork shoulder or a pork butt to be sure of the cut you are buying!
Pork loin, or pork tenderloin, is a long, narrow, boneless cut of meat that comes from the muscle that runs along the backbone. This cut is wider and flatter, and can be either a boneless or bone-in cut of meat. It comes from the back of the animal and is typically very lean.
This is NOT a good cut of meat for pulled pork. It is better roasted and sliced, like in this recipe.
Pork shoulder and pork butt are often sold with the skin still on. You can remove this, but you can also leave it on and sear it after cooking or smoking. This will give you a beautifully crisp outer layer to your pork.
For this Traeger smoked pulled pork, I recommend a pork butt or boston butt if you can get one.
This will be the best pork cut for the job. If you can get a large piece, do it. Sometimes they cut them down smaller in the case, but if there is a butcher, ask if they have a larger one in the back.
A four to five pound boneless (or seven to eight pound bone in) is perfect for what we're doing here.
Remember, your best cut of meat is not a boneless pork shoulder. It's a pork butt!
Prepping the meat
Trim
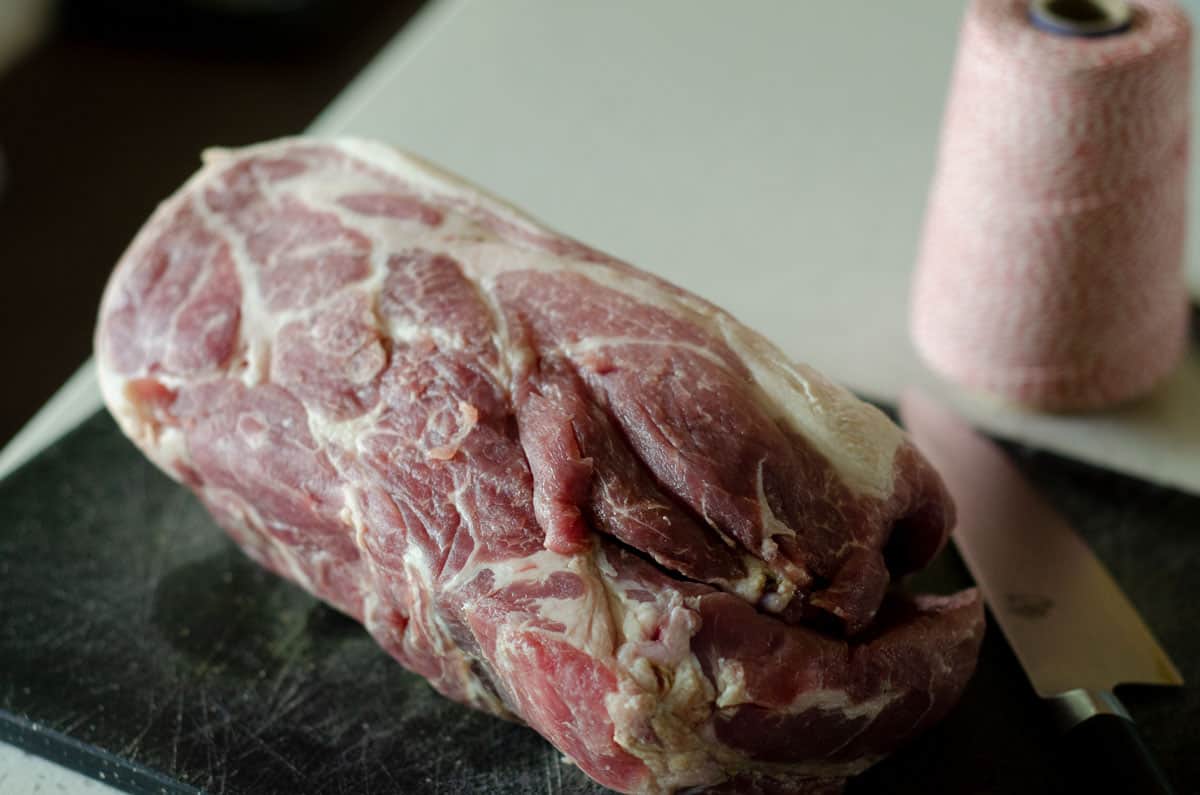
Trim off any excess fat from the exterior of the meat, but not all of it. Remember that you want the seasonings to hug the meat and get that crunchy, flavor-blasted bark, which comes from the fat.
The pork butt I used for this recipe did not have a thick fat cap or any lumps of fat, so I left it alone, and it turned out perfect! Sometimes the butcher will have already trimmed it for you.
You can see in this photo that my fat cap is pretty thin.
Don't overdo it
You'll find a lot of recipes that talk about marinades, injections and brines. The purpose of marinades and brines is to tenderize, moisturize, and flavor the meat, so you don't want to overdo it.
This cut of pork is flavorful enough that a good rub and the kiss of smoke, combined with the moisture provided by the internal fat and collagen, will make it delicious. Skip the extra step and save yourself the time.
Tie
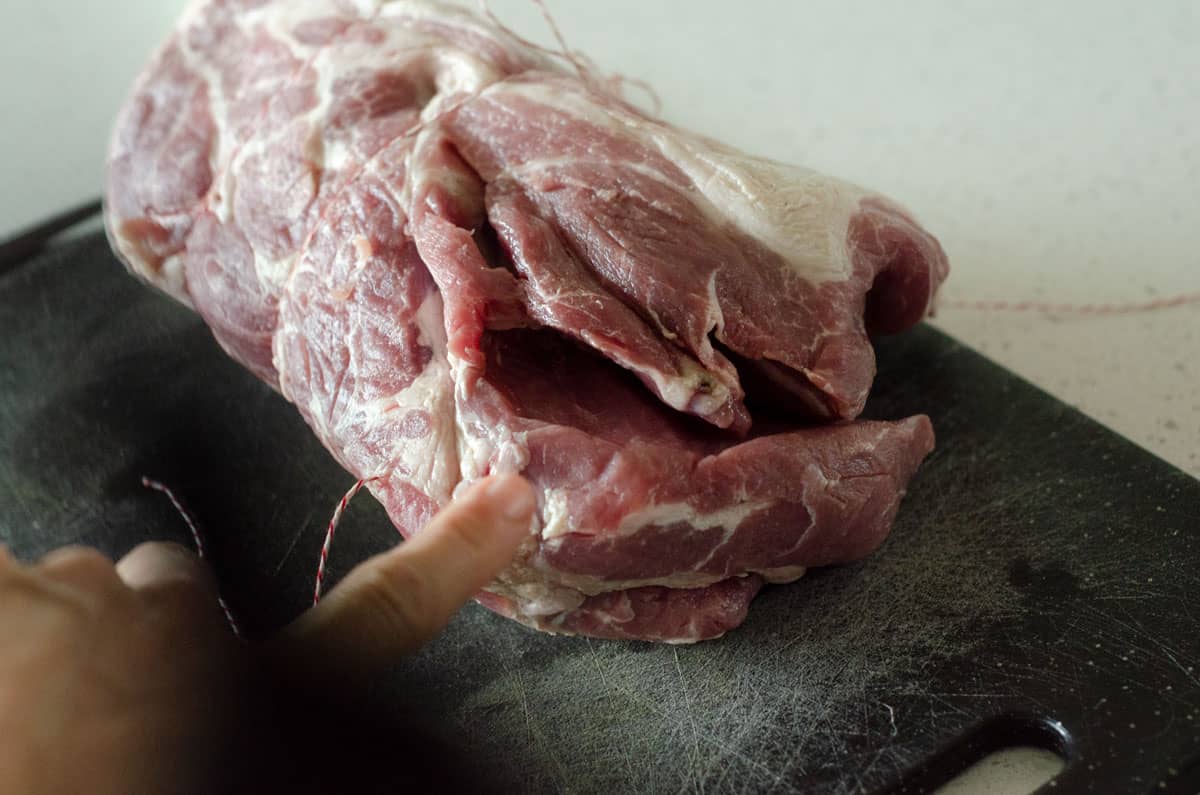
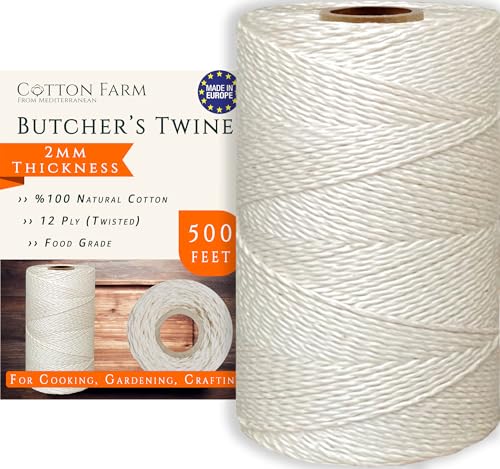
If you're working with a boneless butt, that means the butcher cut the bone out already for you. If that's the case, you're going to need to tie up the meat to hold it together on the Traeger.
When you get it, it's going to have a space where it's separated like this:
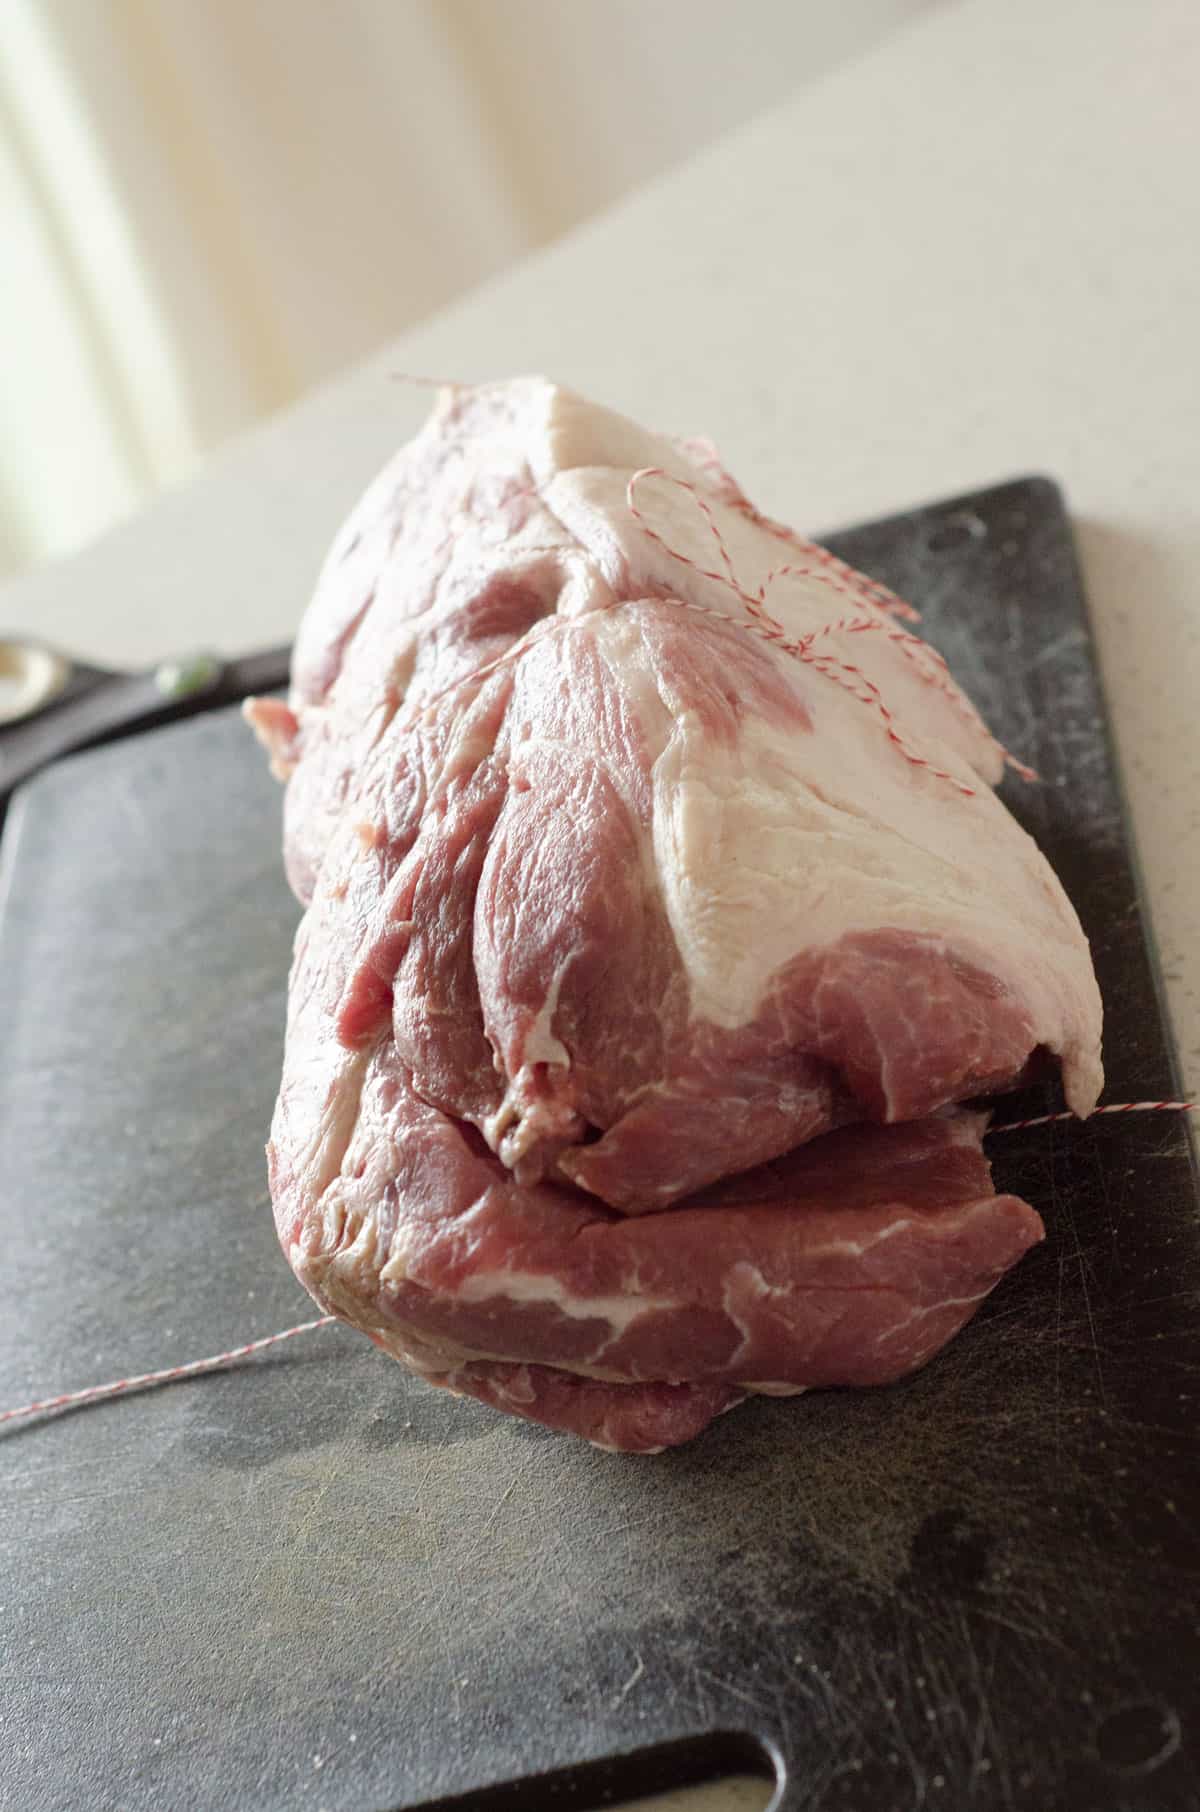
I like to cut 3-4 pieces of string and lay them flat on the cutting board like this:
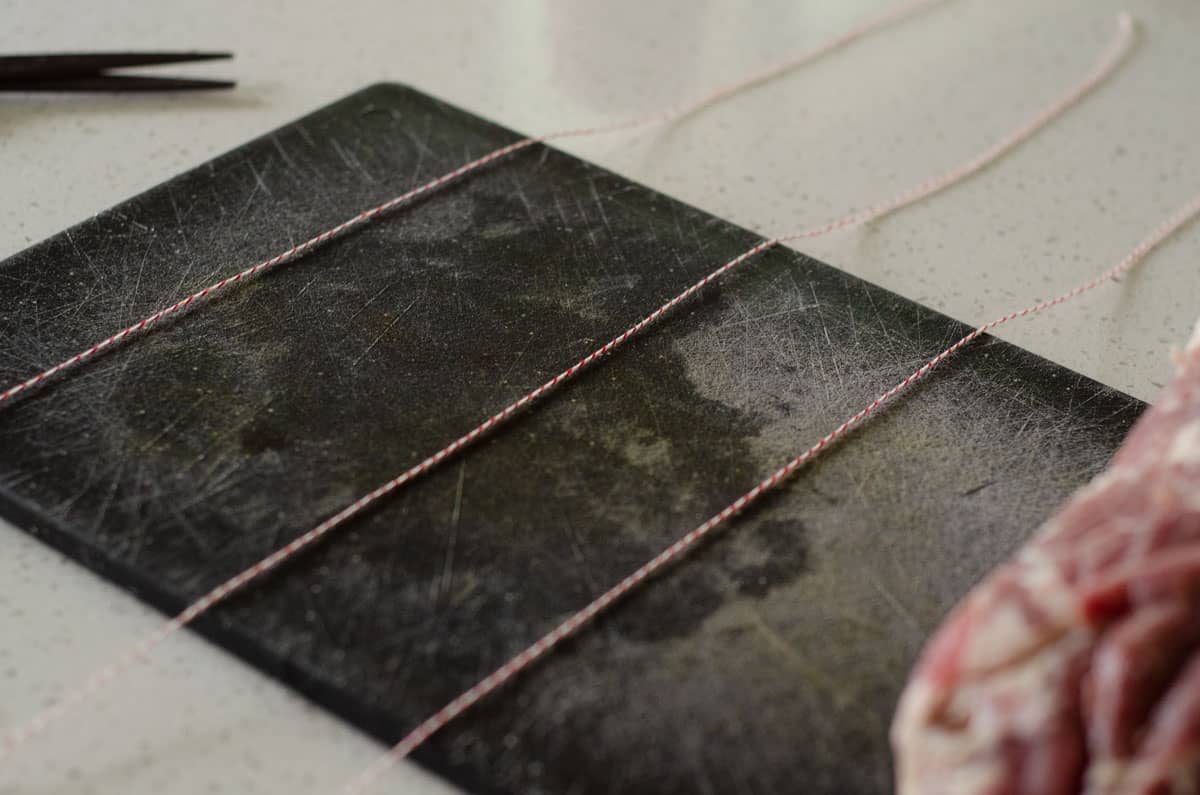
Then I lay the meat right on them, and tie them up one by one:

This will help keep the meat together as it cooks, and make sure it is evenly cooked.
Rub
This one I don't skip.
I like to work with a dry rub for this recipe. You will see people slather the cut of meat with either olive oil or yellow mustard before adding the rub. Trust me on this one - it doesn't need it!
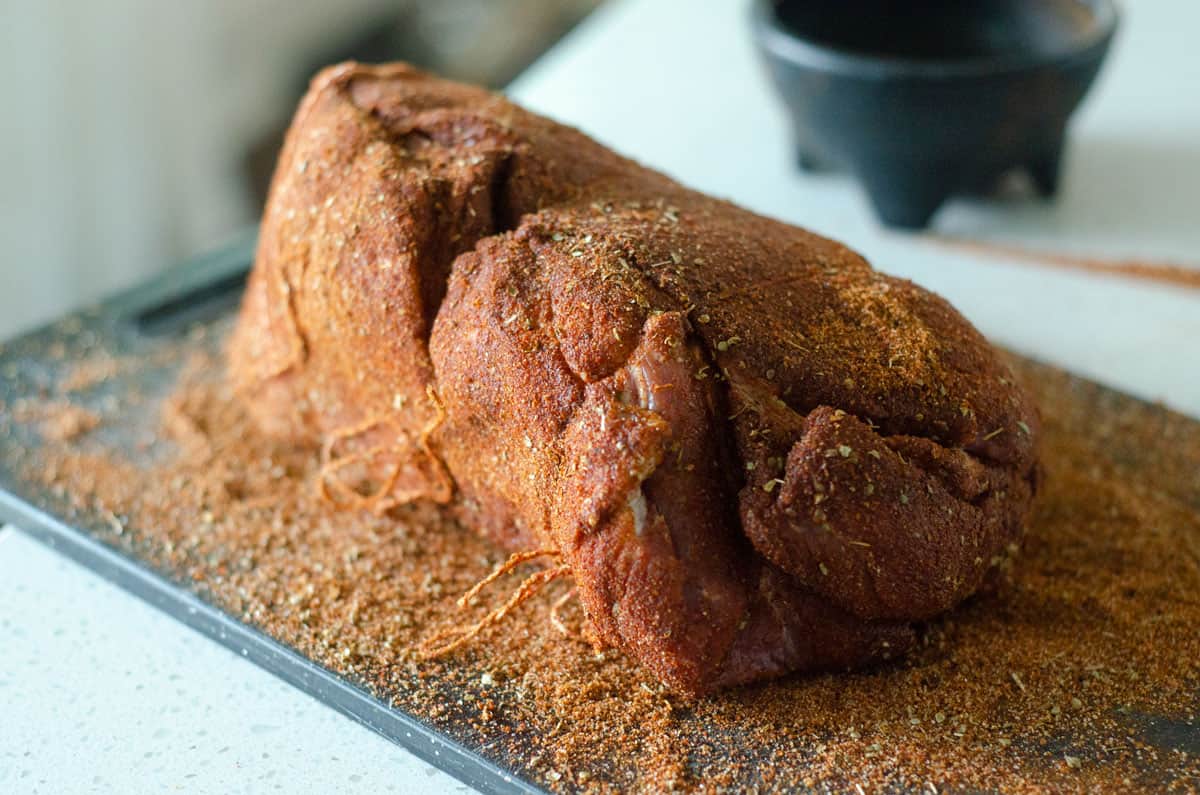
First, rinse and dry the meat. Then pat it dry, which will help the rub stick to the meat. Cover the meat thoroughly with your favorite seasoning. I made my own seasoning that contained brown sugar, chili powder, black pepper, garlic powder, onion powder and salt.
I like to lay it on a cutting board when adding the rub, but you could also put it in a large bowl and turn it to get any additional rub on all sides.
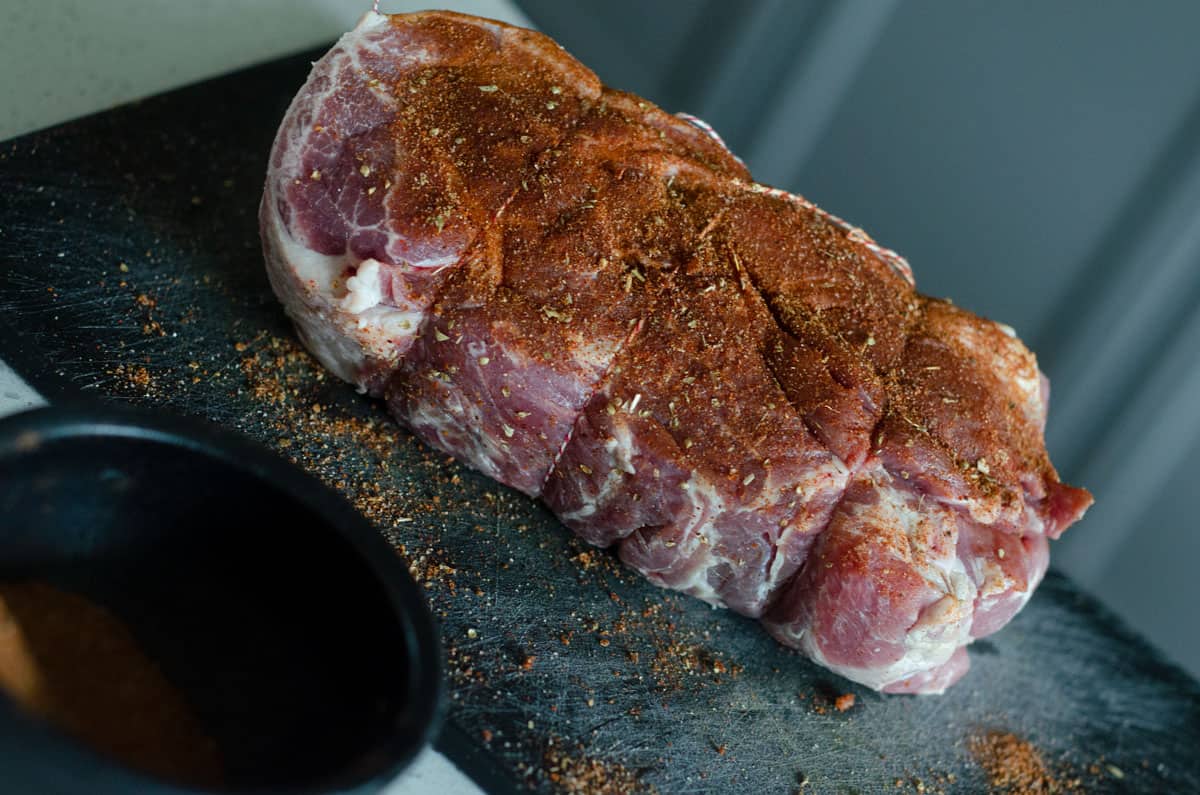
You can just as easily use a store-bought version as well!
If you have the time, allow the seasoned meat to sit for an hour or so to allow the salt and spices to penetrate. (But be careful, do not let it sit too long, or the rub may start to pull out moisture.)
Prepping the Traeger
While your meat is sitting with its dry rub for an hour, let's go ahead and get that Traeger prepped to do some work, shall we?
You'll want to make sure you have plenty of wood pellets in your hopper. This is going to be a long cook! I filled mine up with Signature Traeger pellets before turning it on.
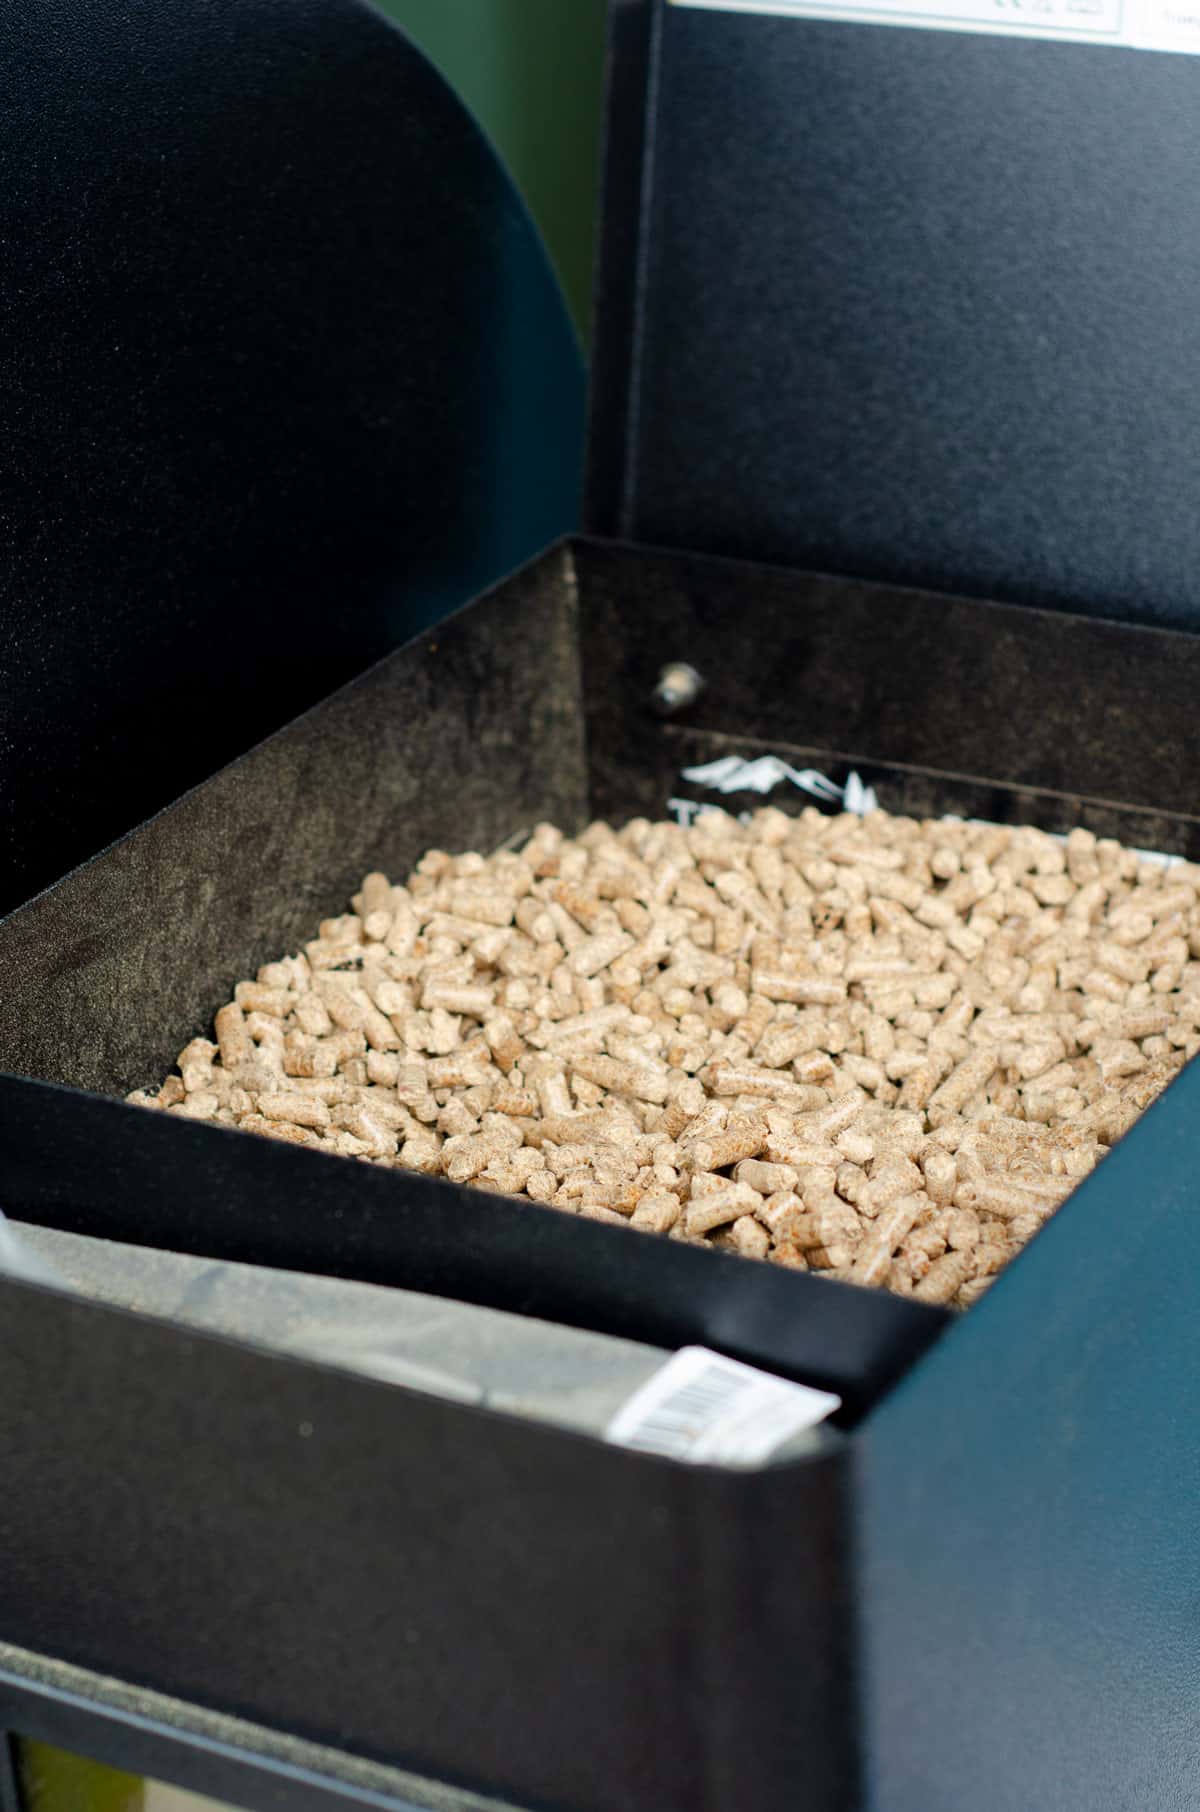
You may have to refill during your cook. Just make sure you don't run out of pellets - then you have to shut it down, go through the entire startup sequence you went through when you got your grill, and then fire it up again to cook.
I added more pellets to mine after about 10 hours. What was in there probably would have lasted, but I decided not to take the chance.
You're going to set the temp to 225°F, which shouldn't take too much time to preheat to.
You might have an extra smoke setting, which you don't really need here - 10+ hours will get the job done.
Cooking the meat
I don't like to give an exact length of cooking time for this Traeger pulled pork recipe. It's going to depend on the cut of your meat, how many times you open the grill, and other factors. If you do it right, it will probably take at least 10 hours. Mine took 12 ½ hours, from 9am to 9:30pm. This is a long cook.
You're going to place the pork butt directly onto the grill grate. The best way to place it is with the fat side on top - this way as the fat softens and breaks down, it will trickle down moisture into the meat and keep it from getting too dry.
You want to insert the meat thermometer into the thickest part of the meat. This is going to give you the internal temperature of the meat, which is how we are going to assess "doneness."
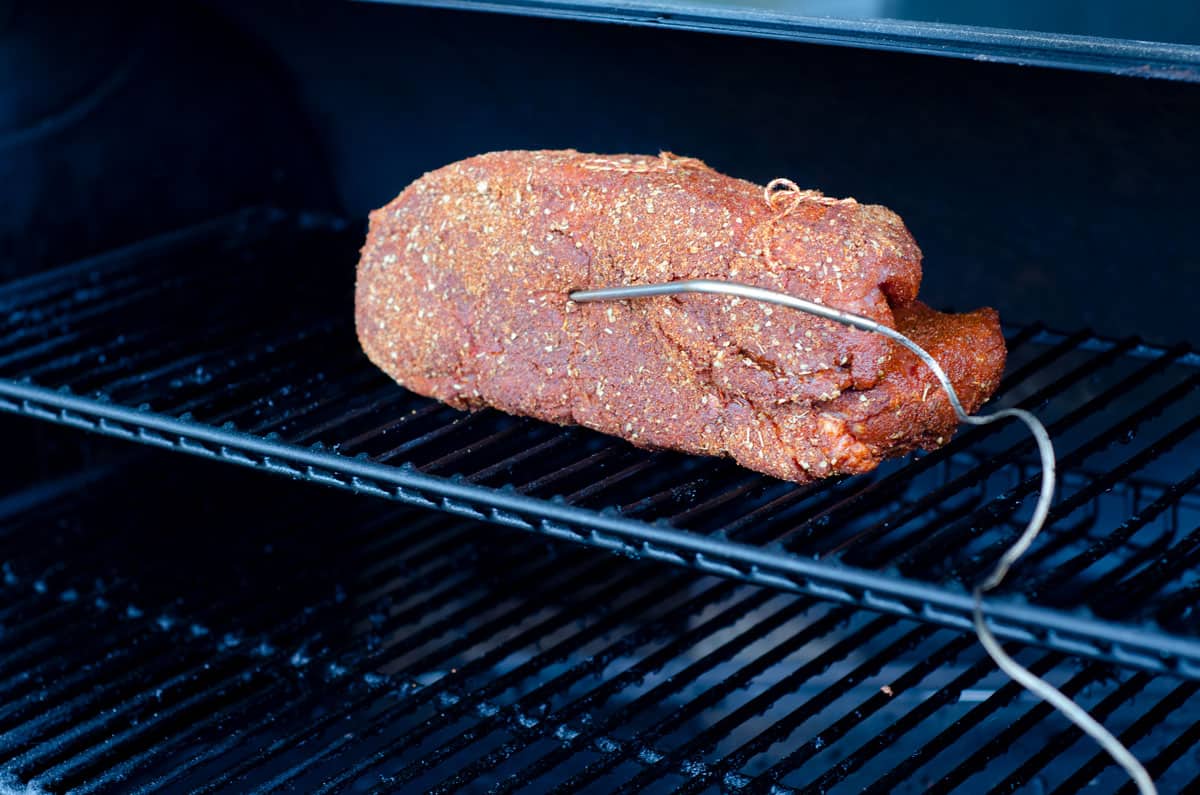
Pro Tip: you can set the probe alarm on a Traeger pellet grill to alert you when the internal temperature reaches 195°.
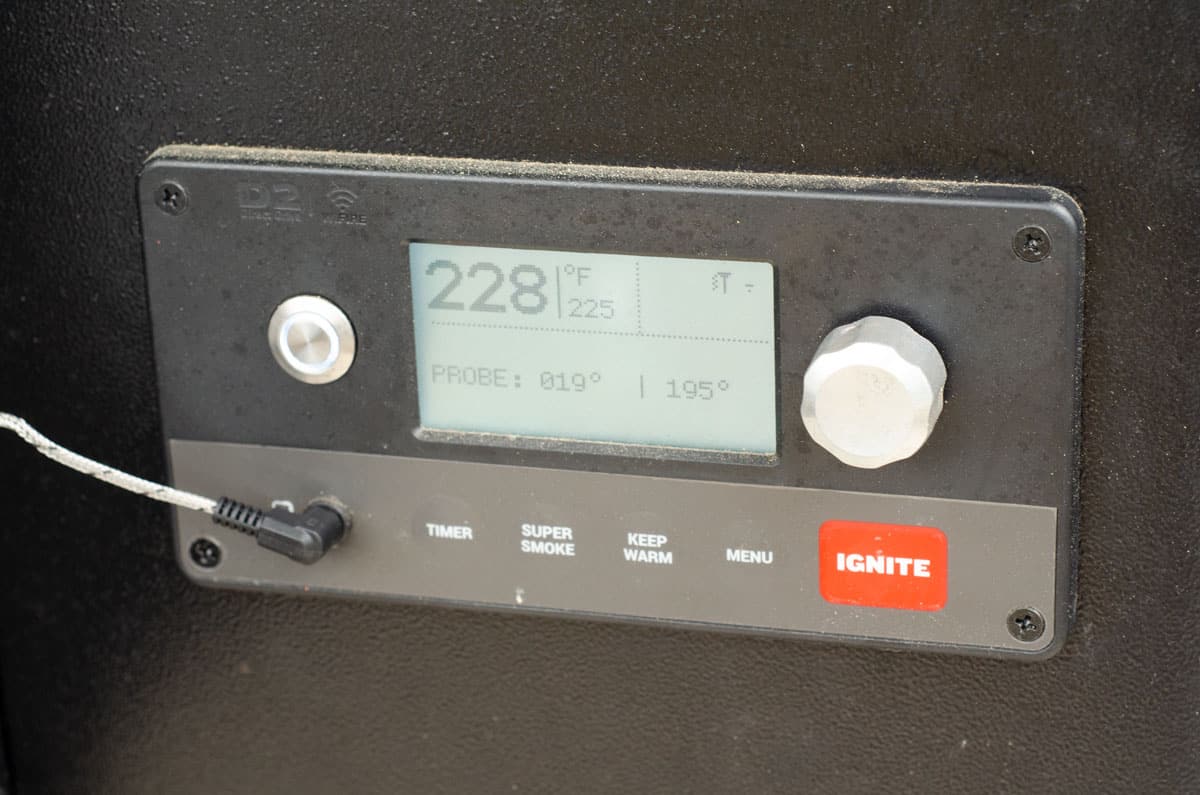
You want to avoid opening your Traeger pellet smoker as much as possible. Give it a solid 3 hours before you open it at all.
After the first 3-4 hours, open it quickly, and give the whole thing a good spritz with apple cider vinegar or apple juice, then close the lid again.
This is my first time opening it:
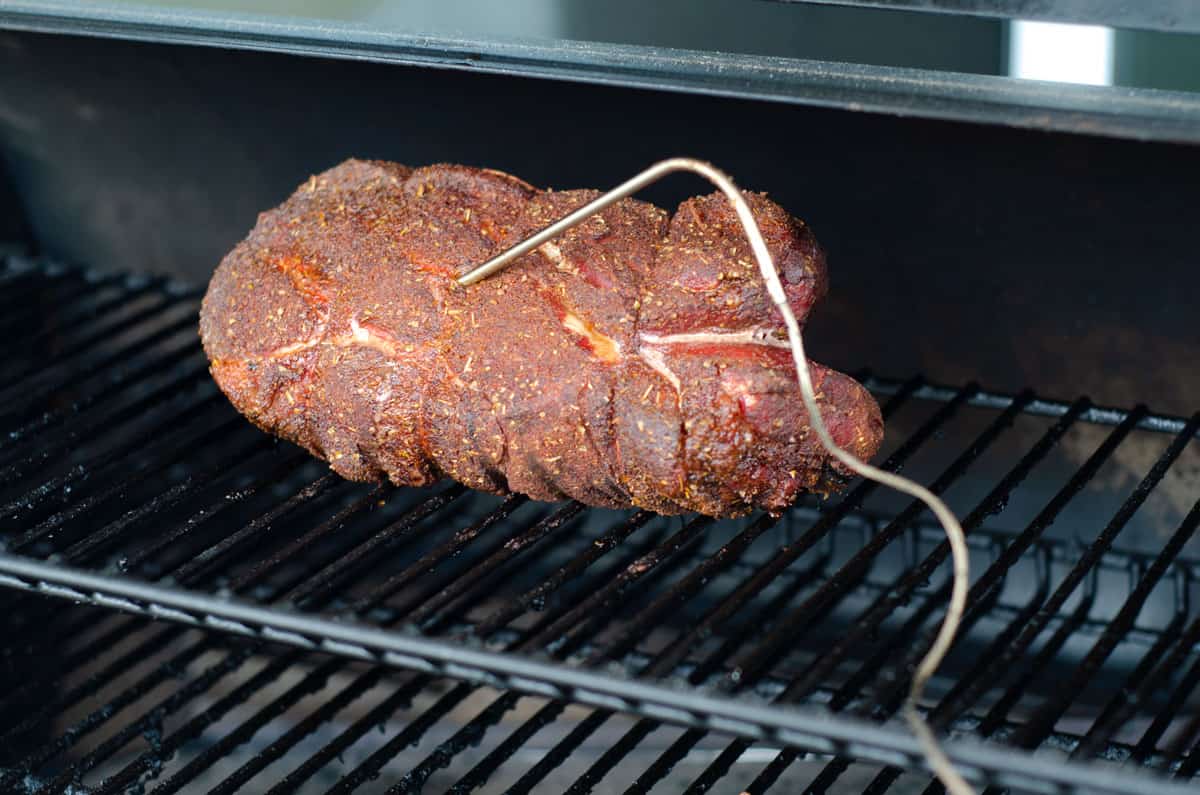
You'll do that every hour until the stall - (see below) - at which point you will not open it until it starts going up again.
Opening the lid on a Traeger drops the temp dramatically pretty quickly. If you feel like you MUST spray it during the stall, be quick about it! It will have great flavor and likely be the best smoked pulled pork you've ever had, either way.
Stall/cook time
There's something that happens on a large cut of meat like this called 'the stall.' You have to be very very patient and dedicated to get through the stall - it can sometimes take hours.
The temperature of the pork rises steadily to 150 degrees Fahrenheit, and then hovers there for what feels like forever while the moisture moves to the surface and evaporates. It may hold that temperature between 150 and 160 degrees Fahrenheit for up to five hours. Be patient; don't crank up the heat just yet or open the lid. The big determining factor of the duration of the stall is the thickness of the meat.
Here's where mine got stuck:
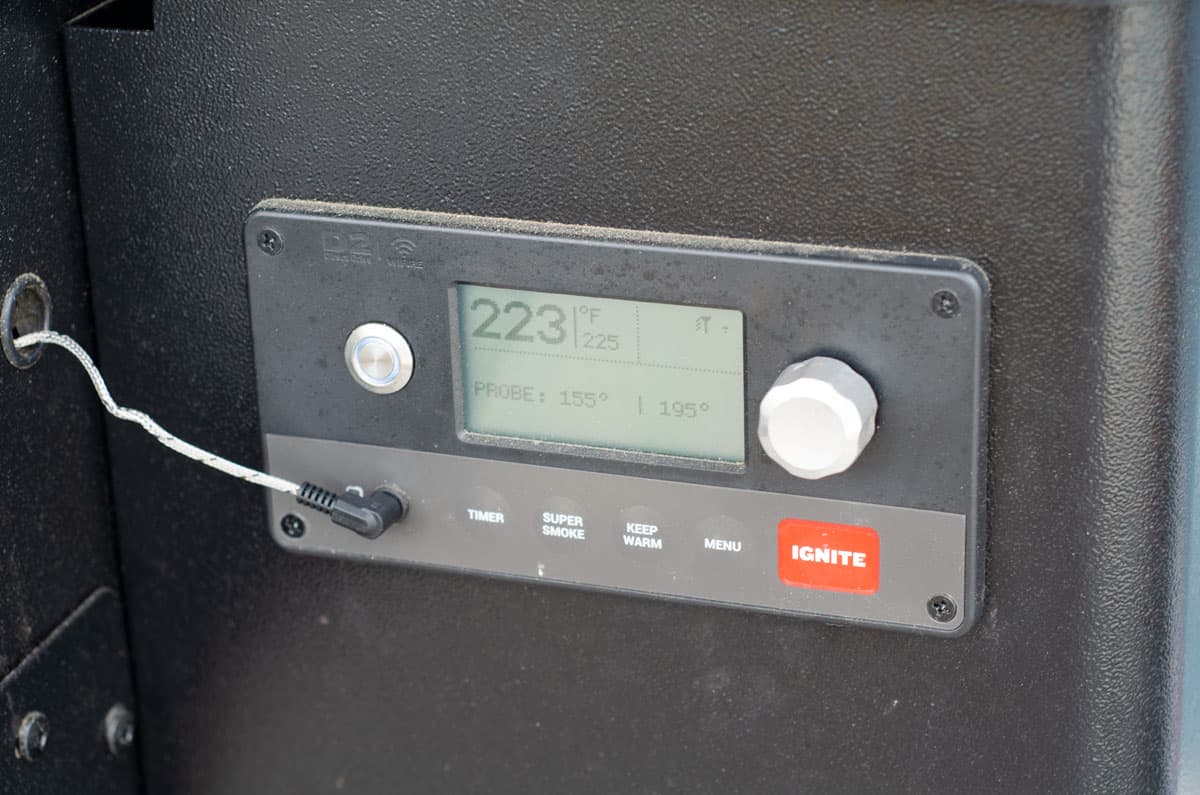
When you give it enough time, it will start to go up again. Mine stalled out for about 4 hours, and then ticked up steadily until it was done. Your cook time and stall time will vary, but just make sure you give it enough time to figure its ish out (and it will figure it out!)
This is slow cooking at it's finest.
Note: you will read about "shortcuts" in other recipes - people who take it out, put it in the oven, or a crockpot, or a slow cooker, or finish it in other ways. They will tell you that the meat is as tender as it's going to get, and it's absorbed as much smoke as it will, and yadda yadda yadda.
None of this is true. Leave your meat on the Traeger. Once more for the cheap seats: LEAVE YOUR MEAT ON THE TRAEGER.
How to know when it's done
If you are smoking a boneless butt, insert a fork in the meat and try to rotate it. If it turns with only a little torque, your meat is done.
(Or, if you're like me, and you go to pick it up off the grill with tongs and it breaks in two, it is also done.)
The color of your pork butt could be misleading. The exterior should look dark brown in color. You will still see pink on the inside - this is ok!
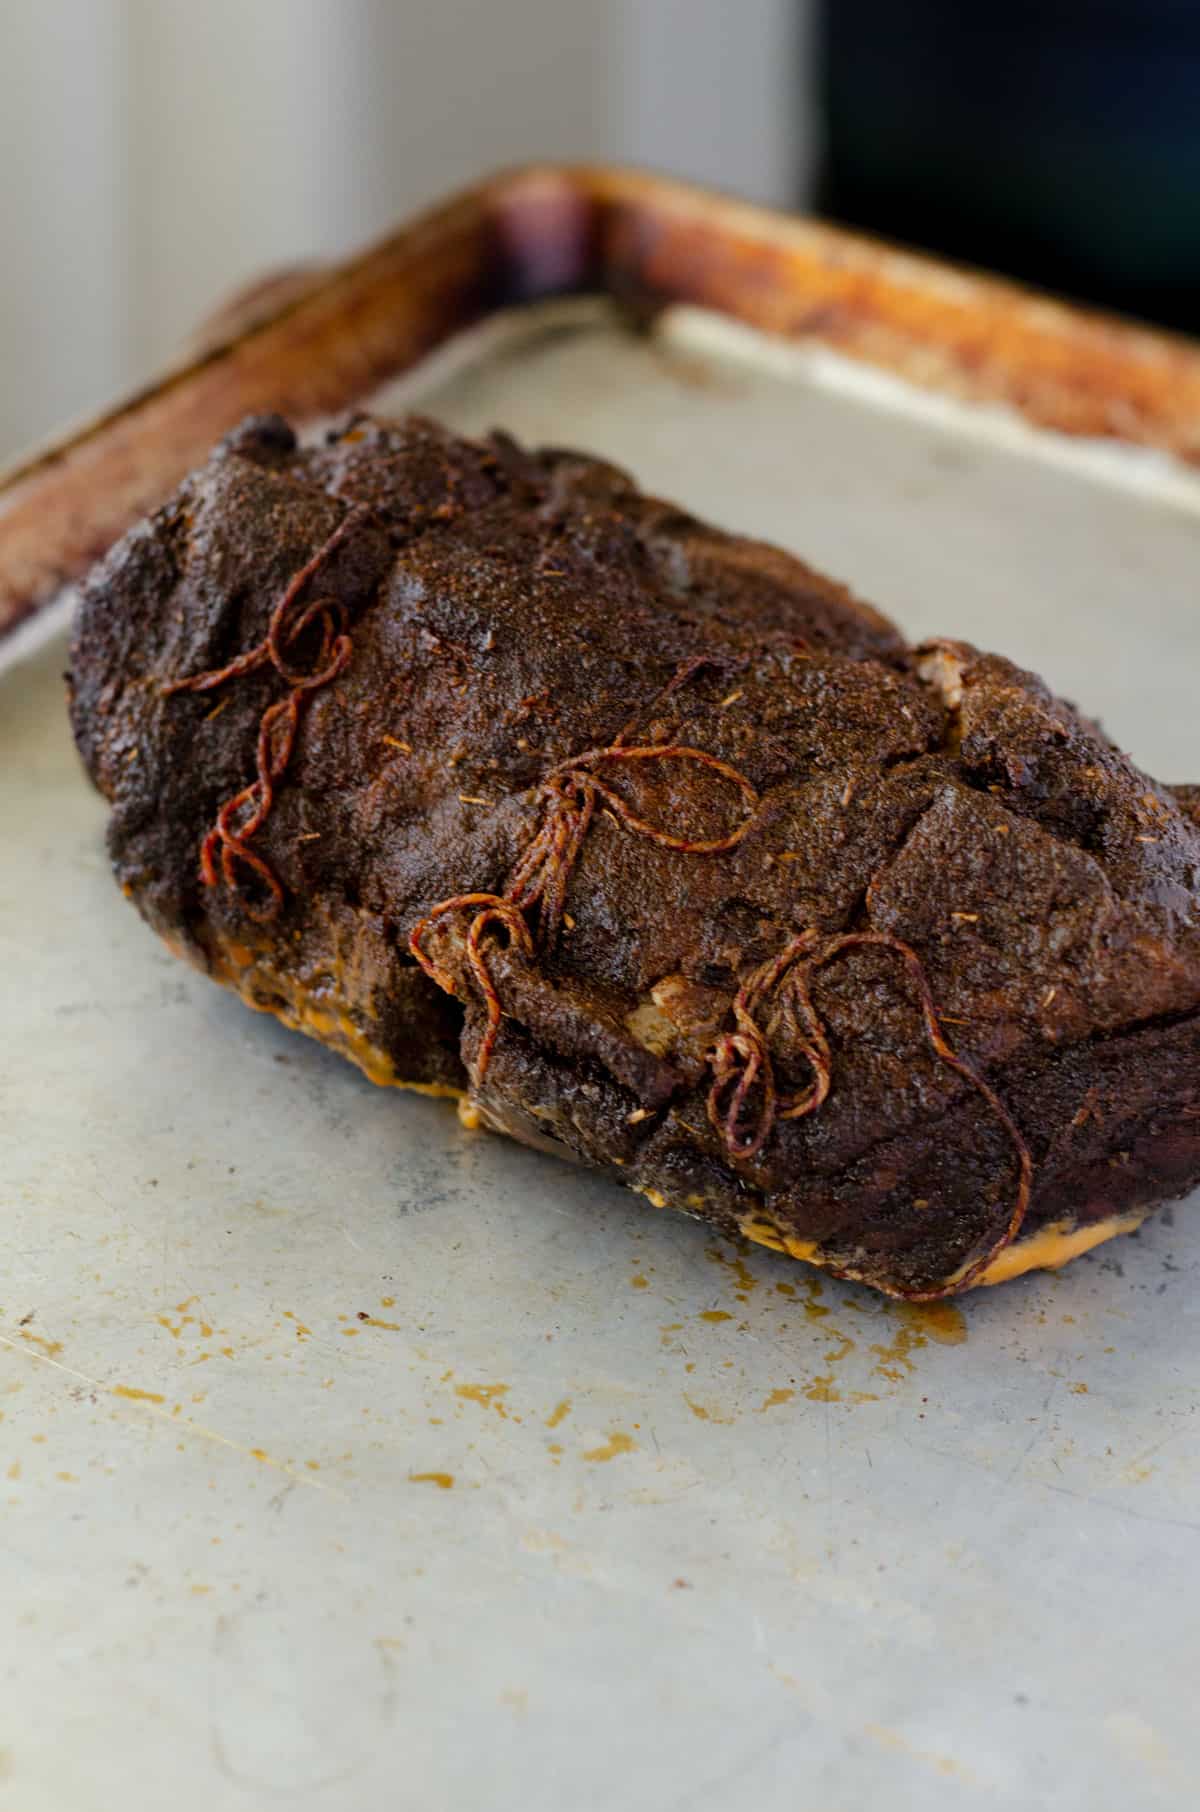
You really just need to go by the temperature. If the pork butt hasn't reached the desired internal temperature, or isn't tender, close the lid and let it cook for another 30 minutes before you check again.
If it is still not tender enough, you may have a tough butt. Try wrapping it in aluminum foil and let it go for another hour. However, do not take it above 205 degrees Fahrenheit or the connective tissues will start giving up moisture and get tough.
After it's done
When your meat is starting to get close to temp, preheat your indoor oven to 170°.
When your pork is finally ready to come off the grill, take a quick taste. You should notice a thick flavorful crust, or "bark." It is NOT burned, I promise! This is delicious.
Once the meat comes off the grill, wrap it in butcher paper or aluminum foil, set it on a large baking sheet (I live and die by these baking sheets) and put it in the oven for 1-2 hours. (I only did 1 hour because I wanted to go to bed, and it was perfect.)
How to pull pork shoulder
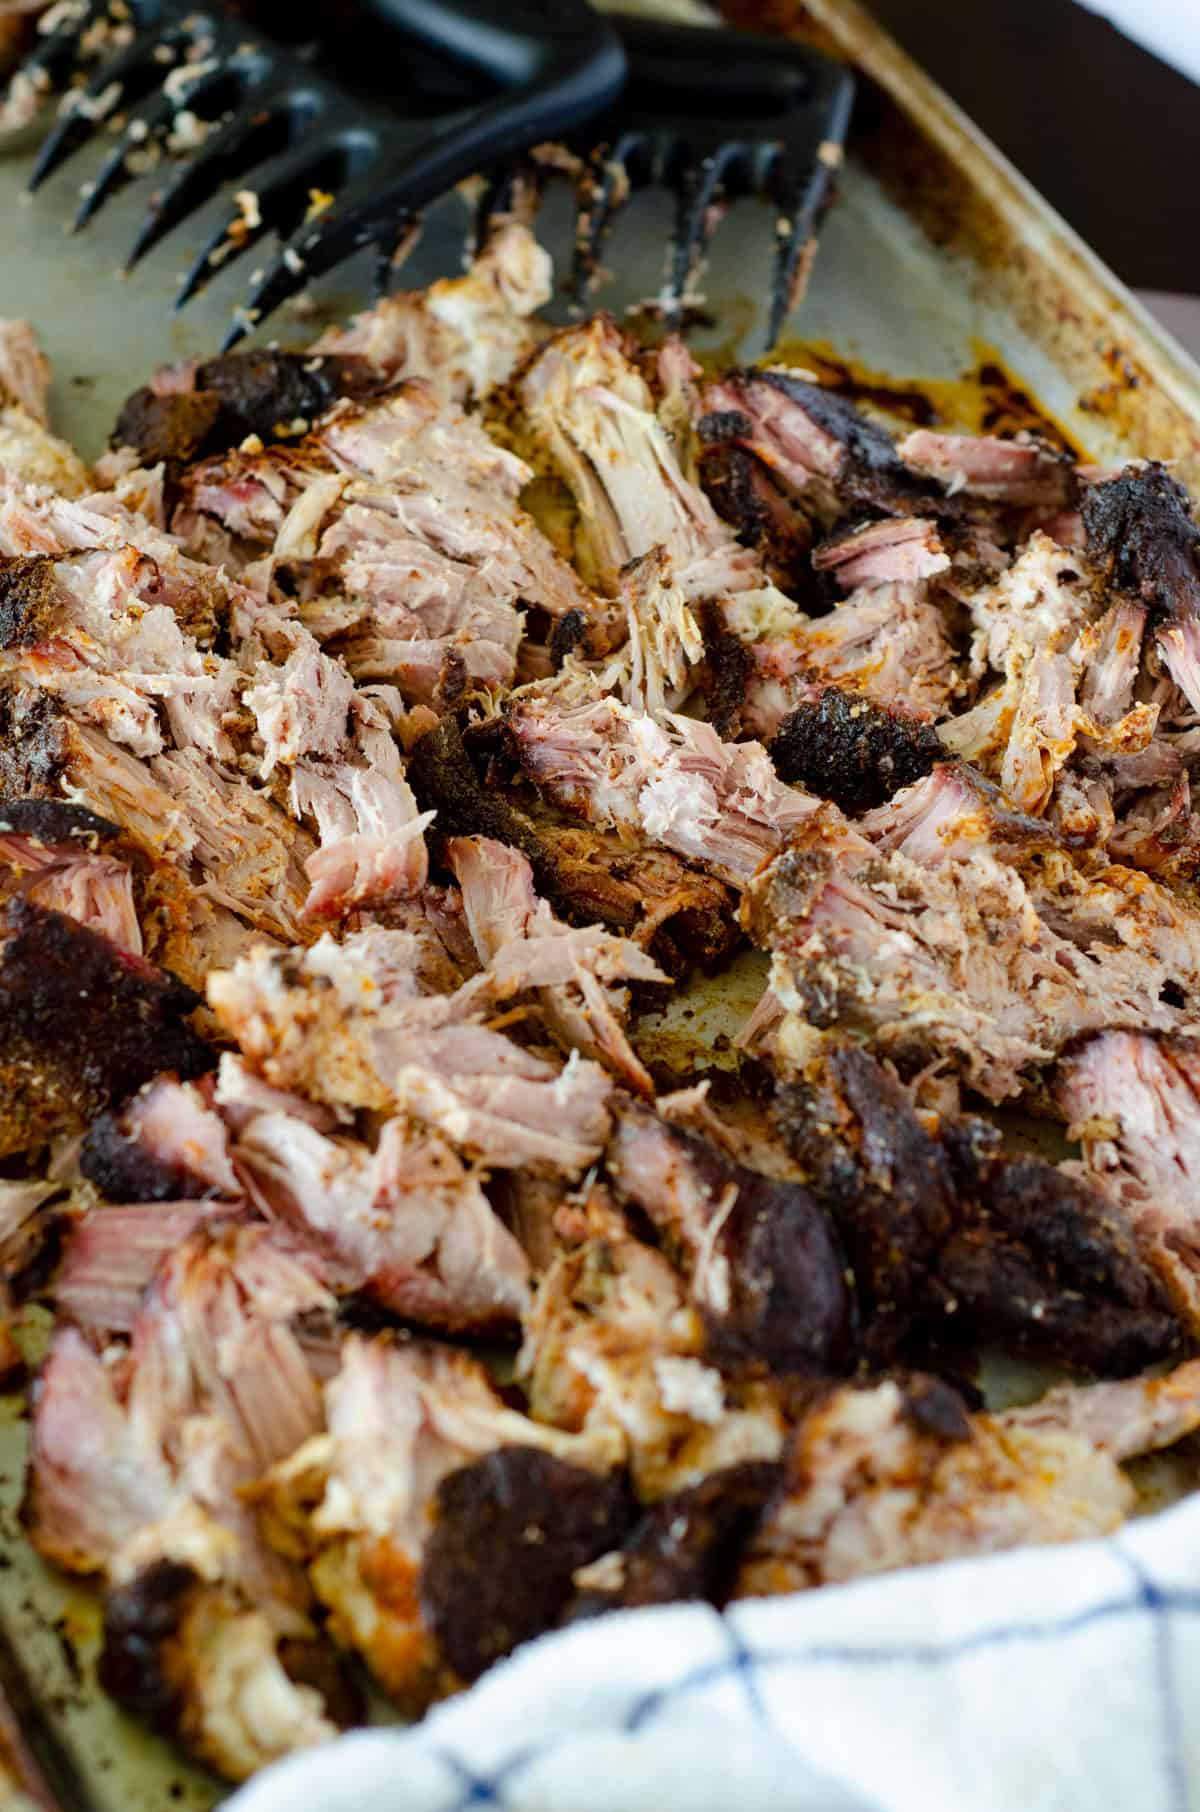
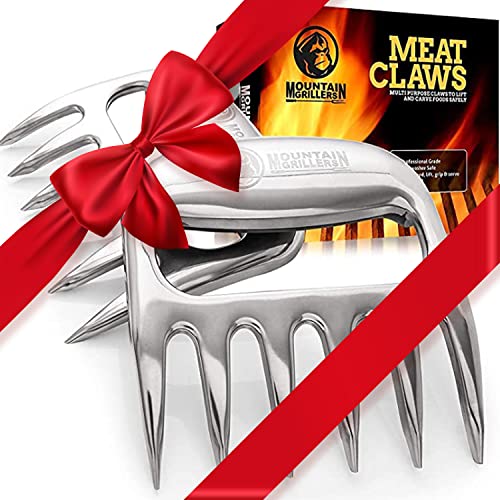
When you're ready to serve it, don't cut it! You always want to shred the meat gently. It will maintain the most moisture if you put on gloves and pull it apart by hand. We were gifted a pair of these Bear Claws, and I love them for this job.
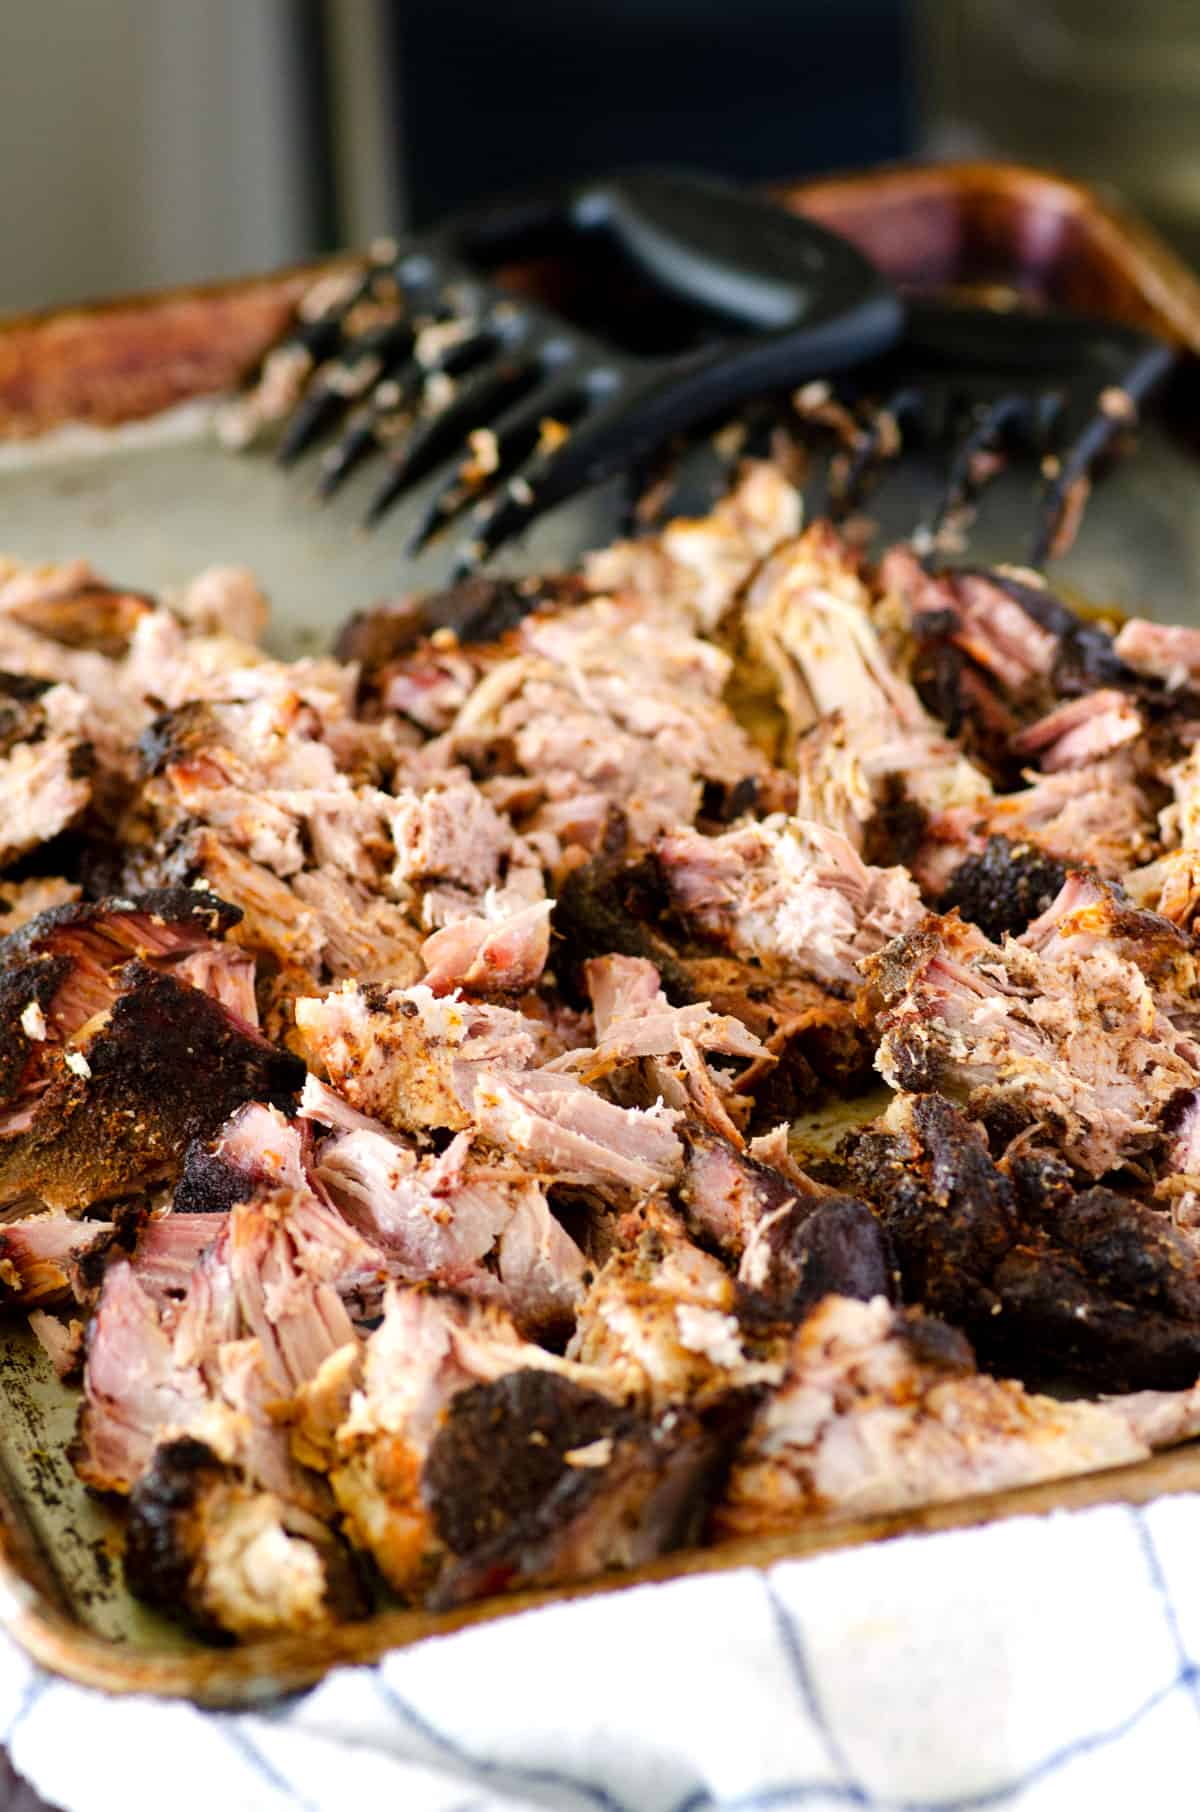
I like to shred mine on a cutting board or right on the baking sheet that was in the oven. You can serve it as-is, as pork sandwiches, or however you like.
You may also be tempted to put barbeque sauce or hot sauce on your Traeger pork, but I'm going to urge you to wait and just taste it first. This is not the same as the bbq you get at the store, and trust me when I say it doesn't really need sauce - it is incredibly flavorful all on its own.
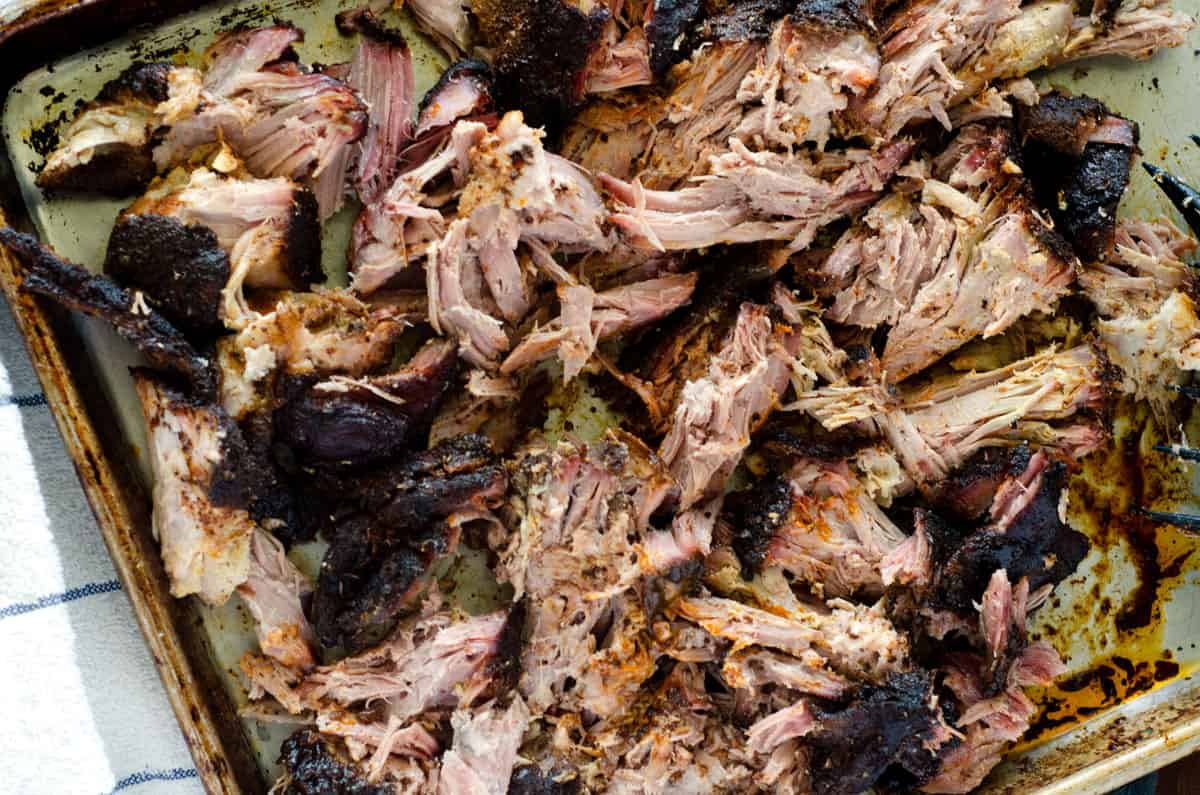
You'll likely want to serve it with lots of paper towels, as it can get greasy, messy, and delicious, in a good way!
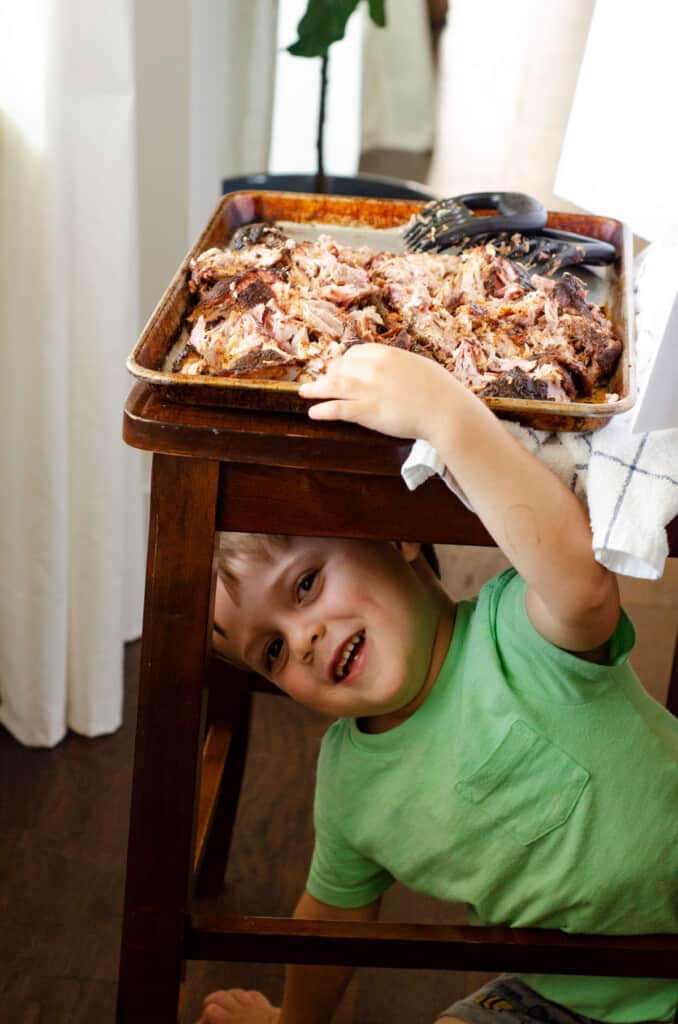
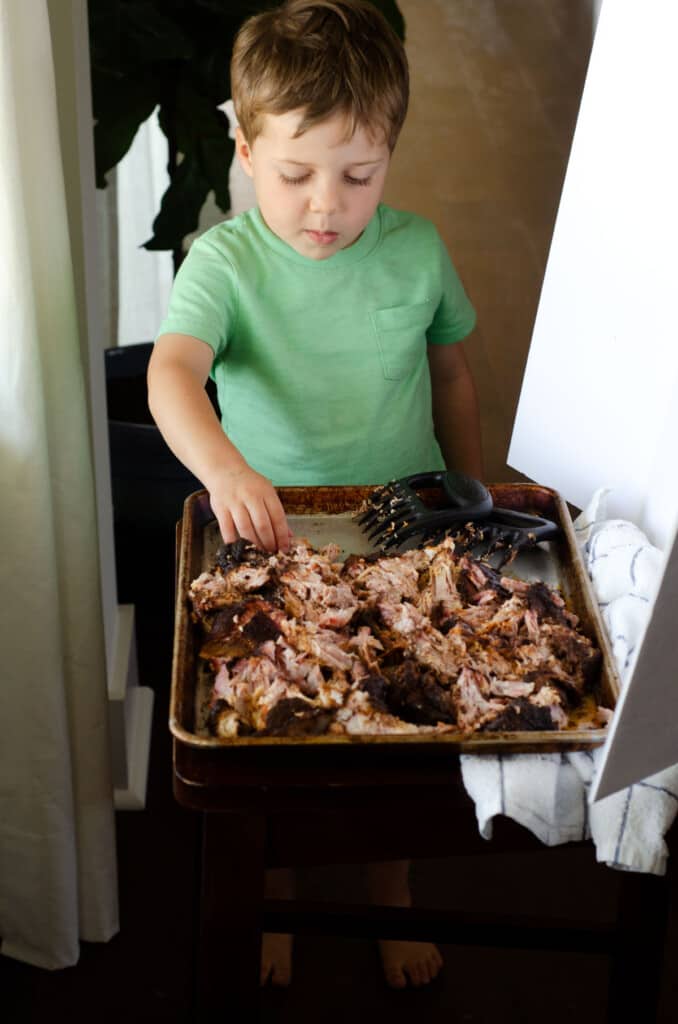
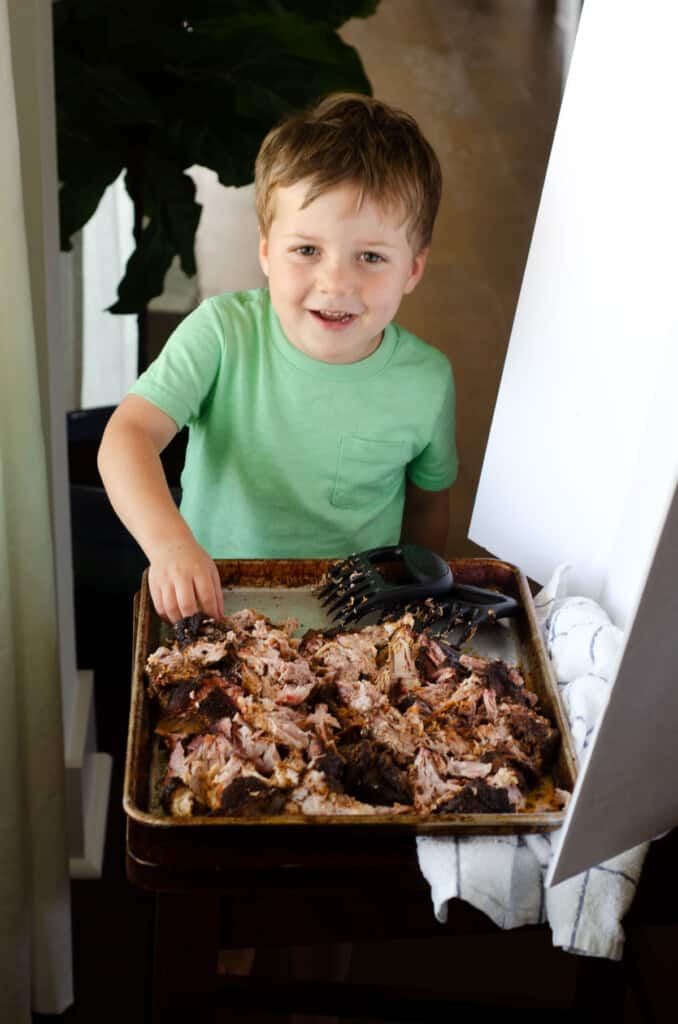
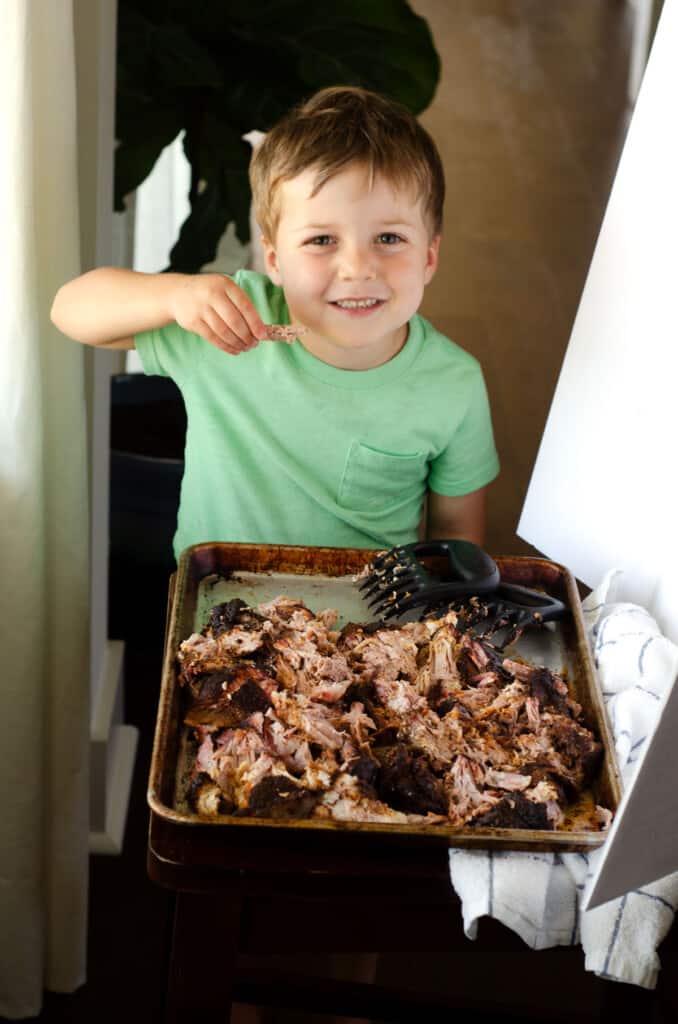
Watch out for meat thieves in your kitchen - chances are, everyone in the family is going to want to try to get a taste of this.

What to serve with pork butt
Well, if you ask anyone in my house, they just want to eat it right off the tray (clearly.) That said, it's not the right presentation for everyone.
Here are some of our favorite recipes to serve this Traeger pulled pork recipe with:
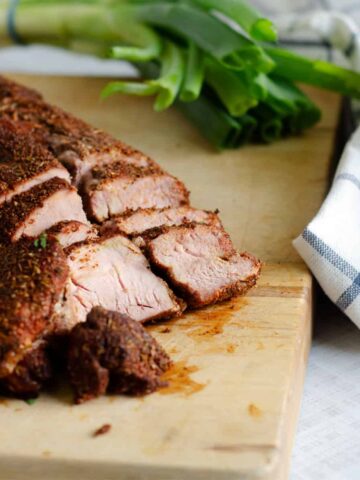
Looking for other Traeger recipes? Check out my Traeger shrimp here, my Traeger pork tenderloin here, and my smoked pork belly here!
Recipe
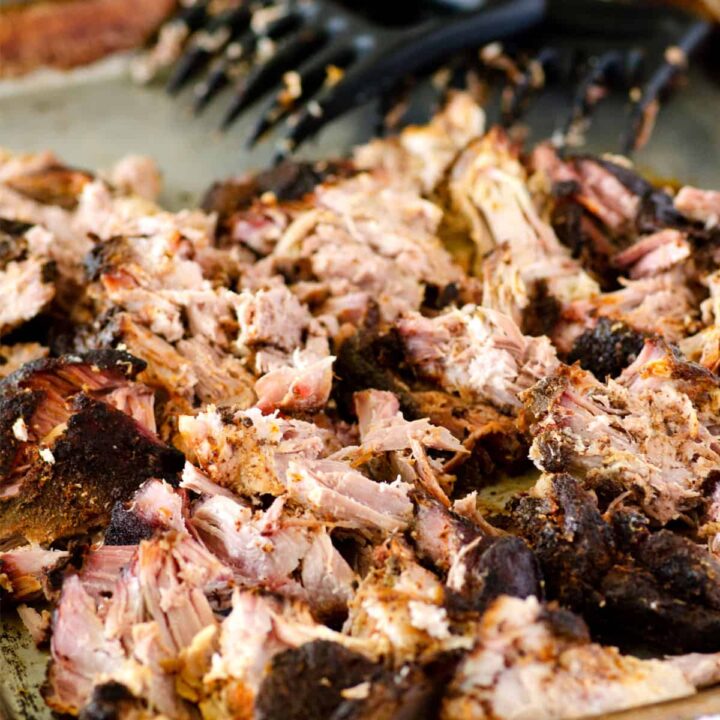
Smoked Traeger Pulled Pork
This recipe for smoked pulled pork on the Traeger uses a boneless pork butt and a low and slow technique. It takes patience, but you'll be rewarded with a delicious, tender, and flavorful batch of pulled pork when you're done.
Ingredients
- 4 pound pork butt
- 1 cup apple cider vinegar
- pork rub seasoning
Instructions
- Preheat your Traeger to 225°.
- Rinse your pork butt and pat dry with paper towels.
- If you are making your own rub, mix your rub ingredients together in a small bowl - I combined chili powder, onion powder, sweet paprika, mustard, oregano, garlic powder, salt, and cinnamon for mine.
- If your pork butt is boneless, tie it up tightly so it stays in one piece while it cooks.
- Cover the pork butt in the rub, making sure to coat all sides.
- Once the Traeger is preheated, place the seasoned pork butt directly onto the grill grate and close the lid.
- Wait.
- Wait some more.
- After about 2 hours, open the lid and very quickly spray the butt with the apple cider vinegar. Close the lid.
- Spray every 45 minutes to an hour, keeping the meat moist.
- When you get to the stall, resist the temptation to turn up the temperature.
- Wait.
- Wait some more.
- When your thermometer in the thickest part of the meat reads 195°, your meat is done.
- Remove the meat from the Traeger and wrap in foil and place on a baking sheet.
- Turn your oven on to 170°, and place the baking sheet with the wrapped smoked pork butt on it inside.
- Leave it in the oven for at least 30 minutes, preferably an hour, before removing it.
- Unwrap the foil and very gently pull the meat apart, using your hands, forks, or a pulling tool.. DO NOT cut the meat with a knife.
- Serve/devour/taste it melt in your mouth!
Notes
When seasoning your pork butt, you can easily use a store bought seasoning. I prefer to make my own as the ones from the store typically contain a lot of junk ingredients that in my opinion are not necessary. Experiment with different flavors and see what you like!
Tying the meat up is necessary for keeping the cut of meat together and the heat even. If it's boneless, it's because the butcher has already cut out the bone. There will be a separation where they took it out - this is the part you want to focus on tying together. I like to tie it all the way down to help it cook evenly.
Oh, the stall. I know you really really want to rush this. To up the temperature, just a little bit. To pull it off and put it in the oven. DON'T. Please don't. Use your patience muscles and wait for it. You will be rewarded in spades, I promise.
You don't need Bear Claws to tear the meat. You can do it gently with your hands, or with two forks. That said, I really like the Bear Claws for this job - they're easy to use and they do the job well.
Recommended Products
As an Amazon Associate and member of other affiliate programs, I earn from qualifying purchases, at no additional cost to you. Thank you for your support!
Nutrition Information:
Yield: 10 Serving Size: 1Amount Per Serving: Calories: 493Total Fat: 34gSaturated Fat: 13gTrans Fat: 0gUnsaturated Fat: 18gCholesterol: 156mgSodium: 123mgCarbohydrates: 0gFiber: 0gSugar: 0gProtein: 42g
I may earn a small commission off purchases made through affiliate links in this post from Amazon and other sellers. This helps me continue to run the blog and keep providing you fresh content. Thank you for your support!







Leave a Reply