This quick and easy method will turn your head of cauliflower to rice in just a few minutes, and save you money on the cost of buying pre-made!
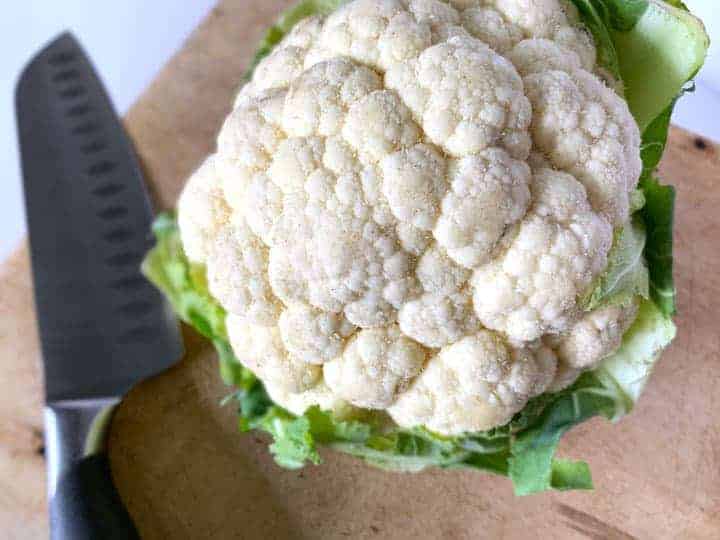
These days, you can almost always find cauliflower rice pre-made in either the frozen or refrigerated section of the grocery store. I'm a huge fan of pre-made cauliflower rice - it's a huge time saver when you're busy, and it also keeps the inevitable "cauli rice mess" at bay.
But sometimes, you head to the section where you always faithfully pick up your cauliflower rice, and there is none.
Maybe they're out of stock. Maybe its out of season. Or maybe you just want to save some money by making it yourself! Whatever the reason, you can make your own.
I've seen people try to make cauliflower rice in a number of ways, from chopping it with a knife to using a cheese grater. While these methods do work, they're certainly not the most effective or time-saving methods.
The easiest way to make cauliflower rice
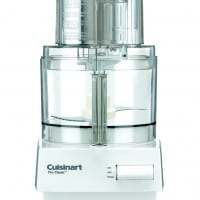
First, you MUST have a good, high powered food processor. If you're hestiating on this purchase, DON'T. I use mine for errrrrrrrything in the kitchen and it has paid for itself a few times over. Just do it.
My favorite is the old school Cusinart Classic. It's big enough for most jobs, high powered enough to chop almost anything, and while it does have a little bit of a price tag attached to it, again, it pays for itself in time and labor!
How to make cauliflower rice in a food processor
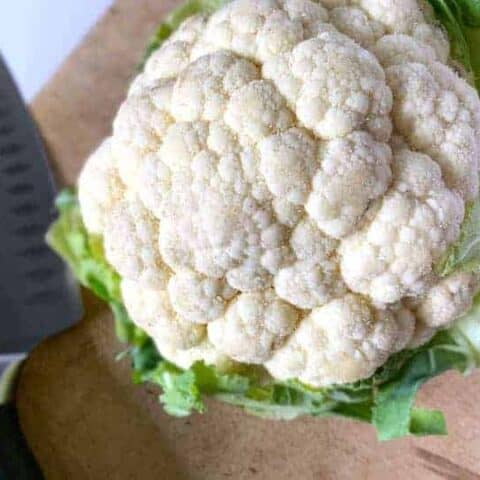
First, cut your head into quarters:
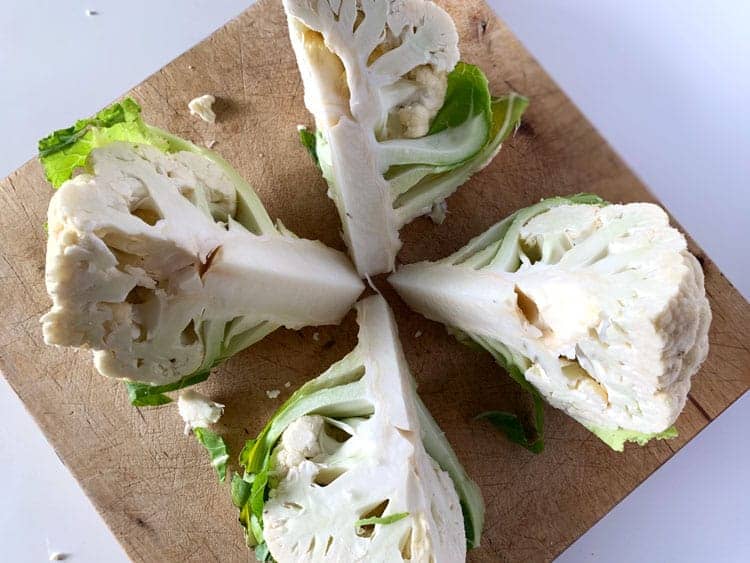
Then, work to peel and snap the leaves from the stems. Don't throw away the stems! You can see that once I cut into my head of cauliflower, there was a lot more stem than it first appeared.
You can rice this too, and you'll never know the difference once it's cooked! It does NOT get woody or tough or have a different texture.

From there, chop your head of cauliflower rice into large chunks. They don't have to be uniform or perfect, you're just trying to get them to a size that the food processor can handle.
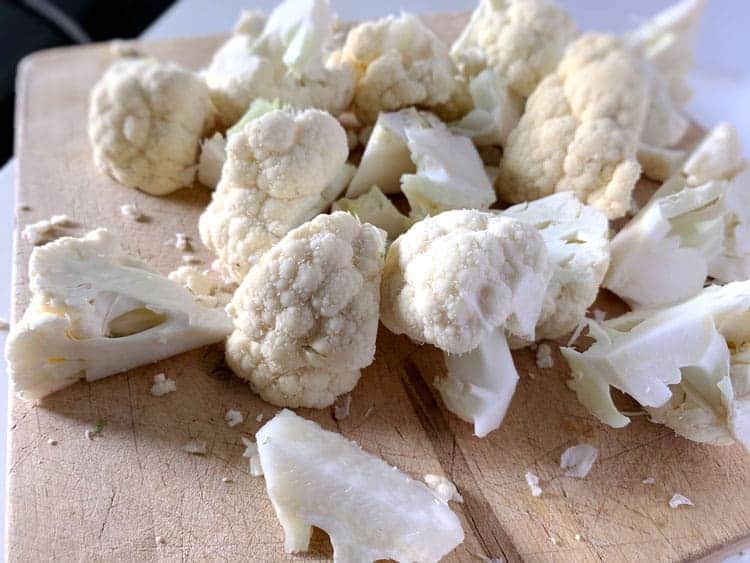
Load up HALF of your chunks of cauliflower into the food processor. I used to try and do the whole head at once, and trust me, this will save you time in the end.
When you try to put it all in together, it gets too full and you end up with mostly rice, with a bunch of big chunks throughout that didn't quite make it to the blade.
Working in two batches gives it enough room to move around and allow the blades to reach everything in there!

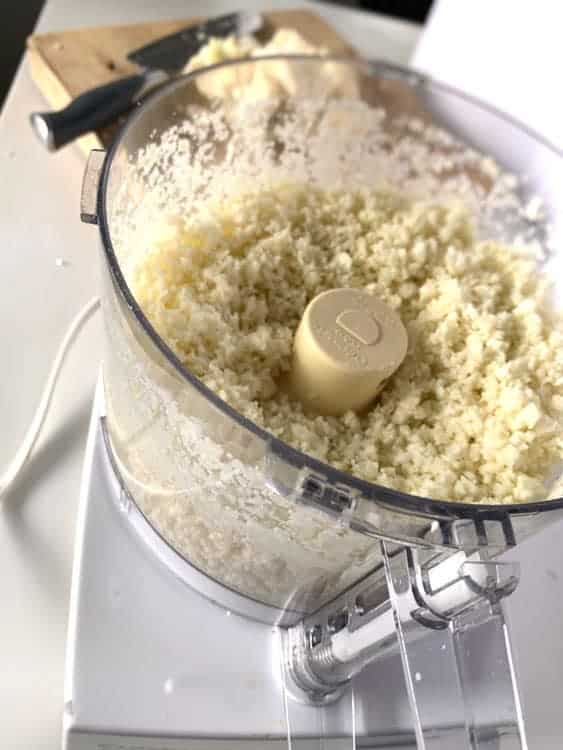
Once the chunks are in the food processor, you're going to want to use the "pulse" function. Don't turn it on and just let it run, or you will have cauliflower purée!
Pulse over and over until all of your cauliflower in the food processor is in pieces the size of "rice" like this:
How to freeze cauliflower rice
Once you're done with ricing your two batches, you can either cook or store your cauliflower rice. I recommend refrigerating or freezing until you're ready to use it for a meal.
In either case, I just dump the contents of the food processor into a resealable plastic bag, scraping down the sides to get all the stuck bits.
For this batch, I chose to freeze it, as I didn't have plans for its immediate use. I sealed and labeled the bag, then I got it mostly flat. I freeze things on a sheet pan in the freezer so they will freeze flat and are easily stackable!
If you're going to use your cauliflower rice in the next few days, you'll be fine to stick the bag in the fridge until you're ready to cook it.

How long will cauliflower rice keep in the freezer
As a general rule, I try to use all prepped and frozen vegetables within six months of the time I froze them. They'd likely be fine for longer, but they start to lose some of their nutritional value, and can sometimes get that taste of "freezer burn."
It's better to keep them rotating - eat the older ones, keep freezing the fresh ones that you just can't get to in time to eat before they go bad!
How to cook cauliflower rice
I like to work with a little bit of a "self-steaming" method with my cauliflower rice. I heat a skillet over low-medium heat. Once it's warm, I add about a teaspoon of coconut oil and allow it to melt. Then I add my cauli rice and pop on a lid.
Cauliflower has a high moisture content on it's own, so once you put the lid on, it begins to "self-steam." It will generate moisture inside the pan and lid.
I usually let it cook like this for 5-7 minutes, then give it a toss and taste it. If its too crunchy for your liking, you can cook it a bit longer, if not, you can remove it and use it for whatever recipe you're working on!
Recipes using cauliflower rice
There's tons and tons of recipes out there that use cauliflower rice. I like to use mine as the base for casseroles, as it serves as a much more low-carb alternative. The most popular of these include my Buffalo Chicken Casserole, Chicken Bacon Ranch Casserole, and Beef Taco Casserole.
I also frequently use cauliflower rice simply in place of regular rice! Use it as a base for various dishes or as a side. Some ideas include Instant Pot Sesame Orange Chicken, Citrus Glazed Salmon, and Cashew-Sriracha Pork and Pineapple Skewers, and Paleo Tabbouleh Salad.
Have another recipe you love to use cauliflower rice with? Share it below in the comments!
Recipe
How To Make Cauliflower Rice
This quick and easy method will turn your head of cauliflower to rice in just a few minutes, and save you money on the cost of buying pre-made!
Materials
- 1 head cauliflower rice
Tools
- food processor
Instructions
- Using a cutting board and a sharp knife, cut the head of cauliflower into quarters.
- Remove the leaves from the stem, but do not discard the stem.
- Cut the quarters up into large chunks.
- Working in two batches, place half the chunks into the food processor and pulse until you have "rice" sized granules.
- Move all "cauliflower rice" from the food processor into a plastic bag. Refrigerate or freeze for later use!
Recommended Products
As an Amazon Associate and member of other affiliate programs, I earn from qualifying purchases, at no additional cost to you. Thank you for your support!
I may earn a small commission off purchases made through affiliate links in this post from Amazon and other sellers. This helps me continue to run the blog and keep providing you fresh content. Thank you for your support!



Leave a Reply