Even with very little space, you can build a raised bed vegetable garden and grow your own food. All you need is a bit of space, a plan, and a few materials. Here's how we built ours in our small backyard!
Last spring, we decided to start a raised bed vegetable garden in the yard.
We had a whole side row space that had previously just been greenery and decorative plantings. After our house fire, in the spirit of finding the silver lining, we decided to replace them with food and try our hand at growing vegetables.
Here's how to set up your own raised bed vegetable garden.
Choose your location
You'll want to make sure you choose a spot that gets plenty of sunlight. Depending on your property, you may be limited in your placement options, so do the best you can!
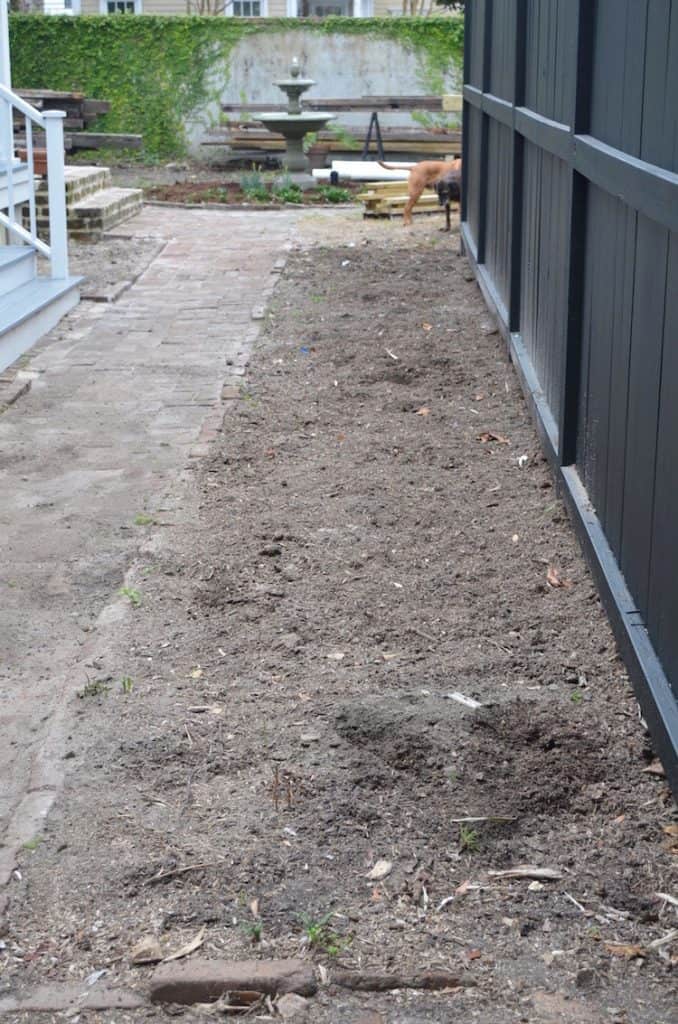
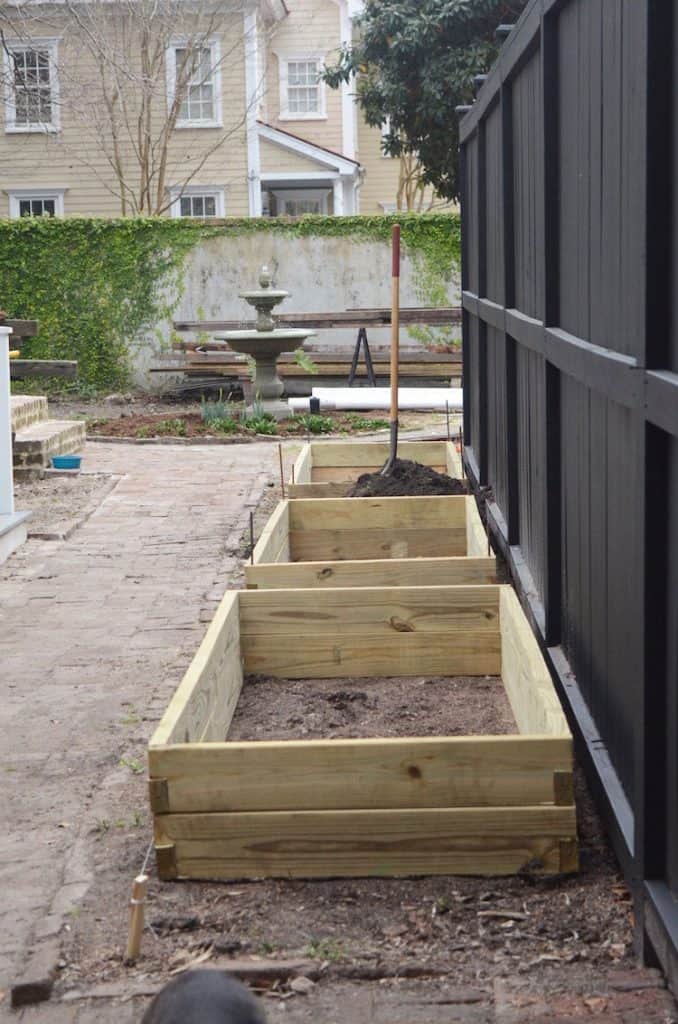
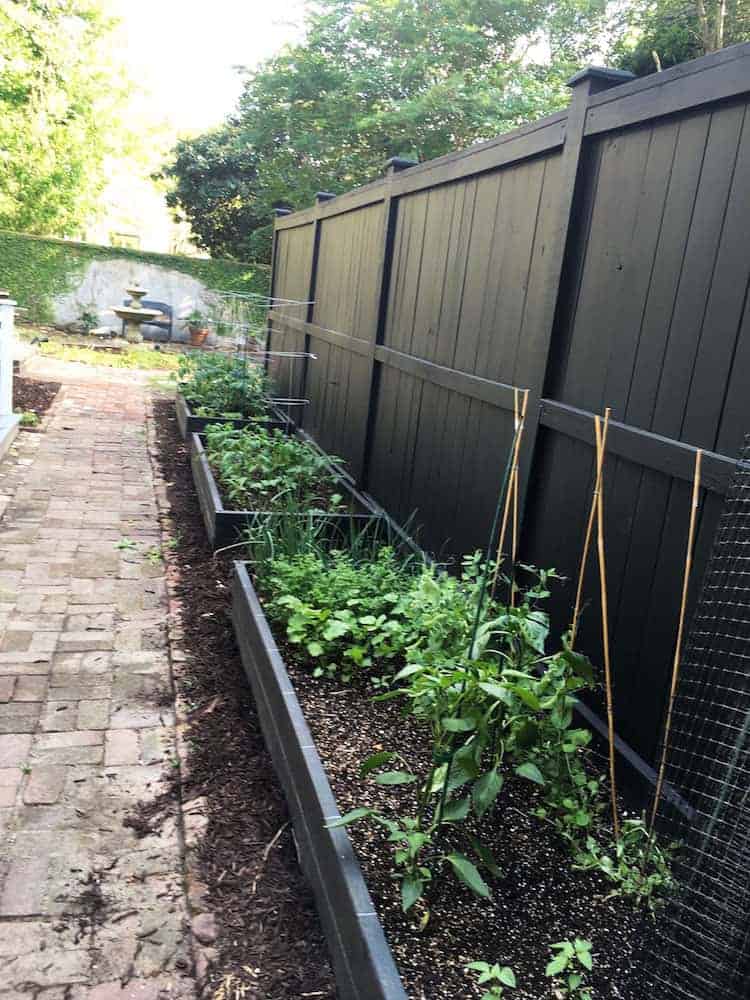
Here's the space we opted to put ours:
Ideally you want to try for at least 8 hours of full sun during the day.
This spot doesn't get a full 8 hours, but few places on our property do, and those that do are not ideal for a raised bed vegetable garden.
You've got to work with what you've got.
Measure and cut
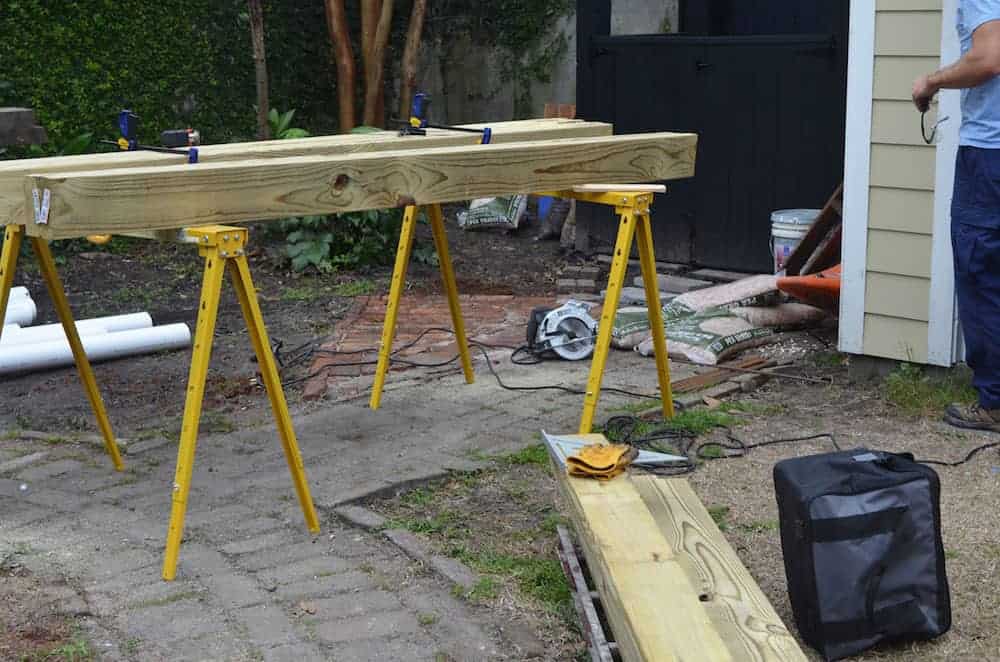
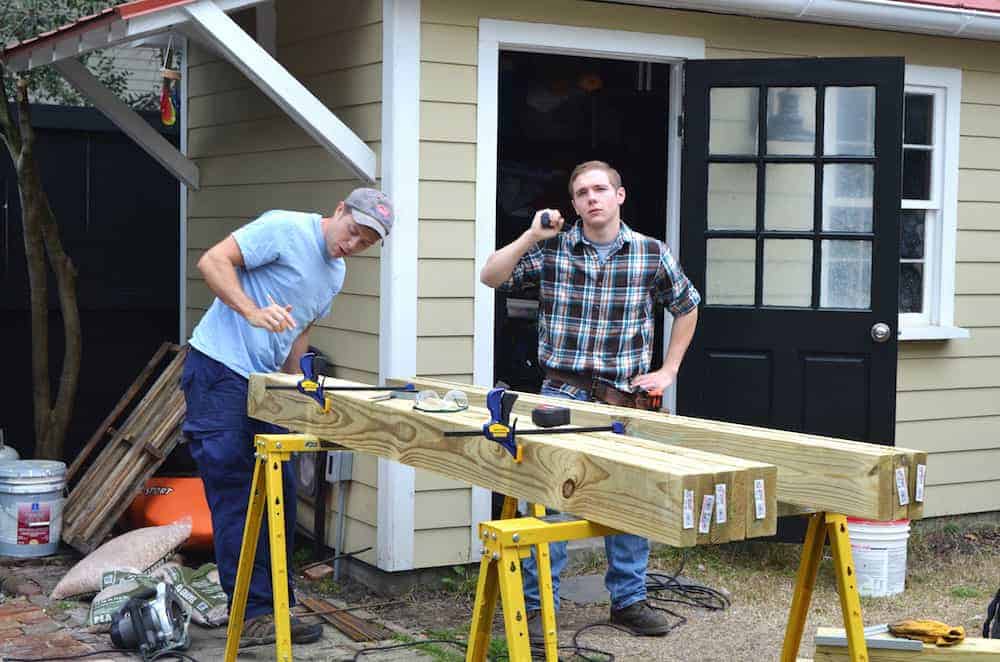
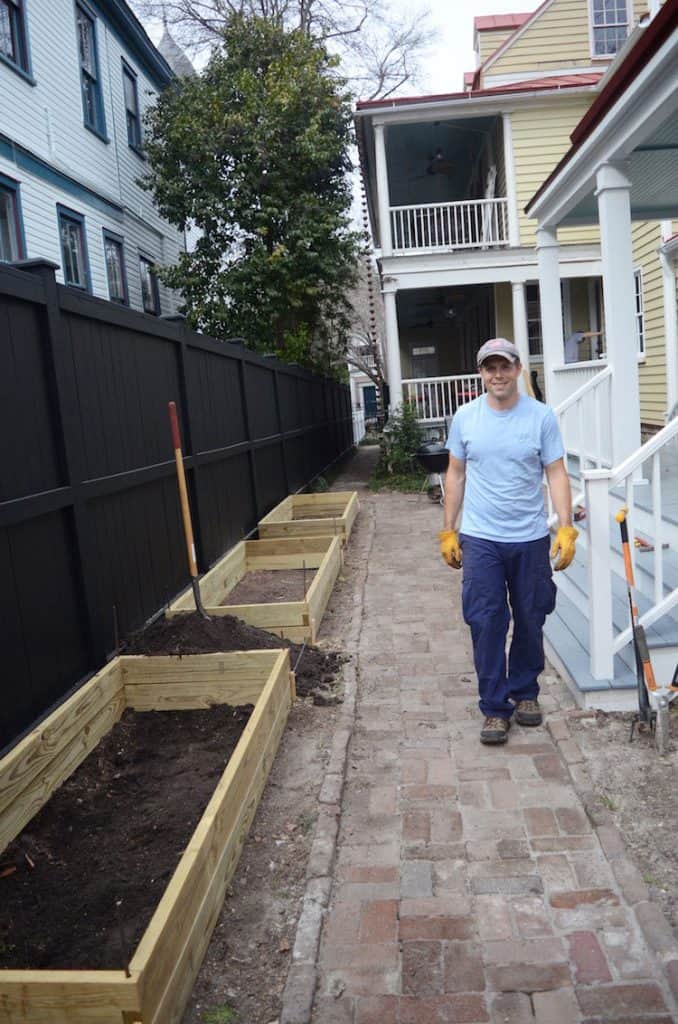
Since Brandan is an engineer, he handled the measuring, cutting and building of the boxes, with assistance from his brother Matt and some light supervision from Folly.
(I try to stick to the tending to the plants and the actual cooking of them.)
The boys handled the sawing, cutting, nailing, and overall building of the boxes. I made myself useful by providing paleo snacks throughout the building process. Snacks is usually what I do best.
Build your boxes
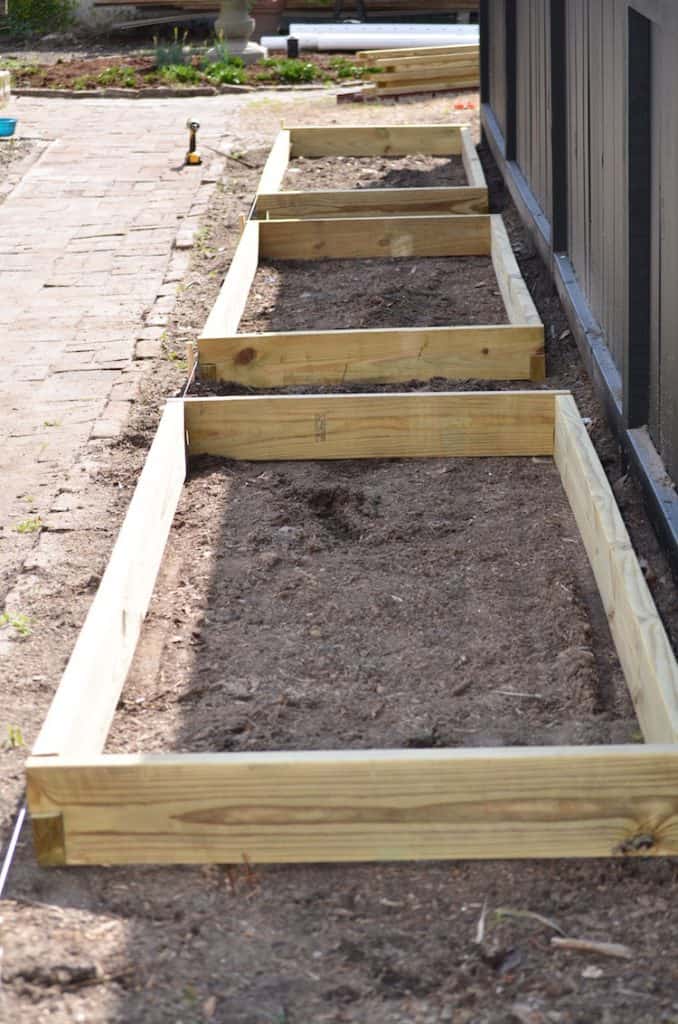
We ended up with 3 large planting boxes.
Each bin is approximately 3 ft. x 8 ft, or 24 square feet, for a total of 72 square feet for planting.
We decided to start out with the "square foot gardening" method, and divided each one into one-foot squares.
Choose your soil combination and fill
Once you have your raised beds built, you need to fill them.
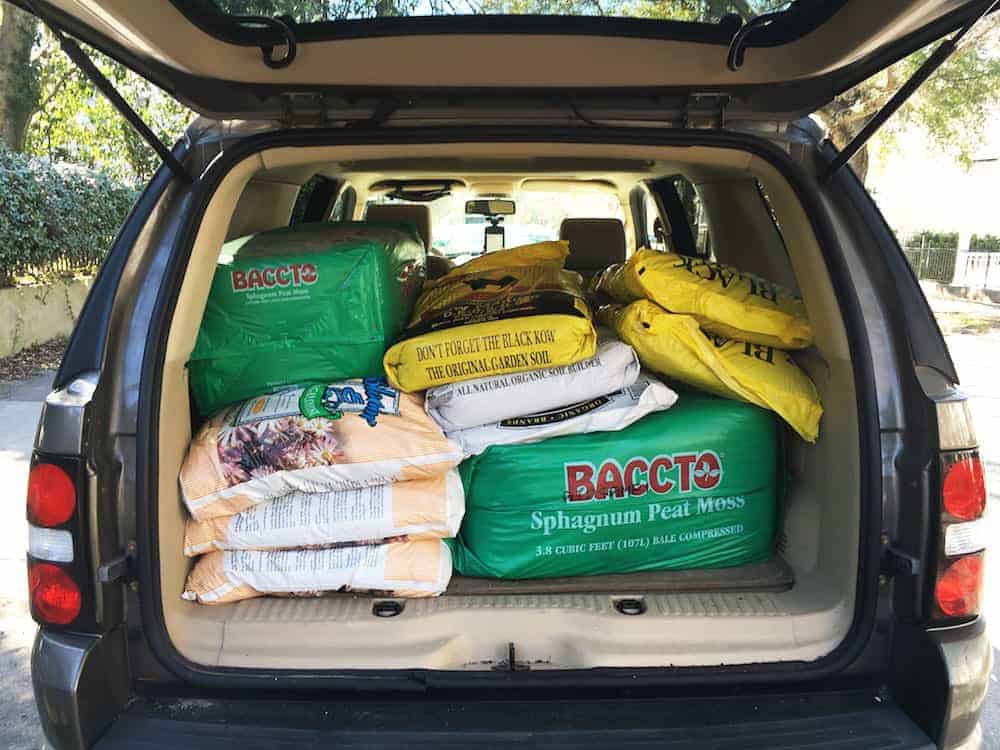
The beauty of building your own boxes is that you can start your soil from scratch. You don't have to be concerned about what dirt is already there; you can make your own combination that is optimal for the plants you want to grow.
Square foot gardening recommends a mixture of 1:1:1 of peat moss, vermiculite, and compost for your vegetable garden, so that's what we used.
Then, mix that dirt and fill those boxes!
Start your seedlings or purchase starter plants
Depending on when in the season you get started with building, you could certainly do this step first.
Regardless, you need to make sure you have some plants to go in that raised bed vegetable garden!
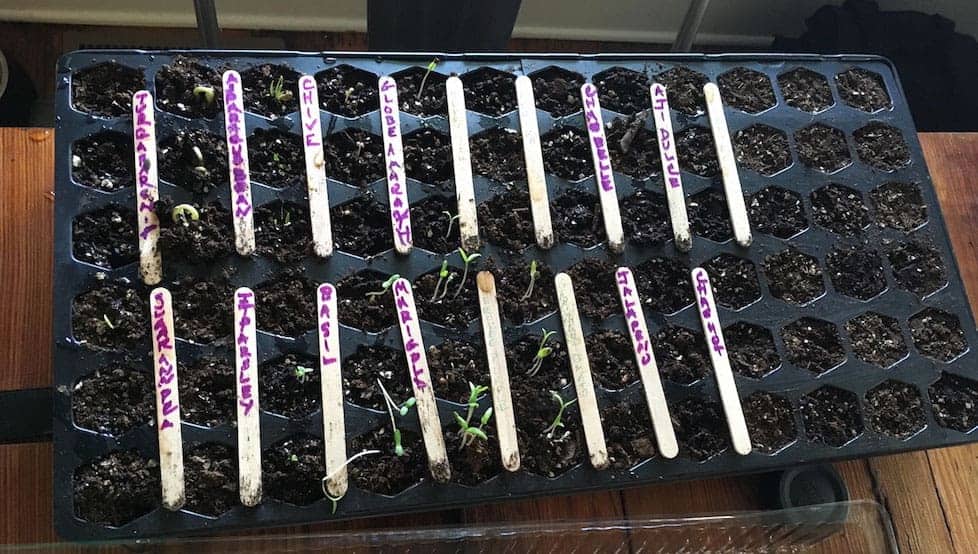
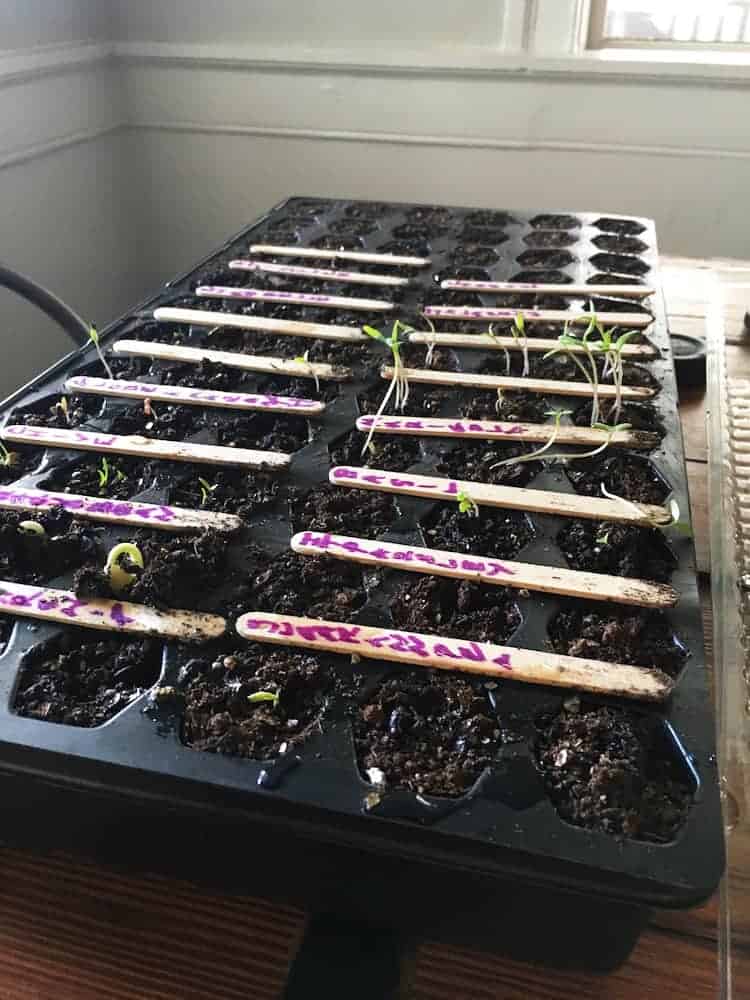
We used this seed starter tray and labeled popsicle sticks that we stuck in the ground with the plants to know what was what.
Once we put them outside, we found out the hard way that the marker on the popsicle sticks faded in the sun pretty quickly.
We've since started a spreadsheet that matches the layout of our beds, and update it as we plant the seedlings so we know what's what.
It's easy in the beginning to get them mixed up - when they're small, they all look the same, and it's tough to know which plants are which until they grow a bit larger!
Plant your "babies"
My son loves to call our seedlings his "babies" and says he has to go "water his babies" every day, and the phrase has stuck.
Once they got big enough, we planted them outside and nursed them along. This was still in the early stages.
And yes, ALL of this is from seeds!
Watch them grow
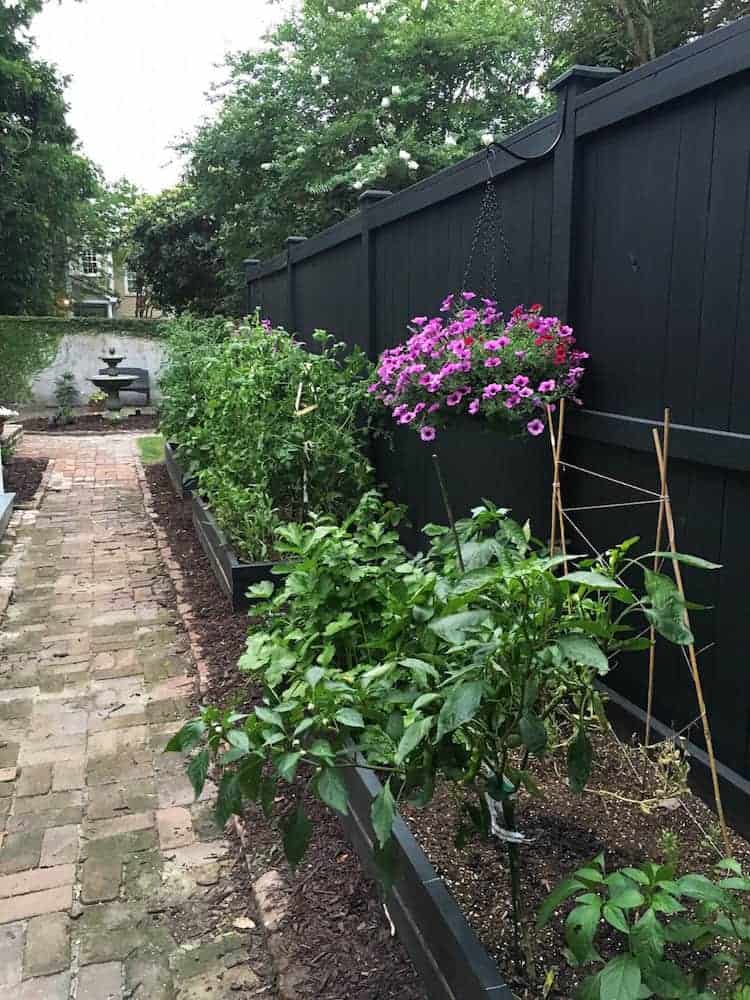
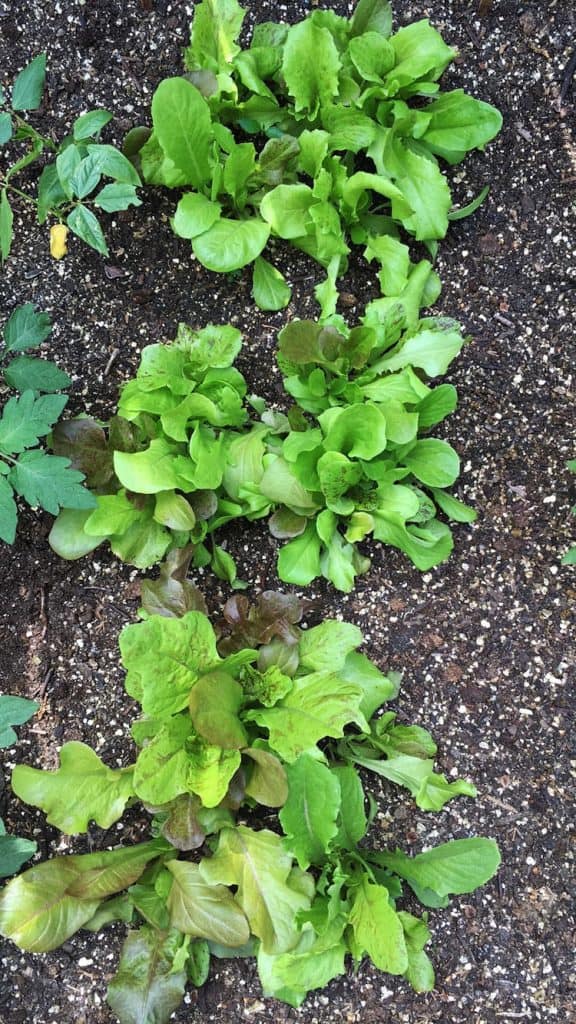
They started to get a little bit bigger as summer continued...and a little out of control.
As they grow, you'll want to make sure you use stakes, caging, and supports early on. Once they grow larger, it will be too late to implement these, as they will be too large and unwieldily to get them inside the caging.
....then EAT!
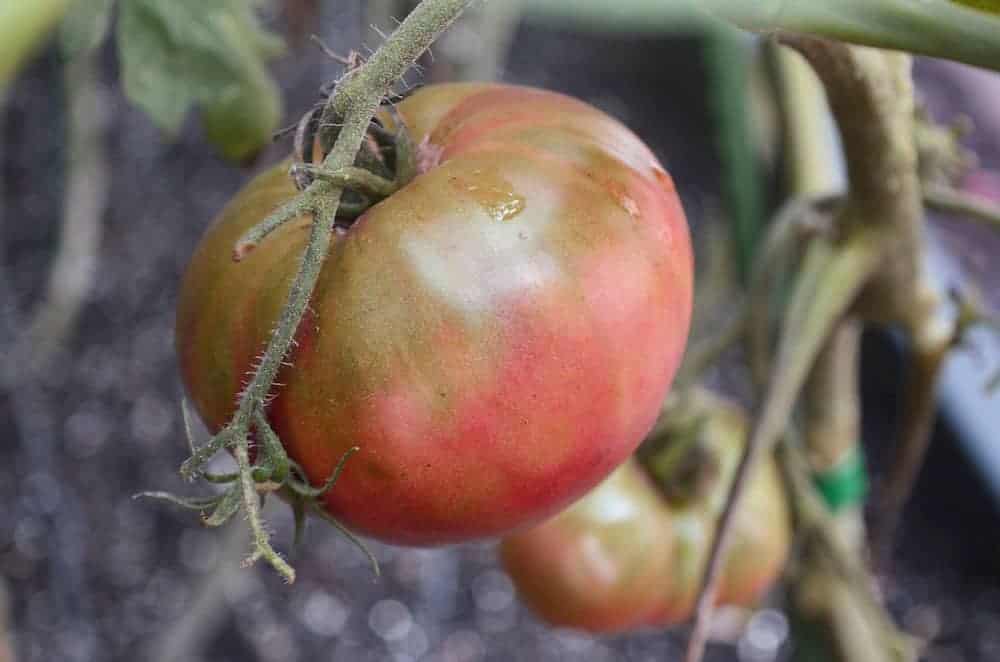
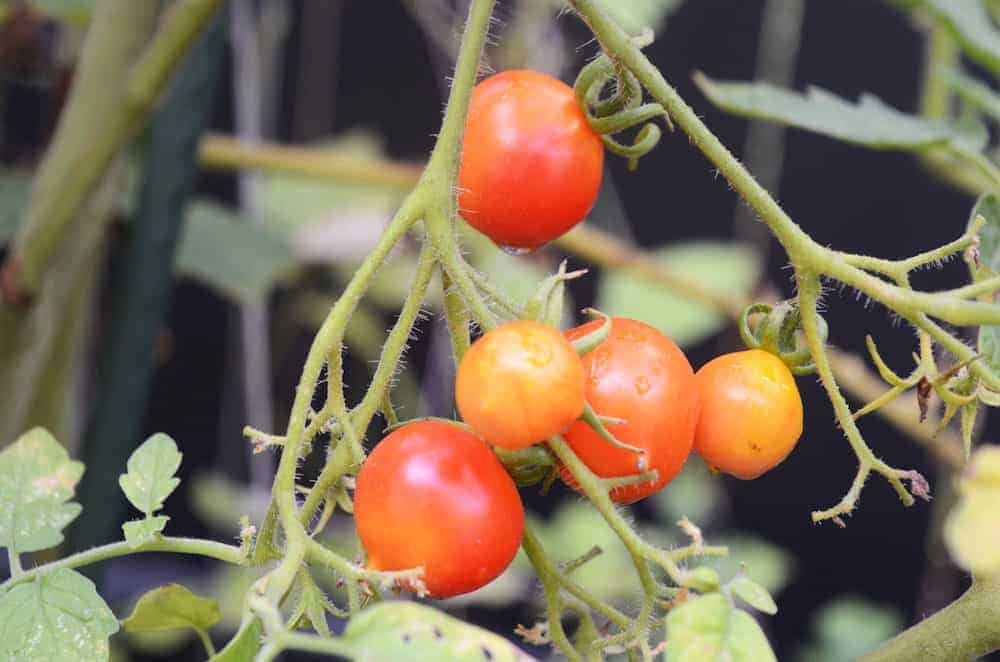
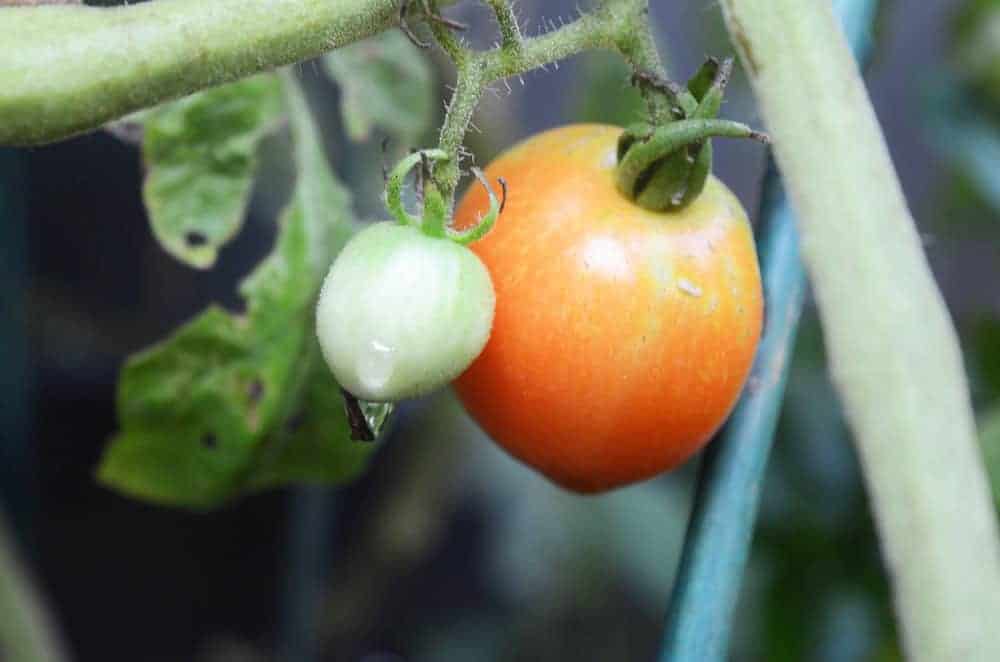
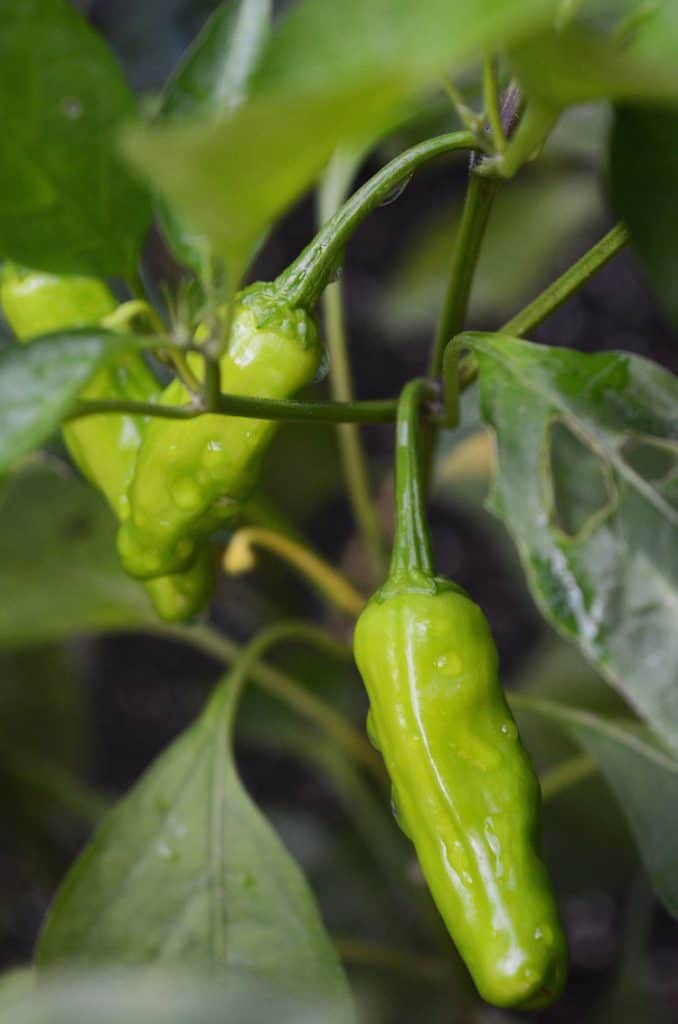
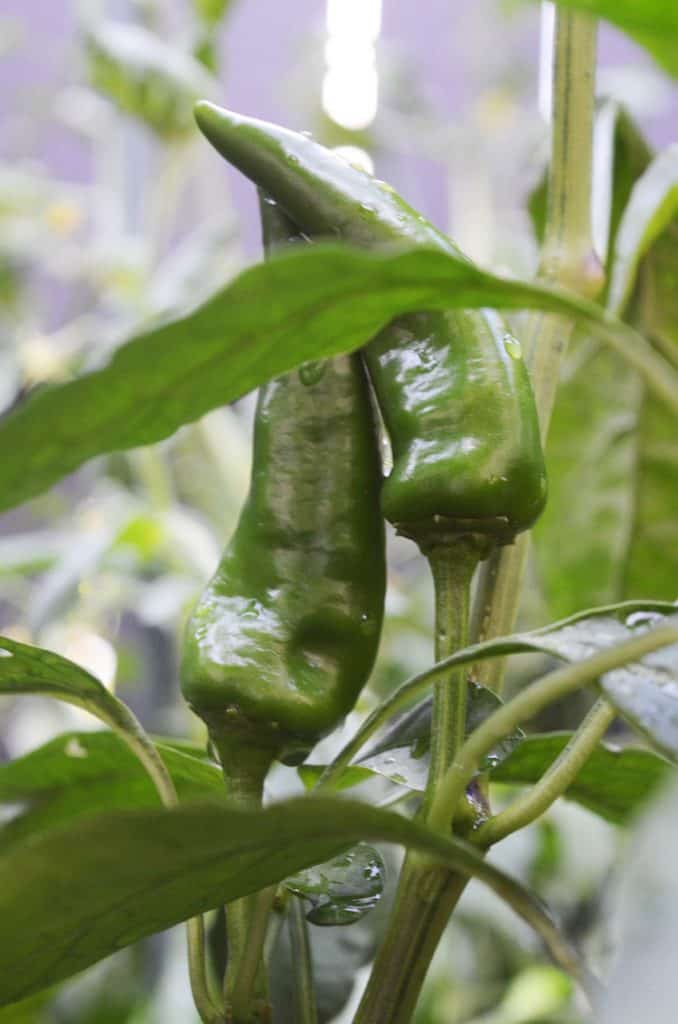
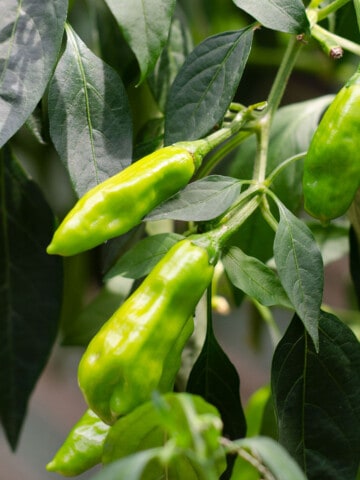
And then, FOOD! We got some great lettuce, tomatoes, and peppers.
These are shishito peppers, which you can learn all about here and find a recipe on how to cook them here.
They're one of the easiest peppers to grow and delicious to eat!
Since this first run, we've expanded quite a bit, and our food supply isn't just limited to our square foot vegetable garden boxes.
We've added fruiting trees, bushes, and even a beehive!
I may earn a small commission off purchases made through affiliate links in this post from Amazon and other sellers. This helps me continue to run the blog and keep providing you fresh content. Thank you for your support!



Sergii
Pressure treated board aren't the best choice. Sure, the chemicals aren't as bad as it used to be but it's still cchemicals. If you are building from scratch, should use the best materials if possible.
Jessica
Hi Sergii - thanks for your feedback! In the climate we live in, the pressure treated boards are necessary to avoid rot. They are never in direct contact with the plants or the food you eat so there is very little risk, especially if you are building your own soil mixture and enriching the soil as necessary.