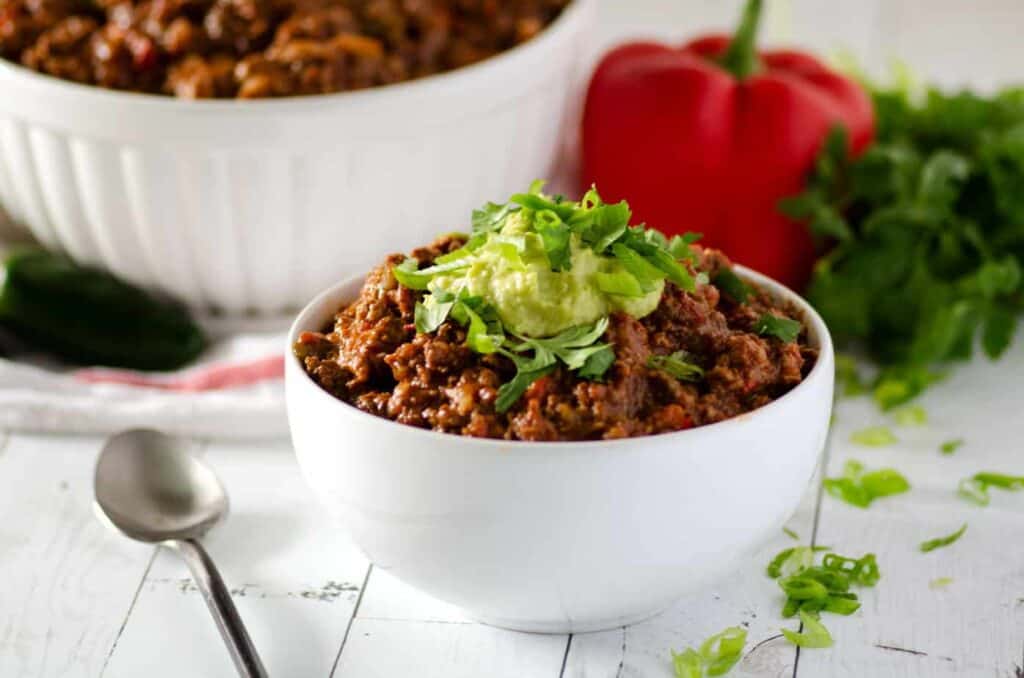
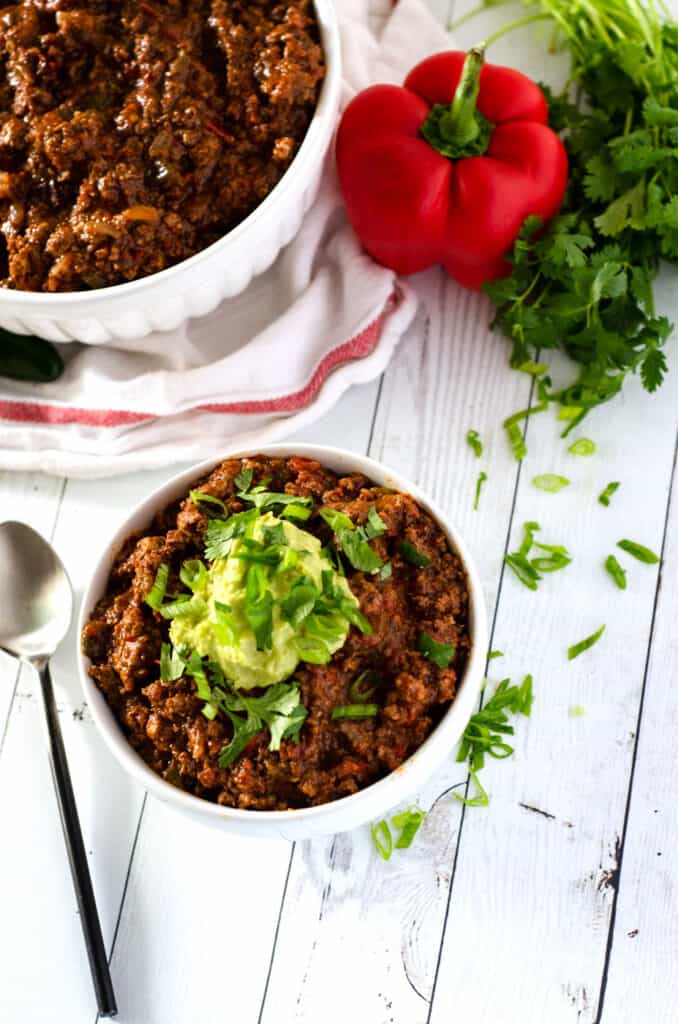
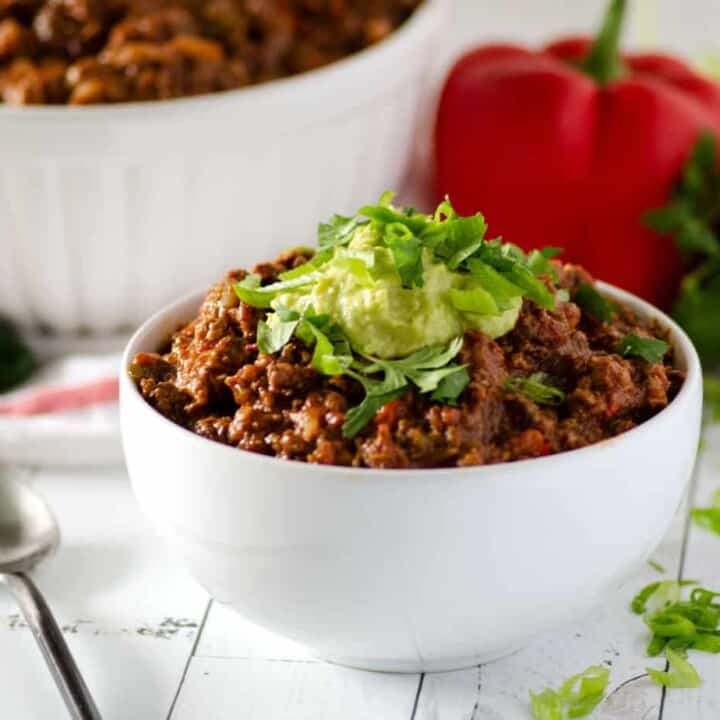
This Instant Pot paleo chili is a quick and easy recipe for a bean free, keto, and Whole30 friendly chili. Great for feeding a crowd or as a meal prep recipe, this is a recipe the whole family will love!
This paleo chili in the Instant Pot is the answer to all of your fall weeknight dinner dreams. Ready in less than an hour and packed with flavor, you'll fool everyone into thinking you cooked for hours, when in reality, that mighty little Instant Pot did all the work.
Hearty and meaty, it's keto friendly and Whole30 compliant and will warm you from the inside out.
The Instant Pot is hands down my most used kitchen appliance. It's working overtime for me in my kitchen multiple days a week.
Whether it's handling meal prep like chicken breasts, sweet potatoes, or steaming eggs, or making a full meal like Instant Pot Sesame Chicken, my Instant Pot is seriously almost always going.
One thing the Instant Pot is amazing at is soups and stews. No more waiting eight hours for dinner in the slow cooker, no more watching the stovetop to make sure nothing's burning. Pop it all in the Instant Pot, set it, and forget it!
So, after making my original paleo chili recipe, I knew I needed an Instant Pot chili. And friends, here it is. The perfect hearty, meaty, smoky, flavorful paleo chili - in the Instant Pot.

Getting comfortable with your Instant Pot
I hear from people all of the time how they have an Instant Pot and haven't used it, because all the buttons scare them. Or it's still in the box because they were too intimidated to take it out.
(If this is you, start here with my post on getting comfortable with your Instant Pot!)
This chili recipe is one of the easiest Instant Pot meals you can make. It's great for beginners and will not intimidate you to no end like some other Instant Pot recipes out there.
You'll get to use two or three different functions for this recipe:
Sauté function: I typically use this when I want to either tender up some veggies or brown some meat before closing up the IP and letting it roll. In this case, we're going to use it for both!
Chili function: Yep, that's right - it has a button to cook chili. No excuses here - no one with a Chili button gets to say this was too hard to make in the IP.
Manual function: Not all models of Instant Pot have a Chili button. If yours doesn't, you're going to use Manual. All that means is you are manually choosing the amount of pressure to cook with, rather than a built in setting. We are going to use HIGH.
For real though, no excuses. Two buttons and you're done. You've got this.
Ingredients
You'll start with a lot of things you would expect to see in a chili recipe: ground beef, bell peppers, onion, chili powder, and a handful of other spices and seasonings to add a punch of flavor.
I use a combination of ground beef and ground pork, but you could also include ground turkey as a substitute if you preferred a leaner meat.
I also include some coconut aminos (a soy sauce substitute) as well as some cocoa powder. Don't be scared of the cocoa powder - it doesn't taste like chocolate! It just provides more depth and complexity to the finished flavor.
Remember, chili in general is a pretty versatile food. You can throw quite a bit of stuff in it and not hurt it. If you want a stronger tomato flavor, you can add tomato paste. If you want it spicier, you can add some cayenne pepper. Sometimes I love to add a can of diced green chiles, too. Don't be scared to experiment!
Instructions
The best part about making things like this in the Instant Pot or other electric pressure cooker is that it has multiple functions and does it all in one appliance.
You'll start with the sauté function. Wait until it says "hot" and then add a bit of oil to the bottom. Give that a minute or two to heat up, then add your peppers and onions and cook them for a few minutes until they get tender.
Add your meat. Add your spices. Toss it around, get it all good and coated. Add your remaining ingredients, then hit cancel to turn off the sauté function.
Mix it all up again, then put the lid on the Instant Pot and set the valve to sealing.
Use the 'Chili' function on your Instant Pot and set the timer for 25 minutes. (if you don't have a 'Chili' button. use the 'Manual' function on high pressure.)
Allow the pressure to naturally release for 10-15 minutes, then release the valve and remove the lid.

Serving
Serve this healthy chili recipe with your favorite chili toppings. Sour cream is a no-go for paleo and Whole30, but it's ok for keto! I love some sliced avocado and a sprinkle of kosher salt on top with mine.
Freezing
This paleo chili in the Instant Pot is the perfect freezer meal.
I love to make a batch of it, and split it in half. Half goes straight into the freezer. The other half gets eaten for dinner, with leftovers going in the fridge for lunches or dinners throughout the week.
Whether you eat it right away, or freeze it for meal prep, one thing is certain - once you make it, this chili will be on permanent Instant Pot rotation.
Craving some fall seasonal flavor? Click here for my TURKEY PUMPKIN CHILI recipe.
Need the pumpkin chili in the Instant Pot? Click here for my INSTANT POT TURKEY PUMPKIN CHILI.
Recipe

Instant Pot Paleo Chili
This instant pot paleo chili is a quick and easy recipe for a bean free, keto, and Whole30 friendly chili. Great for feeding a crowd or as a meal prep recipe, you'll make it again and again!
Ingredients
- 1 tablespoon coconut oil
- 1 large yellow onion, diced
- 1 green bell pepper, diced
- 1 red bell pepper, diced
- 4 garlic cloves, minced
- 1 lb ground beef
- 1 lb ground pork
- 1 chipotle pepper in adobo sauce
- 2 tablespoon chili powder
- 1 ½ tablespoon cumin
- 1 teaspoon oregano
- 1 teaspoon unsweetened cocoa powder
- 1 teaspoon salt
- 1 28 oz can crushed tomatoes
- ½ cup chicken or vegetable broth
- 1 tablespoon coconut aminos
Instructions
- Turn your Instant Pot to the sauté function and add the coconut oil, allowing to heat for 2-3 minutes.
- Add the onion and bell peppers and cook until tender, about 5-7 minutes.
- Combine the chili powder, cumin, oregano, cocoa powder, salt, and pepper in a small bowl.
- Return to the Instant Pot, and while still using the saute function, add the ground beef and ground pork to the pot. Cook until browned and most of the pink is gone.
- At this point, you may choose to drain off some of the grease from the meat. If the pot looks oily, drain the contents using a colander and then return to the pot.
- Add the diced chipotle pepper, minced garlic, and spice mixture to the pot, stirring to combine.
- Add the can of crushed tomatoes, broth and coconut aminos to the pot and stir.
- Turn off the Sauté function, put the lid on the IP, and set the valve to sealing.
- Use the 'Chili' function on your Instant Pot and set the timer for 25 minutes. (if you don't have a 'Chili' button. use the 'Manual' function on High.)
- Allow pressure to naturally release for 10 minutes or so. Release the valve and remove the lid.
- Your chili may seem a bit watery at this point. That's normal! Let's fix it.
- Turn the sauté function back on. Allow the chili to simmer for 5-10 minutes, stirring occasionally, until the liquid cooks down and reduces.
Notes
The flavors in this chili are better the second day! You can certainly eat it right after cooking. Leftovers will refrigerate well, and you'll find the flavors to a bit deeper on day two and beyond.
This paleo chili in the Instant Pot freezes exceptionally well and is great for meal prep! Store in the freezer for up to 6 months or a deep freezer for up to a year.
Recommended Products
As an Amazon Associate and member of other affiliate programs, I earn from qualifying purchases, at no additional cost to you. Thank you for your support!
Nutrition Information:
Yield: 8 Serving Size: 1Amount Per Serving: Calories: 401Total Fat: 24gSaturated Fat: 10gTrans Fat: 0gUnsaturated Fat: 12gCholesterol: 104mgSodium: 666mgCarbohydrates: 14gFiber: 3gSugar: 7gProtein: 33g
I may earn a small commission off purchases made through affiliate links in this post from Amazon and other sellers. This helps me continue to run the blog and keep providing you fresh content. Thank you for your support!


Leave a Reply