This no bake chocolate peanut butter pie is dairy free, gluten free and can be made in less than 20 minutes. Perfect for your next family gathering or your next date night in!
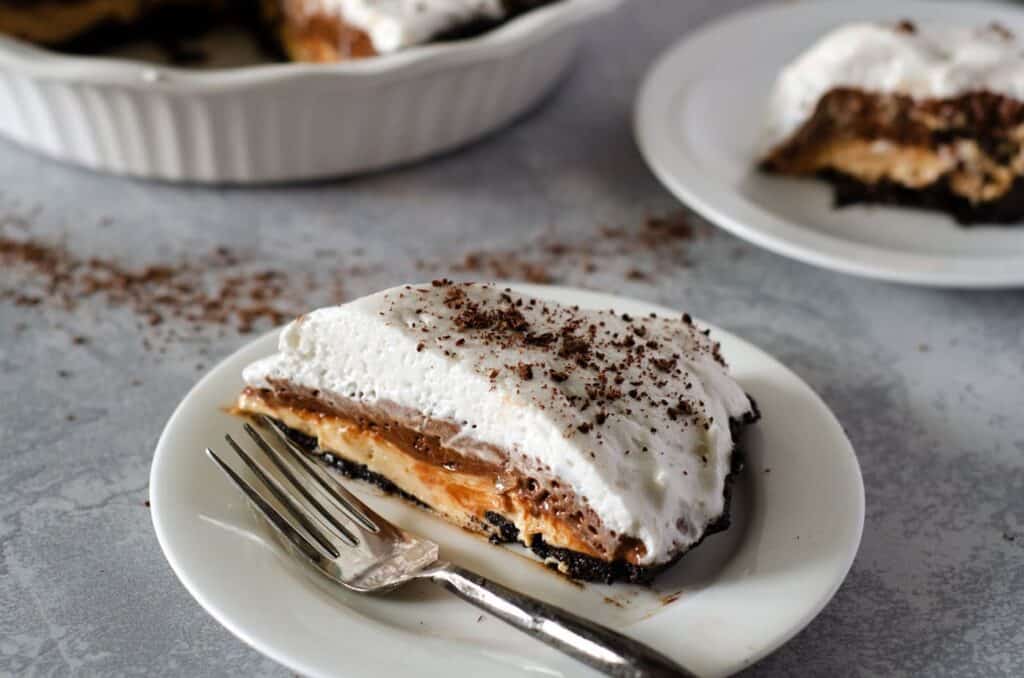
You know when your birthday rolls around, and all you want to make is your own recipe for gluten free, dairy free, chocolate peanut butter pie, you've got a winner.
This chocolate peanut butter pie:
So, it's basically the best thing to happen to dessert in my house. I hope it is in yours too.
This recipe was inspired by the chocolate peanut butter pie recipe over on Crazy for Crust. The pie looks delicious, but I knew all the dairy and gluten in that would leave me feeling terrible.
It's also no secret that I'm a big fan of shortcuts, and I wanted to make this recipe easy as pie. (See what I did there?)
I've made sure there's no time consuming steps and you can for real put this thing together in a New York minute.
How to make no bake chocolate peanut butter pie
Gluten free crust
We're going to start with the crust. I am all for eliminating extra steps from recipes, finding shortcuts, and keeping things as simple as possible, and this is pie is no exception.
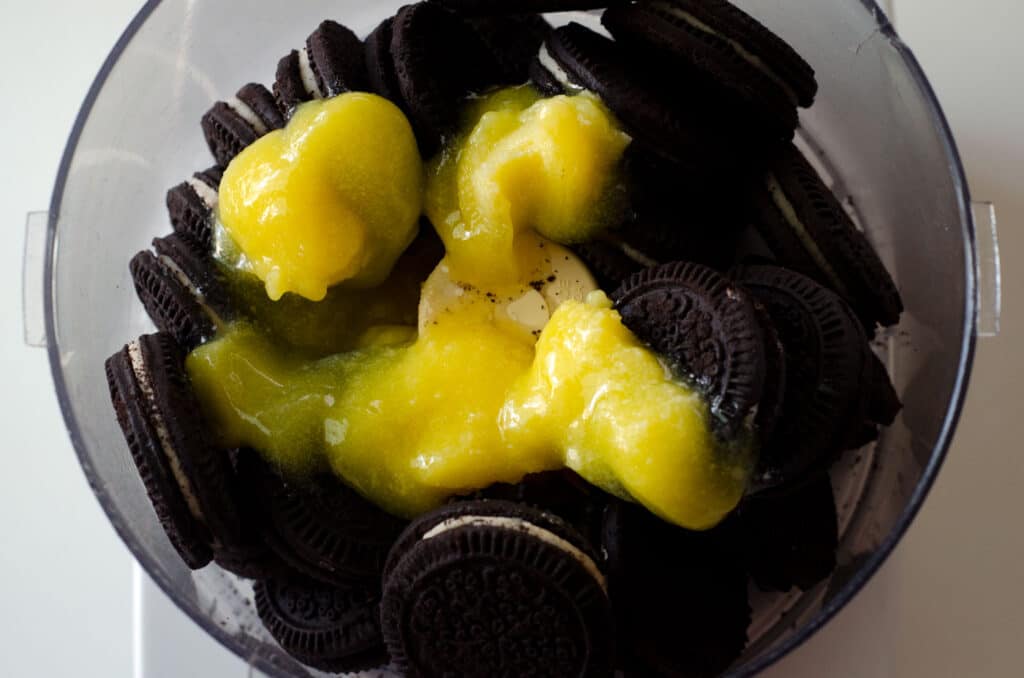
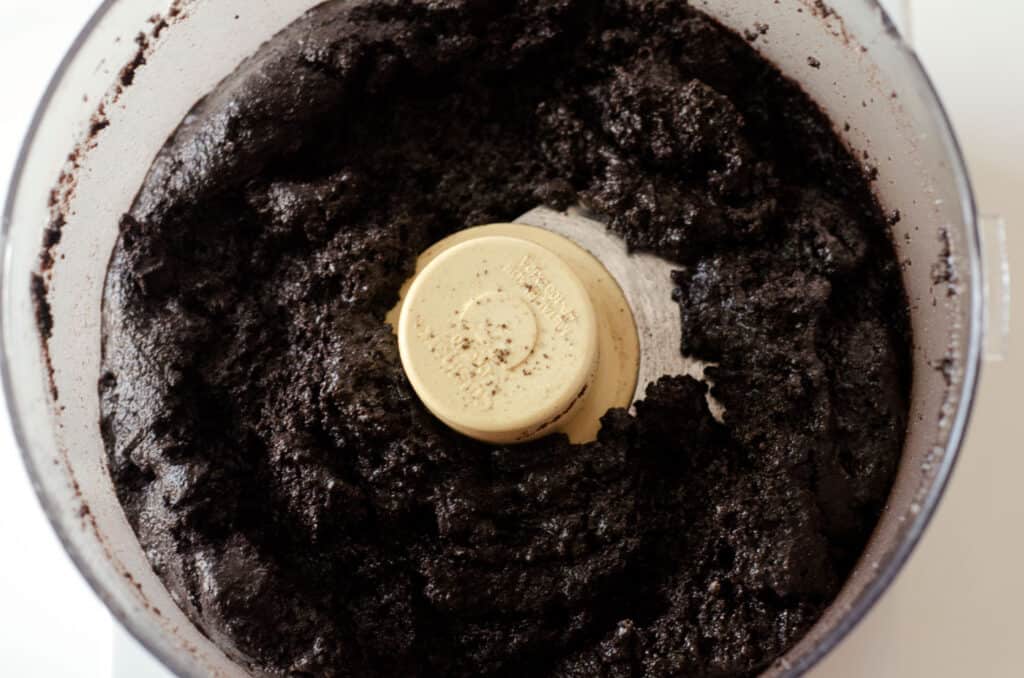
First, put an entire package of gluten free "Oreos" in your food processor with the ghee and pulse until you have a crumbly mixture that holds together.
- A
- Exhibit B
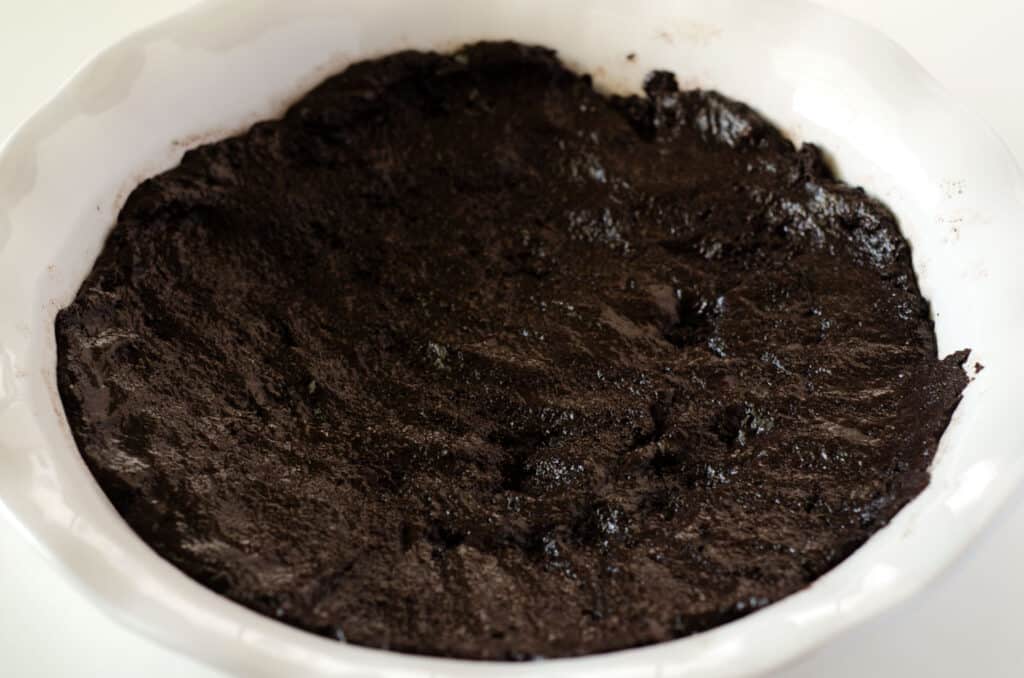
- Exhibit C
I use gluten free Jo-Jos from Trader Joes, but there are a number of other gluten free options out there. I haven't tried them, so I can't guarantee results with another brand.
If you over-mix your crust, it will come out too wet. (See Exhibit C.) Don't do this!
If this happens, stick the pie pan in the fridge to let the ghee firm up a bit, and then you will be able to press it a bit more up the sides and have it hold its shape:
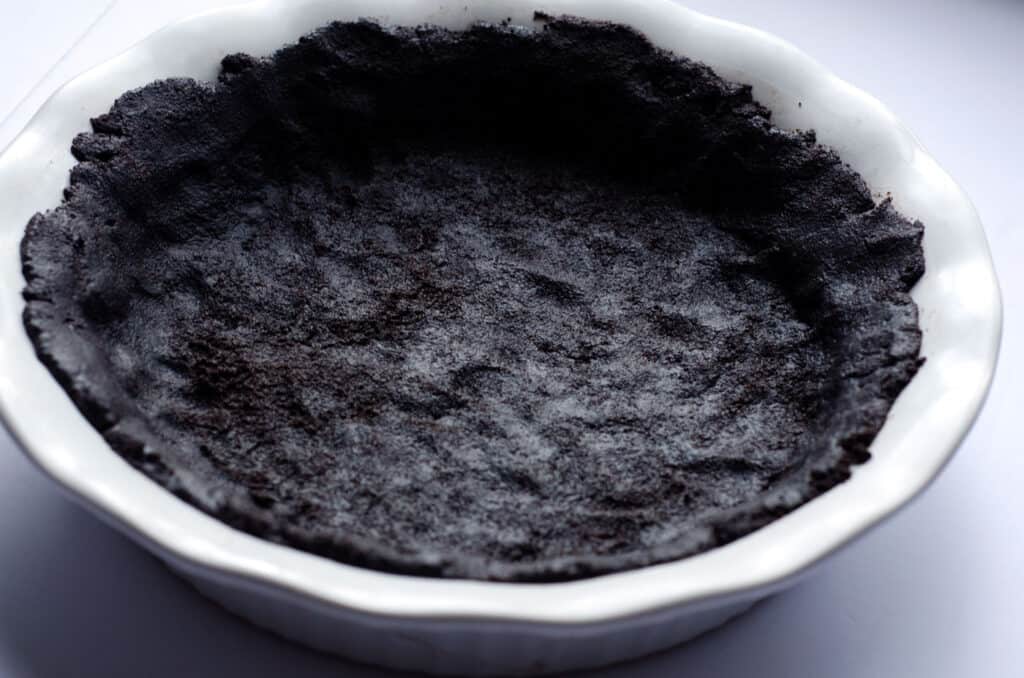
Don't worry if it's not beautiful. We're gonna cover it up.
Filling layers
Next up, we need to make our two filling layers: peanut butter and chocolate. Keep in mind here if you're not used to working with dairy alternatives, the sweetened condensed coconut milk and CocoWhip aren't going to act the exact same as their cows-milk alternatives. Here's a guide to alternative dairy products and how to use them. Now, back to the pie:
Grab a mixing bowl for the peanut butter layer and a small sauce pot for the chocolate layer.
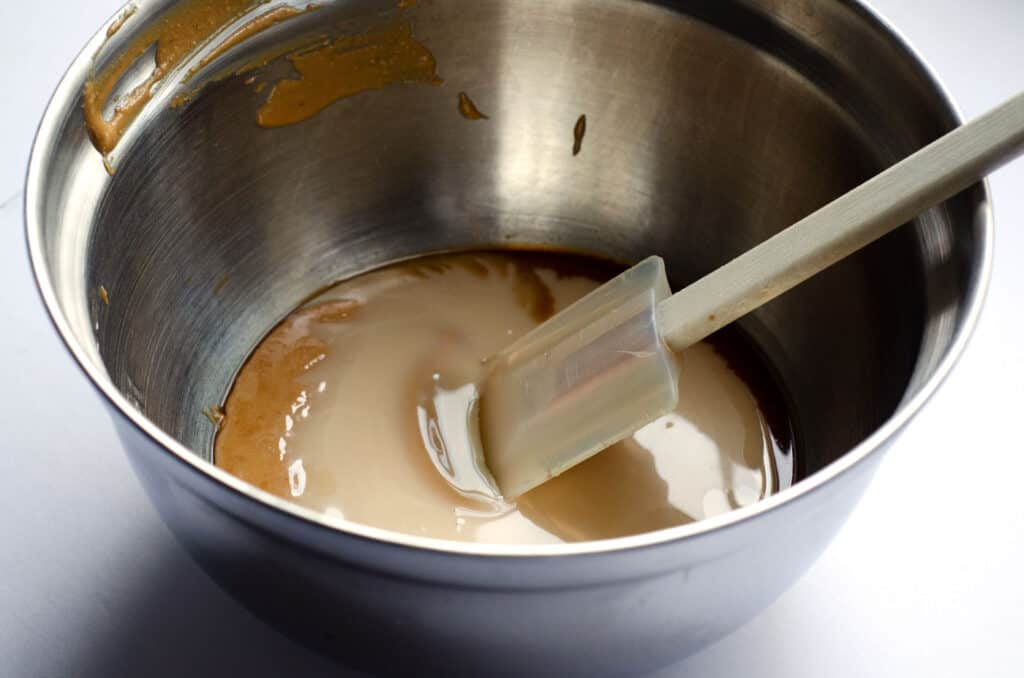
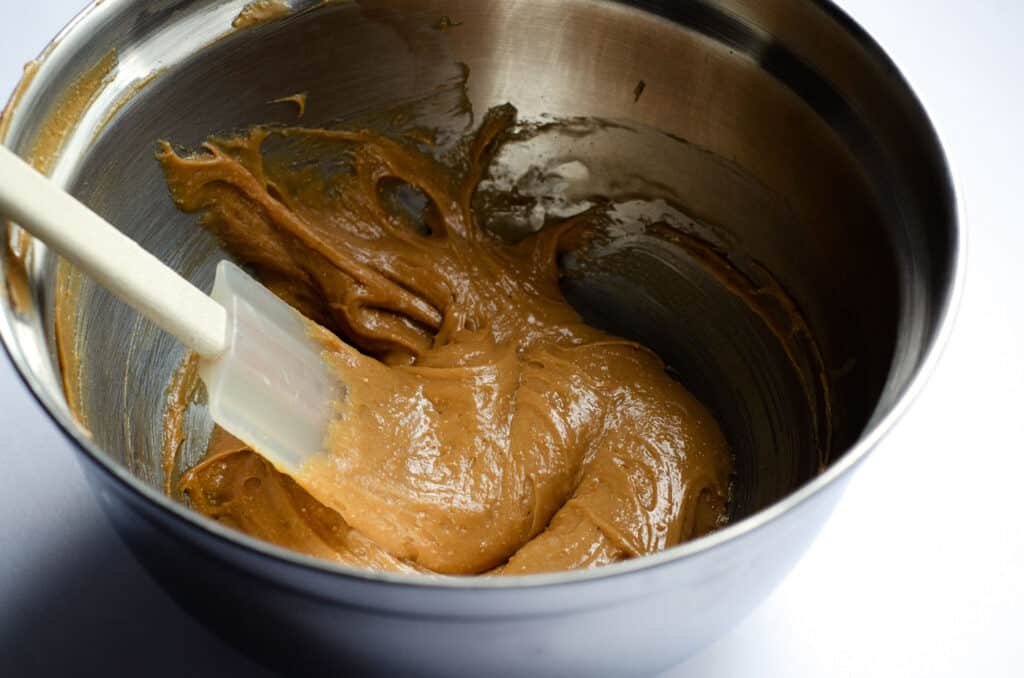
In the bowl, add the peanut butter with half the sweetened condensed coconut milk and stir until combined. It'll be kind of sticky; that's ok.
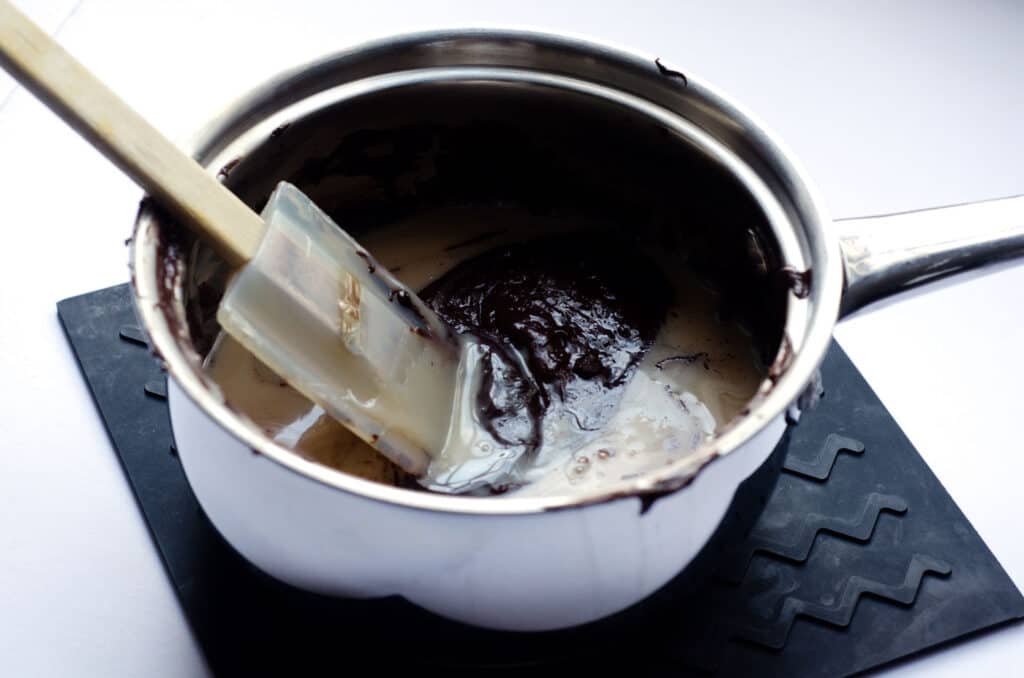
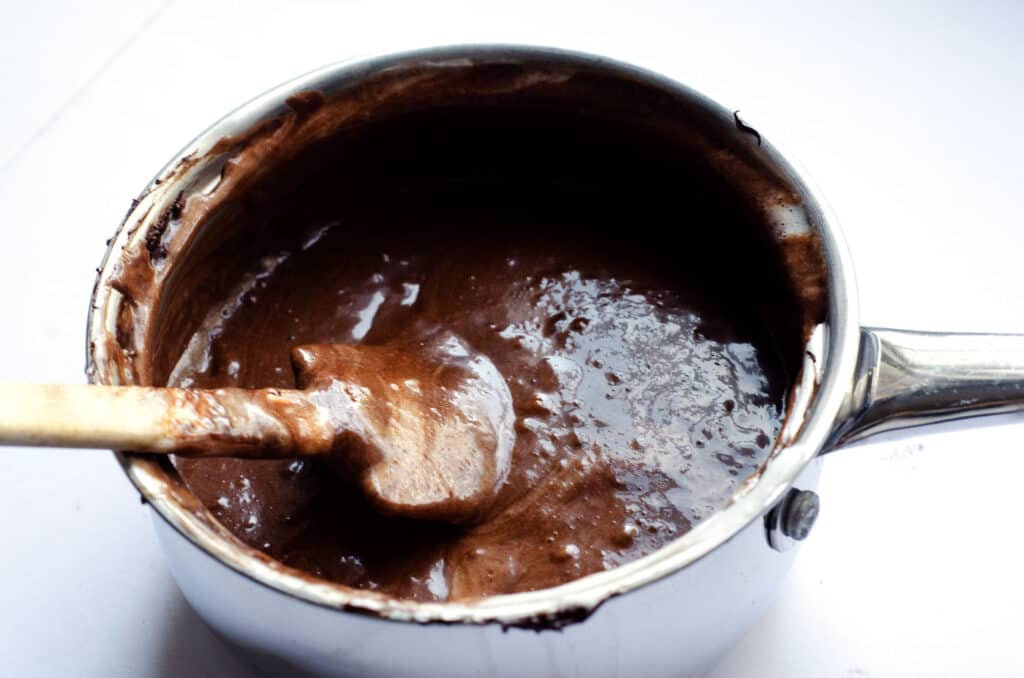
Set that aside and melt the chocolate over VERY low heat in the sauce pot.
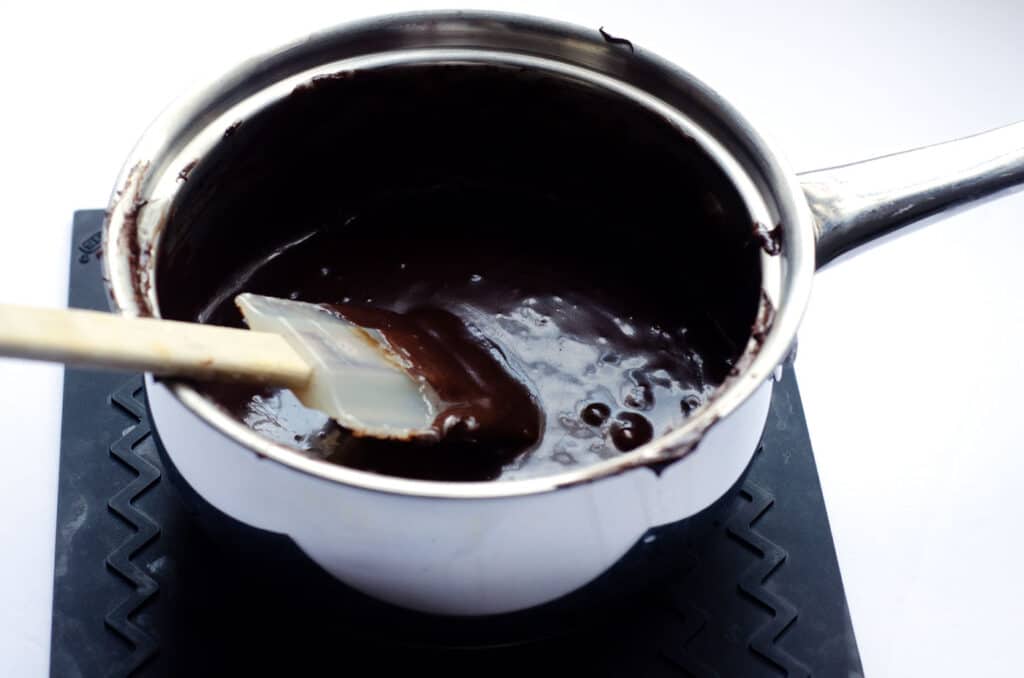
As soon as it's melted, remove from heat, add the remaining half of the can of sweetened condensed coconut milk and stir until combined.
I like to get both of these mixtures ready to go before involving the whipped cream.
Handling dairy free whipped cream
Next, we're going to fold in the CocoWhip into both mixtures. You're going to use ⅔ of a container for each layer, and fold it gently.
If you're not sure what folding means, you're basically going to scoop from the bottom of the pot and bring the contents over the top, working in a circular motion.
Homemade whipped cream, when manhandled, will do something called "fall." it will turn back to liquid and you'll be left with a soupy mess. No bueno.
The idea is to not "break" the whipped cream. I will tell you that you can be a bit rougher with the CocoWhip than you would with homemade whipped cream.
The CocoWhip has stabilizers in it, so this doesn't happen unless you let it melt too much. Keep it in the fridge until you're ready to use it, fold it in, then put the pie back in the fridge, and you'll be fine.
So, we're folding. Here's what that looks like:
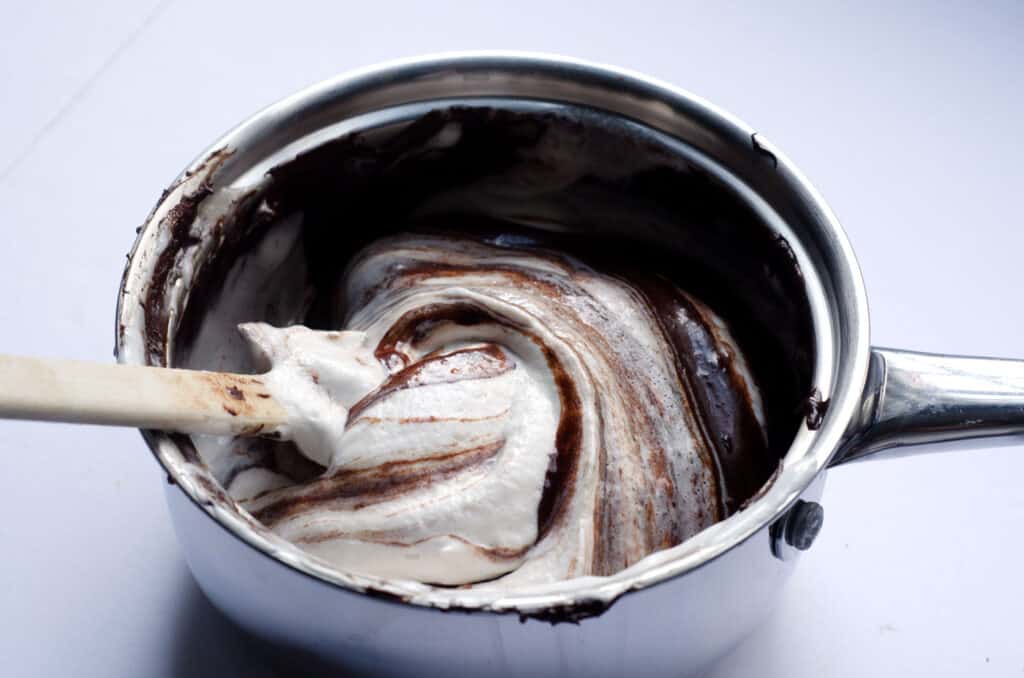
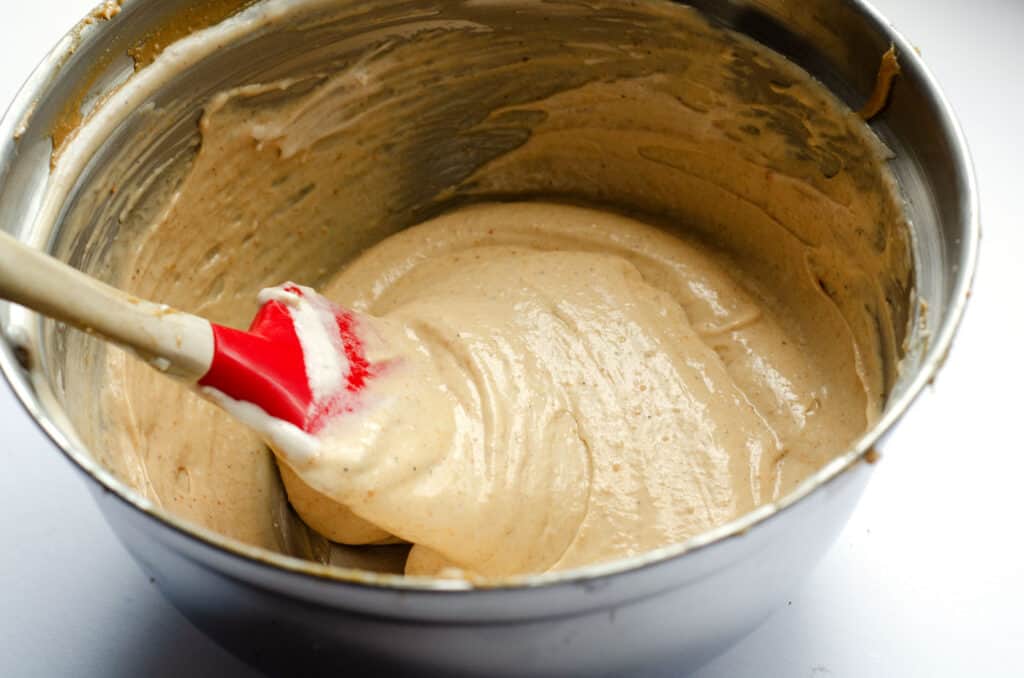
Once you've got the whipped cream folded into both layers, they should each look a bit fluffier and less dense than they were before.
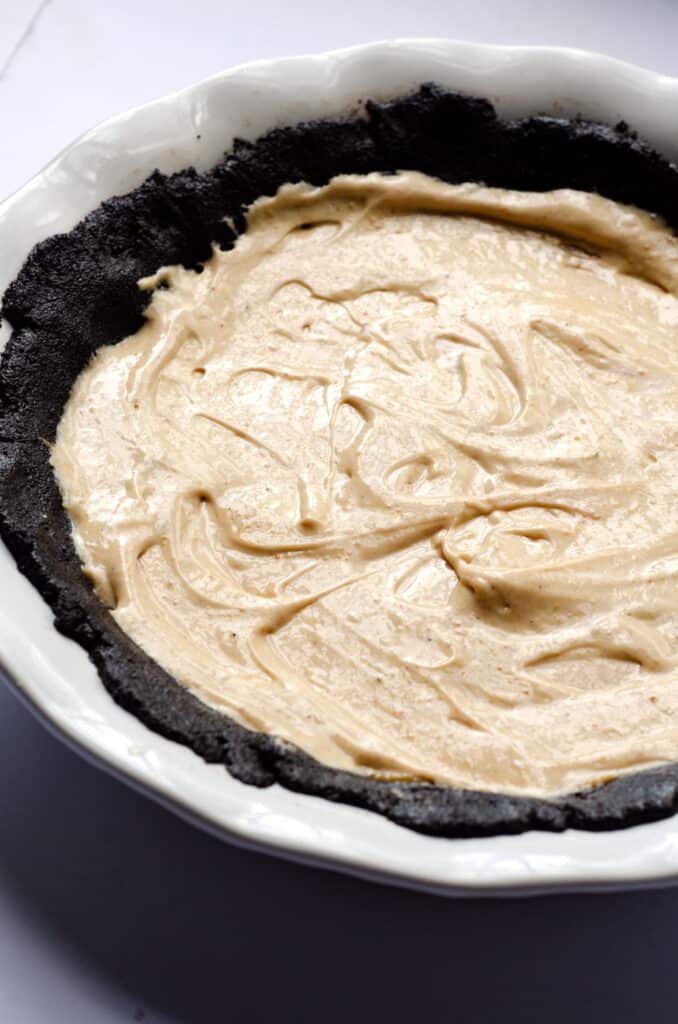
Here's my peanut butter layer and my chocolate layer with the coconut whipped cream folded in:
Showtime!
Now it's time to add them to the crust!
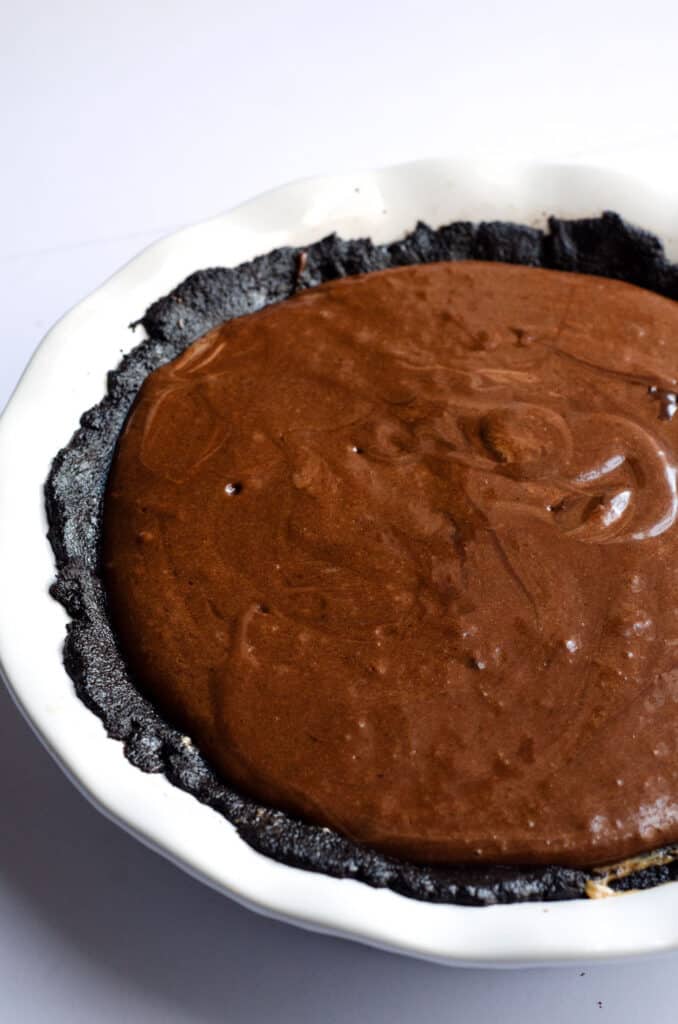
First spread your peanut butter layer into the crust. Then, add your chocolate layer.
When I add my chocolate layer, I try to pour it all over instead of just one spot. If there are thin areas when you spread it, it can get mixed in with or pull on the peanut butter layer. Pour it all over and spread carefully with a rubber spatula.
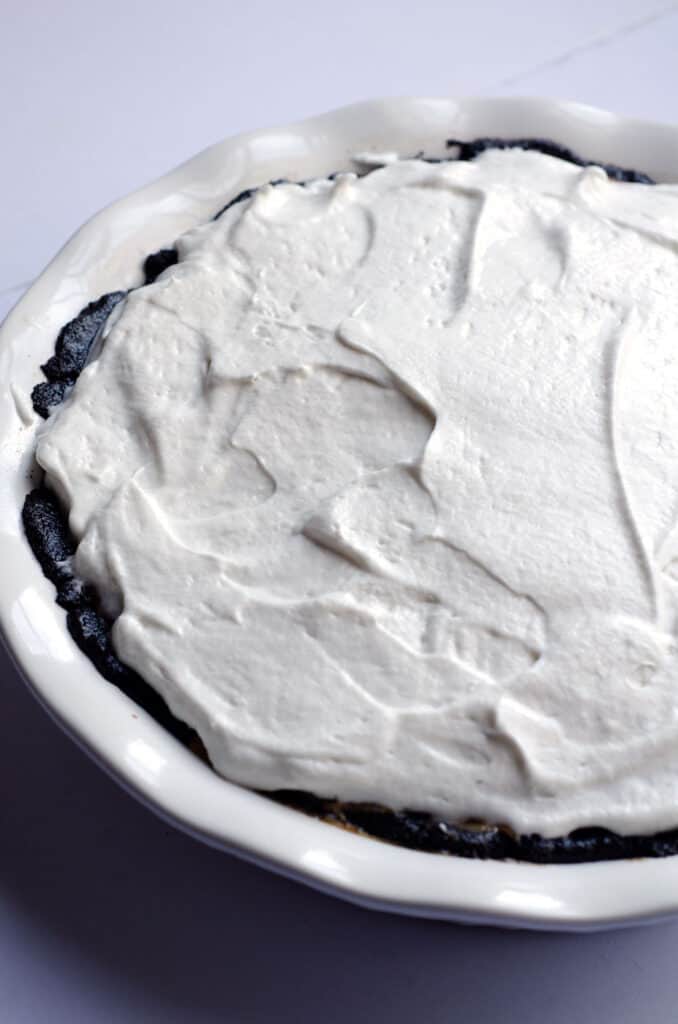
Last but not least, take the remaining CocoWhip (you should have about ⅓ of each container left), plop it on top, and give it a (gentle) spread around.
Put the pie in the fridge for at least 4 hours to allow it to firm up a bit before cutting and serving.
Keep refrigerated until ready to serve - it will start to melt and get soupy if it is left out on the counter!
I like to garnish it with dark chocolate shavings on top, which you can do before you put it in the fridge, or right before serving.
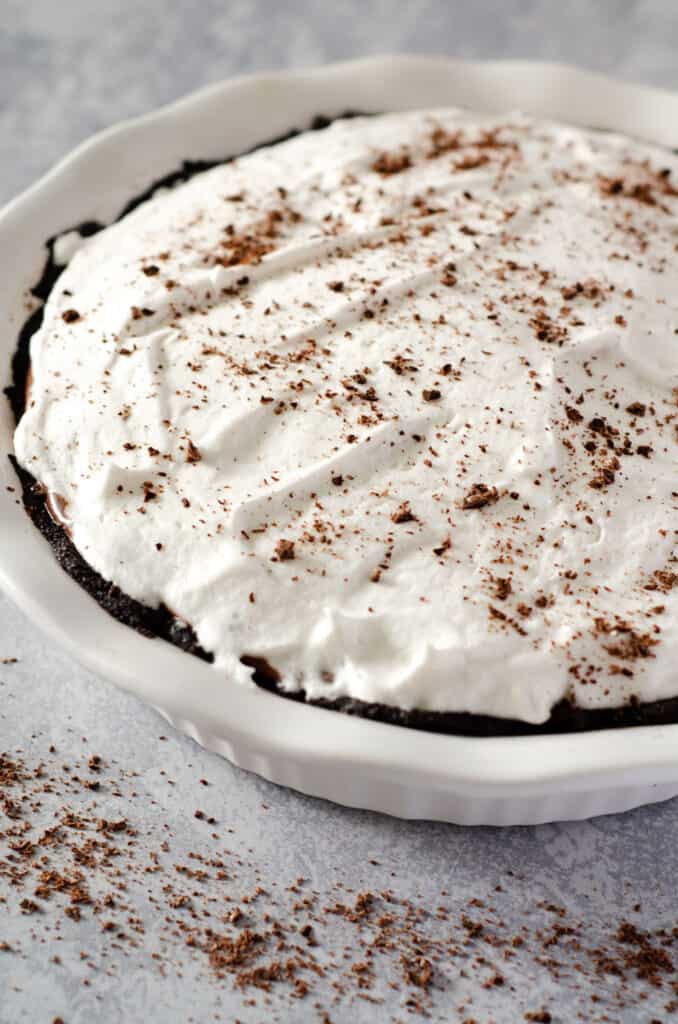
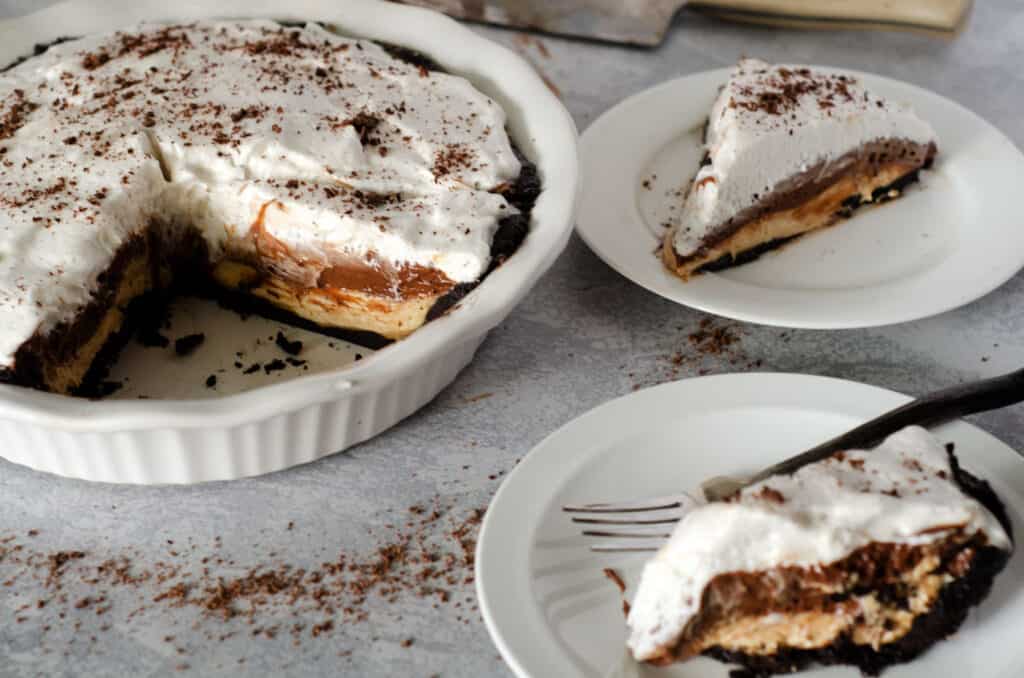
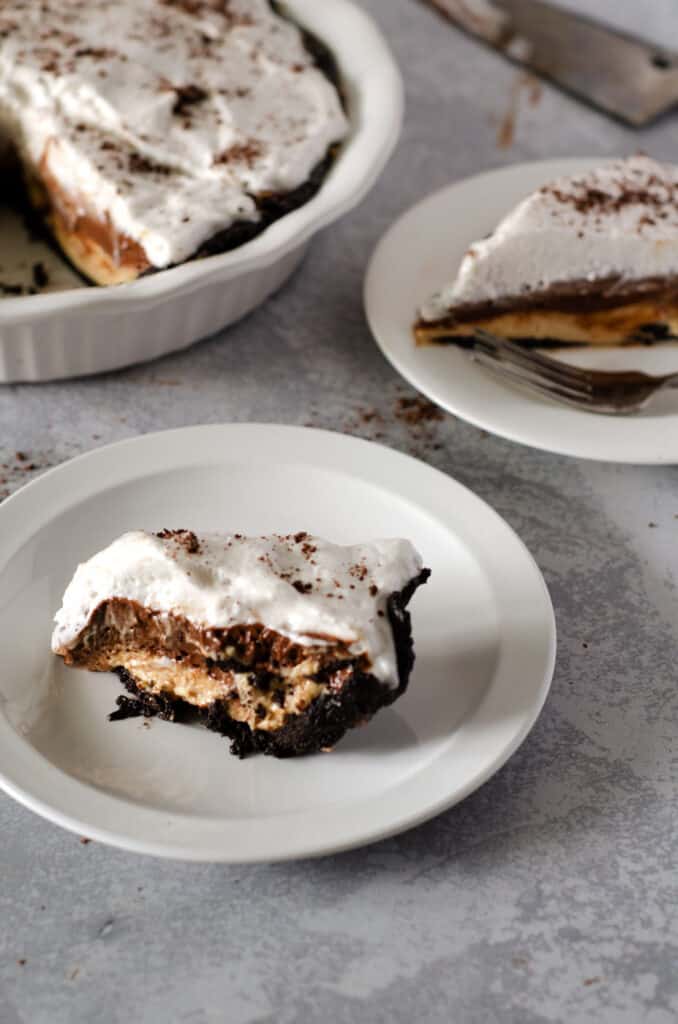
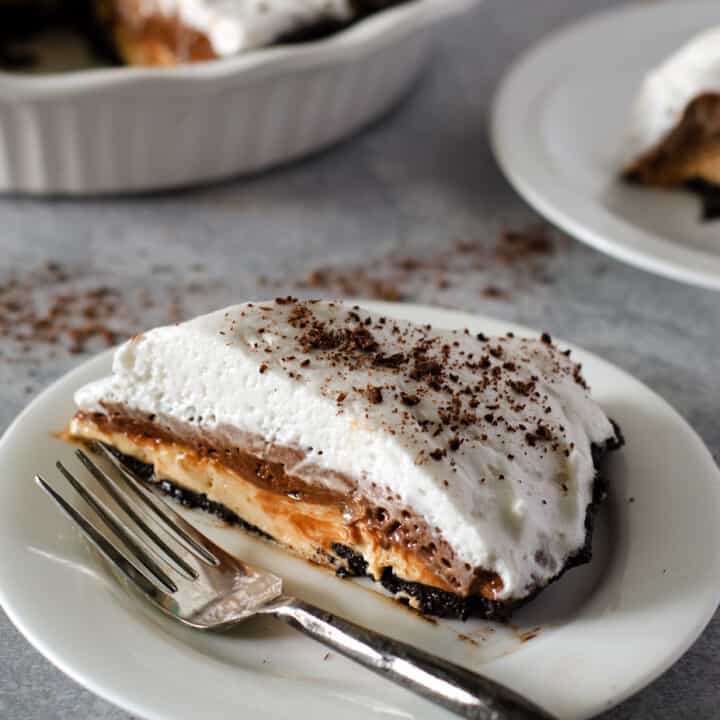
When you cut in, you should see something like this:
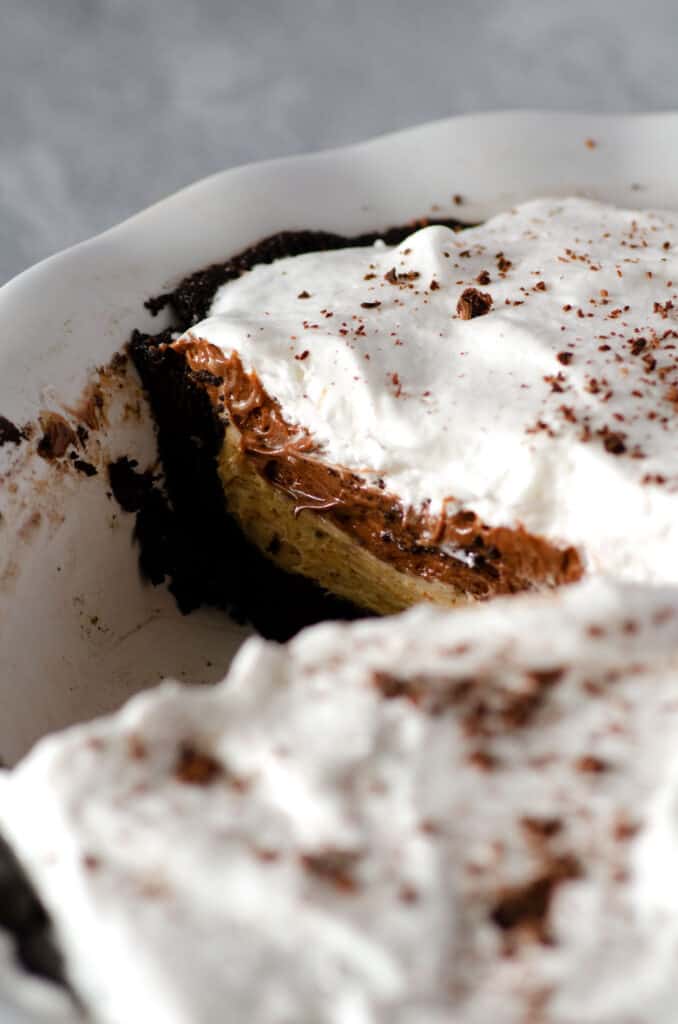
Oh my. This gluten free dairy free chocolate peanut butter pie makes my mouth water just looking at it.
Dairy free pie ingredients
This chocolate peanut butter pie uses three dairy free ingredients: sweetened condensed coconut milk, coconut whipped cream, and dairy free chocolate chips.
Sweetened condensed coconut milk
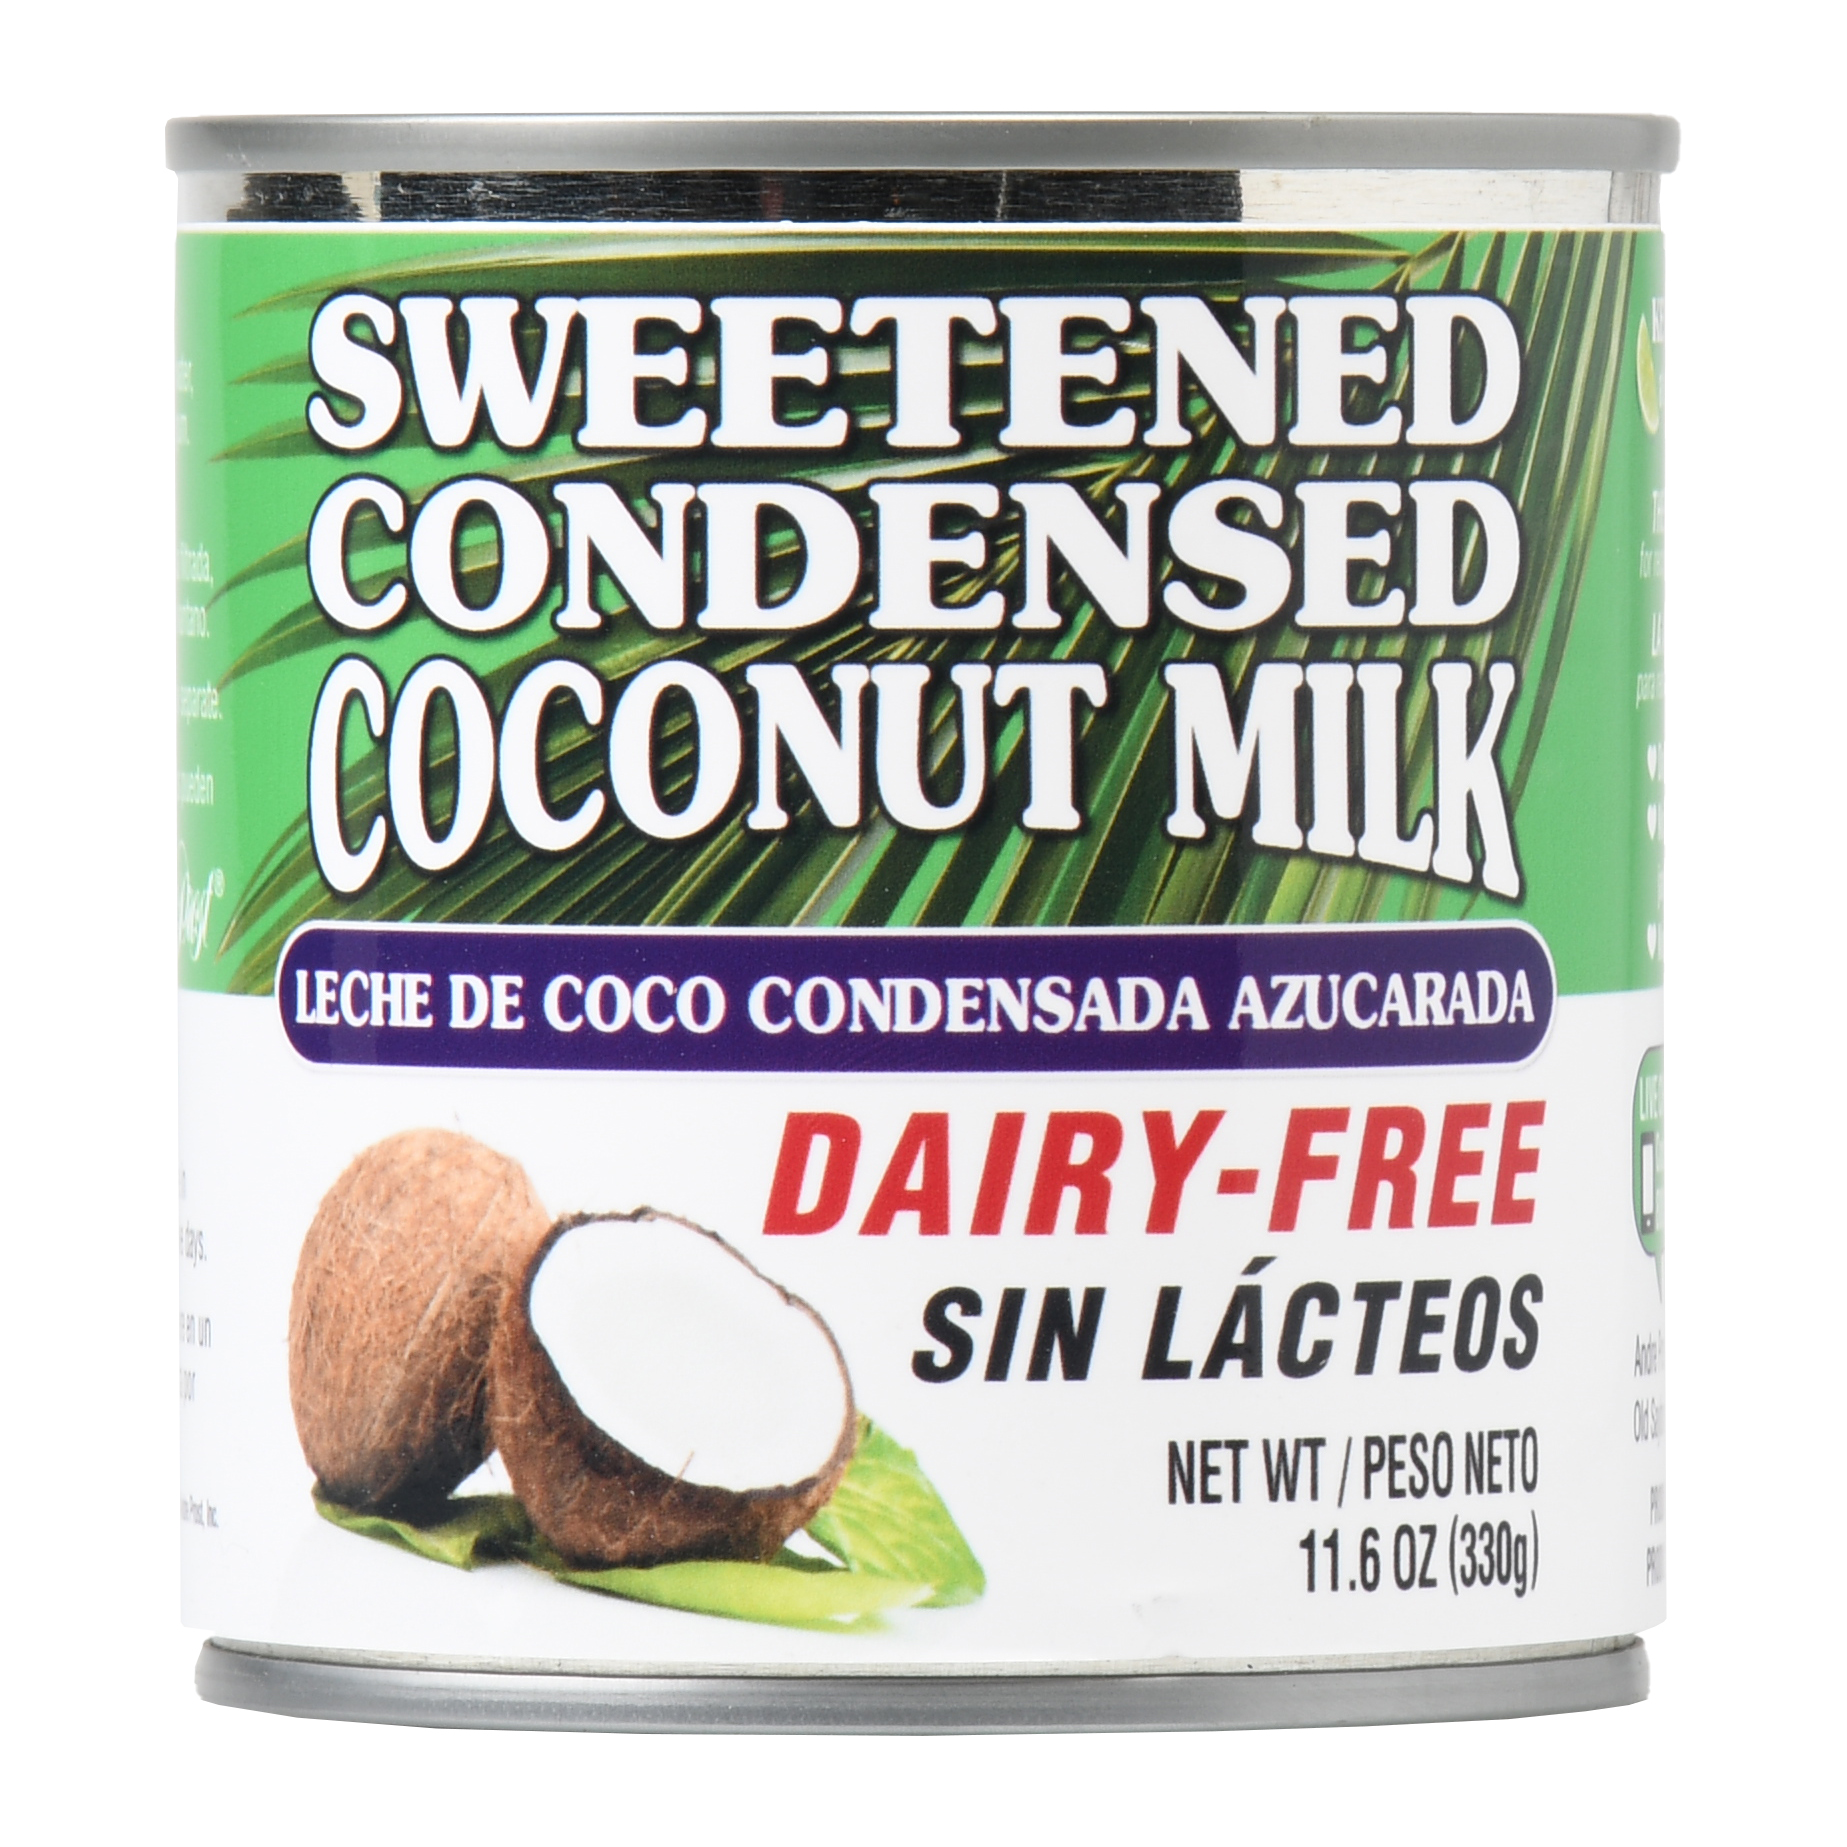
Sweetened condensed coconut milk can be tough to find depending on the store and where you are looking.
WalMart carries this one, and it's in the baking aisle, right next to the regular sweetened condensed milk:
Other grocery stores (I have Publix and Harris Teeter) both had this one, but it was in the International foods aisle in the Asian section, and I had to hunt a bit harder for it:
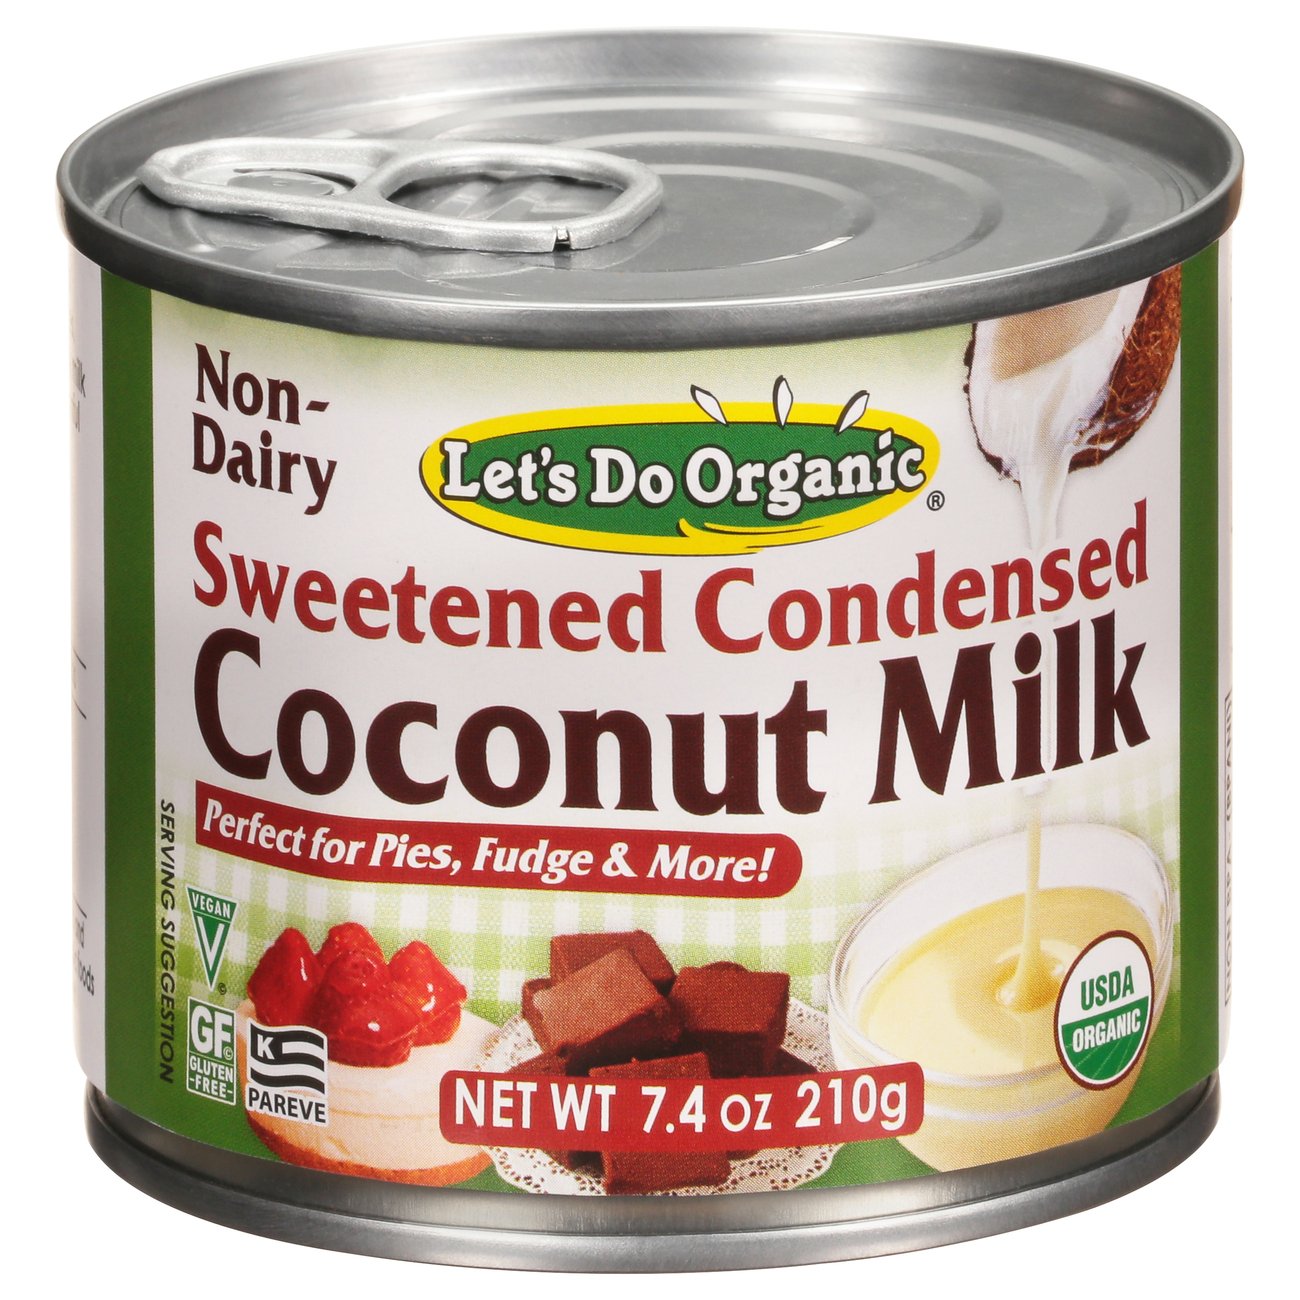
Pay attention to the amounts - the first is 11 oz, the second is only 7. You'll need 5-6 oz per layer, so make sure to purchase accordingly!
Those are my top two recommendations on where to look for it. I've never found it alongside regular coconut milk.
You can get it on Amazon too, but it seems to be exorbitantly expensive in comparison to the other options. Or you have to buy a pack of 12. That's a lot of pie.
If you're channeling your inner Martha Stuart and want to make your own, Detoxinsta has a recipe for homemade sweetened condensed coconut milk here. I've made my own in the past but never gotten it as thick as what you get in the store.
Disclaimer: I have NOT used homemade in this recipe, so I don't know how that will turn out.
Coconut whipped cream
Every time I have made this pie, I have used CocoWhip whipped cream. That's the brand I've found at WalMart, Publix, and Harris Teeter. I'm honestly not even sure if other brands of coconut whipped cream exist?
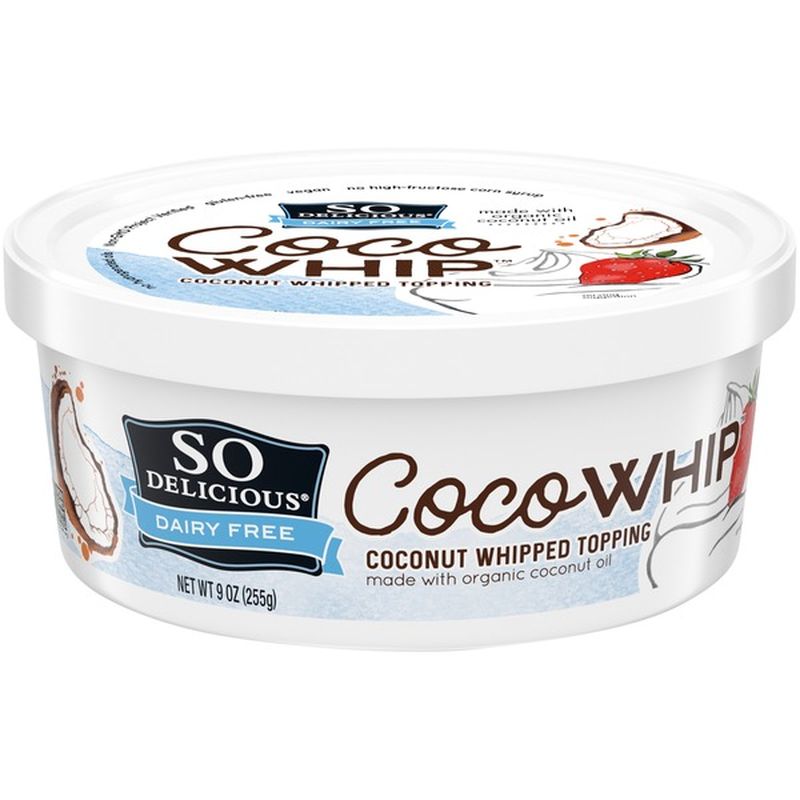
I do NOT recommend making your own coconut whipped cream for this recipe. Yes, you could do it. I don't know if it would stay firm or fall when you fold it in, as it is very delicate.
If you know me, you know I get behind making your own everything. But when we're making this chocolate peanut butter pie, we're leaning hard into the Scaleo territory, so just roll with it.
Go store bought, enjoy your pie, and move on. You can have a salad tomorrow.
Enjoy Life chocolate chips
Enjoy Life is a brand of chocolate chips that are allergy friendly: they are dairy free and soy free, which are the two most common allergens found in chocolate chips.
For this pie, I have used both their dark morsels:
As well as their semisweet chips:
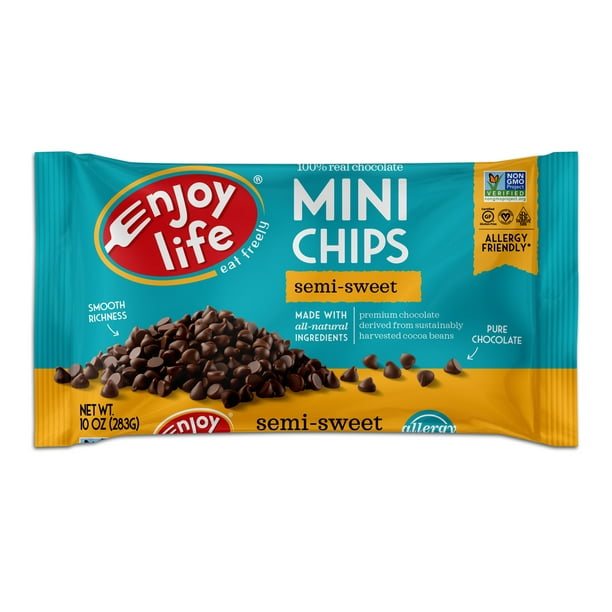
I've not been disappointed with the results from either one.
I order mine from Thrive Market because they have the best possible price anywhere when you buy three bags at once.
If you're not familiar with Thrive Market, you can learn all about it in my post here.
How to freeze chocolate peanut butter pie
Unless you're sharing this pie at an event, or want to eat this pie four days in a row with your hubby (guilty), I recommend freezing some for another time.
Here's how to freeze chocolate peanut butter pie:
You can't put a cover on it when its defrosted. If you try to cover it with foil or plastic, it will just all get stuck to the covering.
If you make it in a disposable pie pan that comes with a lid, then you can for sure use that lid.
If not, you'll want to stick it in the freezer for an hour or two to allow it to firm up a bit on top. Then remove it, add a cover, and put it back in the freezer to avoid it getting freezer burn.
To defrost, remove from freezer, remove the cover, and place in the fridge to defrost for 2-3 hours before serving.
Recipe
No Bake Chocolate Peanut Butter Pie (Gluten Free, Dairy Free)
This no bake chocolate peanut butter pie is dairy free, gluten free and can be made in less than 20 minutes. Perfect for your next family gathering or your next date night in!
Ingredients
Crust
- 1 box gluten free Oreos (about 23-25 cookies)
- 5 Tablespoons ghee
Filling
- 1 11oz can sweetened condensed coconut milk
- 4 ounces dairy free semi-sweet chocolate chips
- ½ cup nut butter
- 2 teaspoons vanilla extract
- 2 9oz containers dairy free CocoWhip
Instructions
- Make your crust. Combine cookies and ghee in a food processor and pulse until you have a crumb-like texture. Break up large chunks, but be careful not to over-mix. Press into a 9” pie plate and stick in the fridge to chill while you prep the filling.
- Make your nut butter layer. In a medium bowl, combine the nut butter with ½ the can (about 5.5 oz) of sweetened condensed coconut milk and 1 teaspoon of the vanilla. Stir until smooth and creamy, then set aside.
- Make your chocolate layer. In a small saucepan over low heat, melt the chocolate chips, stirring constantly to avoid scorching. Once melted through, remove from heat immediately. Stir the other ½ of the can of sweetened condensed milk into the melted chocolate. Stir in 1 teaspoon of vanilla extract. Stir regularly so the chocolate doesn't get a chance to harden.
- Bring it home. Remove your pie crust from the fridge. Fold ⅔ of one CocoWhip container into the peanut butter mixture, folding carefully and gently so as not to break the whipped cream, and spread into the crust. Do the same for the chocolate layer, folding in carefully and then spreading on top. Spread the remaining CocoWhip on top of the chocolate layer carefully.
- The waiting is the hardest part. Place the pie in the fridge for at least 4 hours to allow it to set before cutting and serving. Store in the fridge loosely covered for up to 4-5 days...if it lasts that long!
Notes
When making the crust, if your ghee is liquid, the crust may be too "wet" to press in at first. Simply place in the fridge for 10-15 minutes to allow the ghee to harden up a bit, and you'll be able to press it into the pan.
You can use any nut butter you like in this recipe. I have made it with regular peanut butter as well as cashew butter and both have turned out great. Check your ingredients to make sure your nut butter of choice doesn't have added sugar, otherwise you risk making it too sweet!
Sweetened condensed coconut milk is typically in the ethnic food aisle in the store, in the Asian section - with the exception of WalMart, theirs is in the baking aisle with the other sweetened condensed milk.
CocoWhip can be found at most grocery stores in the freezer section. Follow the package directions on defrosting in the fridge before making this recipe - you won't be able to fold it in if it's still frozen!
Nutrition Information:
Yield: 8 Serving Size: 1Amount Per Serving: Calories: 311Total Fat: 29gSaturated Fat: 19gTrans Fat: 0gUnsaturated Fat: 9gCholesterol: 24mgSodium: 48mgCarbohydrates: 14gFiber: 1gSugar: 9gProtein: 3g
Looking for other pie recipes? Check out my Gluten Free Apple Pie and my Gluten Free Fruit Tart!
I may earn a small commission off purchases made through affiliate links in this post from Amazon and other sellers. This helps me continue to run the blog and keep providing you fresh content. Thank you for your support!
I may earn a small commission off purchases made through affiliate links in this post from Amazon and other sellers. This helps me continue to run the blog and keep providing you fresh content. Thank you for your support!

Vinisha Moolya
First off, I like the concept of this recipe. Will Definitely try one of these days.
But I do have a concern. I thought this was going to be a Dairy-Free pie? The use of ghee makes it the opposite. Ghee is a dairy product. Was this an intentional use?
P.S: No offence. I was merely curious
Jessica
Hi Vinisha - ghee does start out as butter, with dairy in it. However, when ghee is made, all the milkfat is removed, leaving only a clarified butter, which is safe to consume for most who don't tolerate dairy. It's found acceptable on a Whole30 and other dairy-free dietary restrictions. That said, every person is different, so if you aren't able to tolerate dairy, feel free to sub something else! Any fat that is neutral in flavor would work. My second recommendation would be vegetable shortening such as Spectrum.